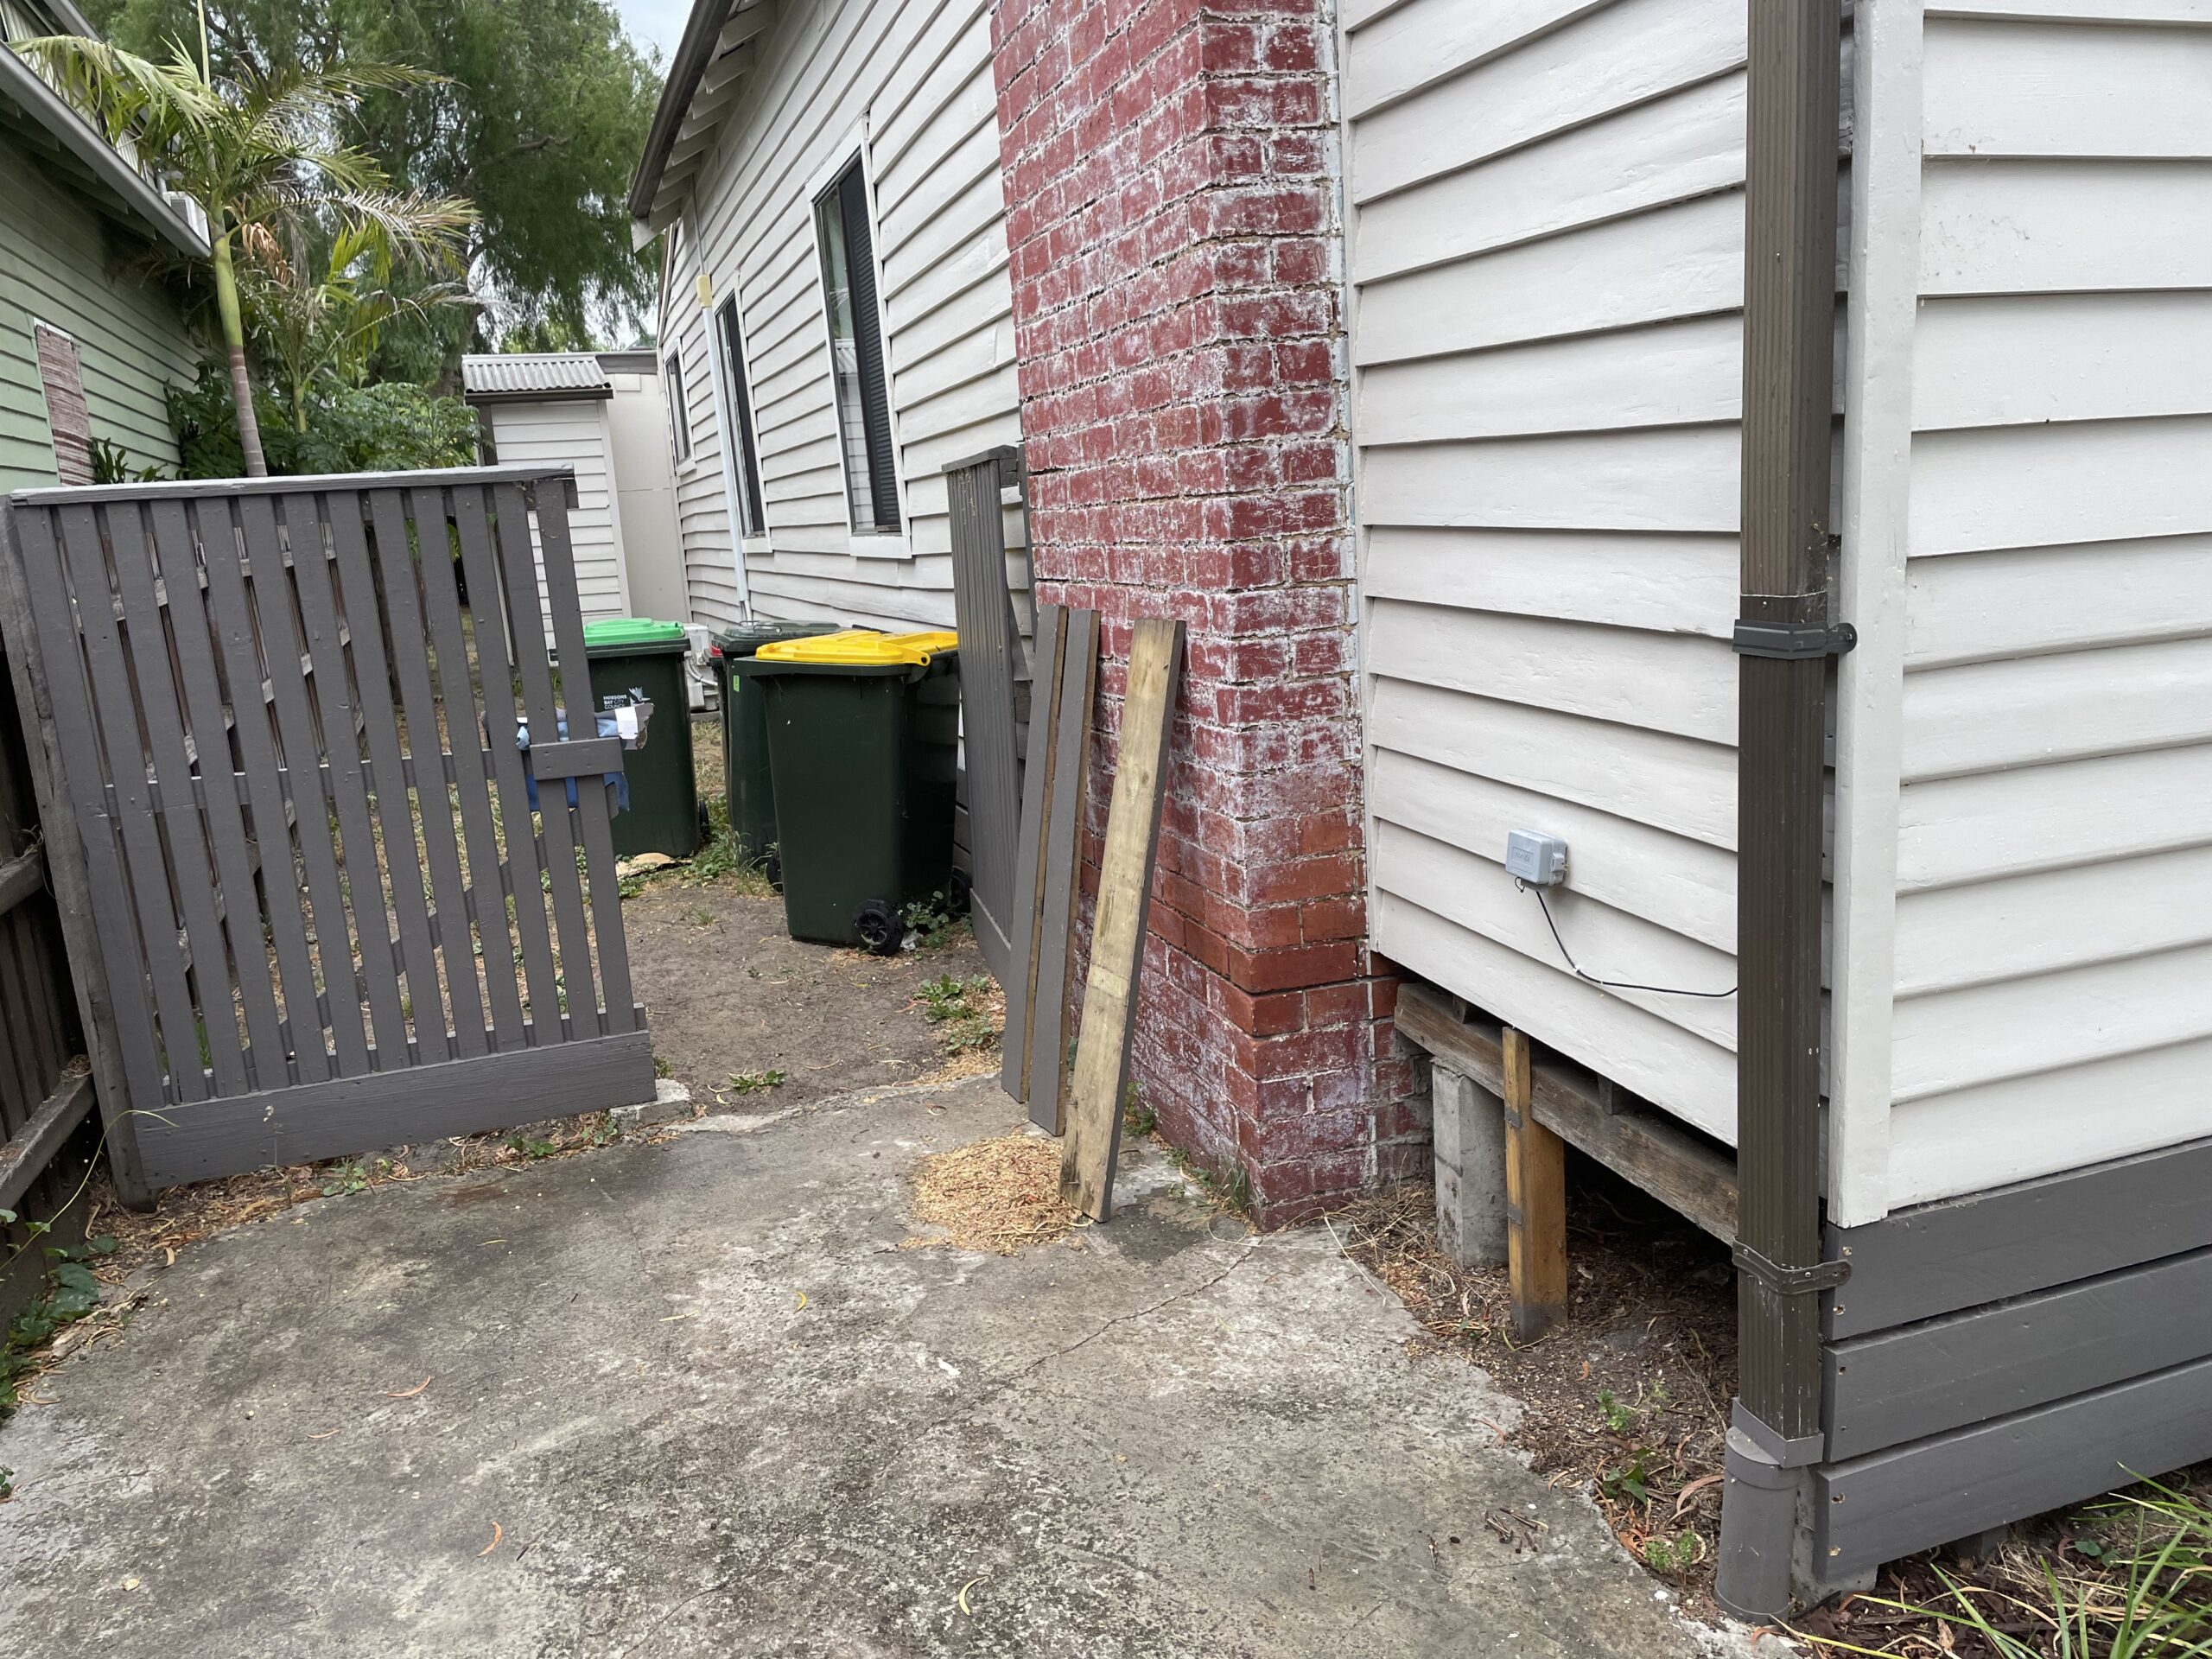
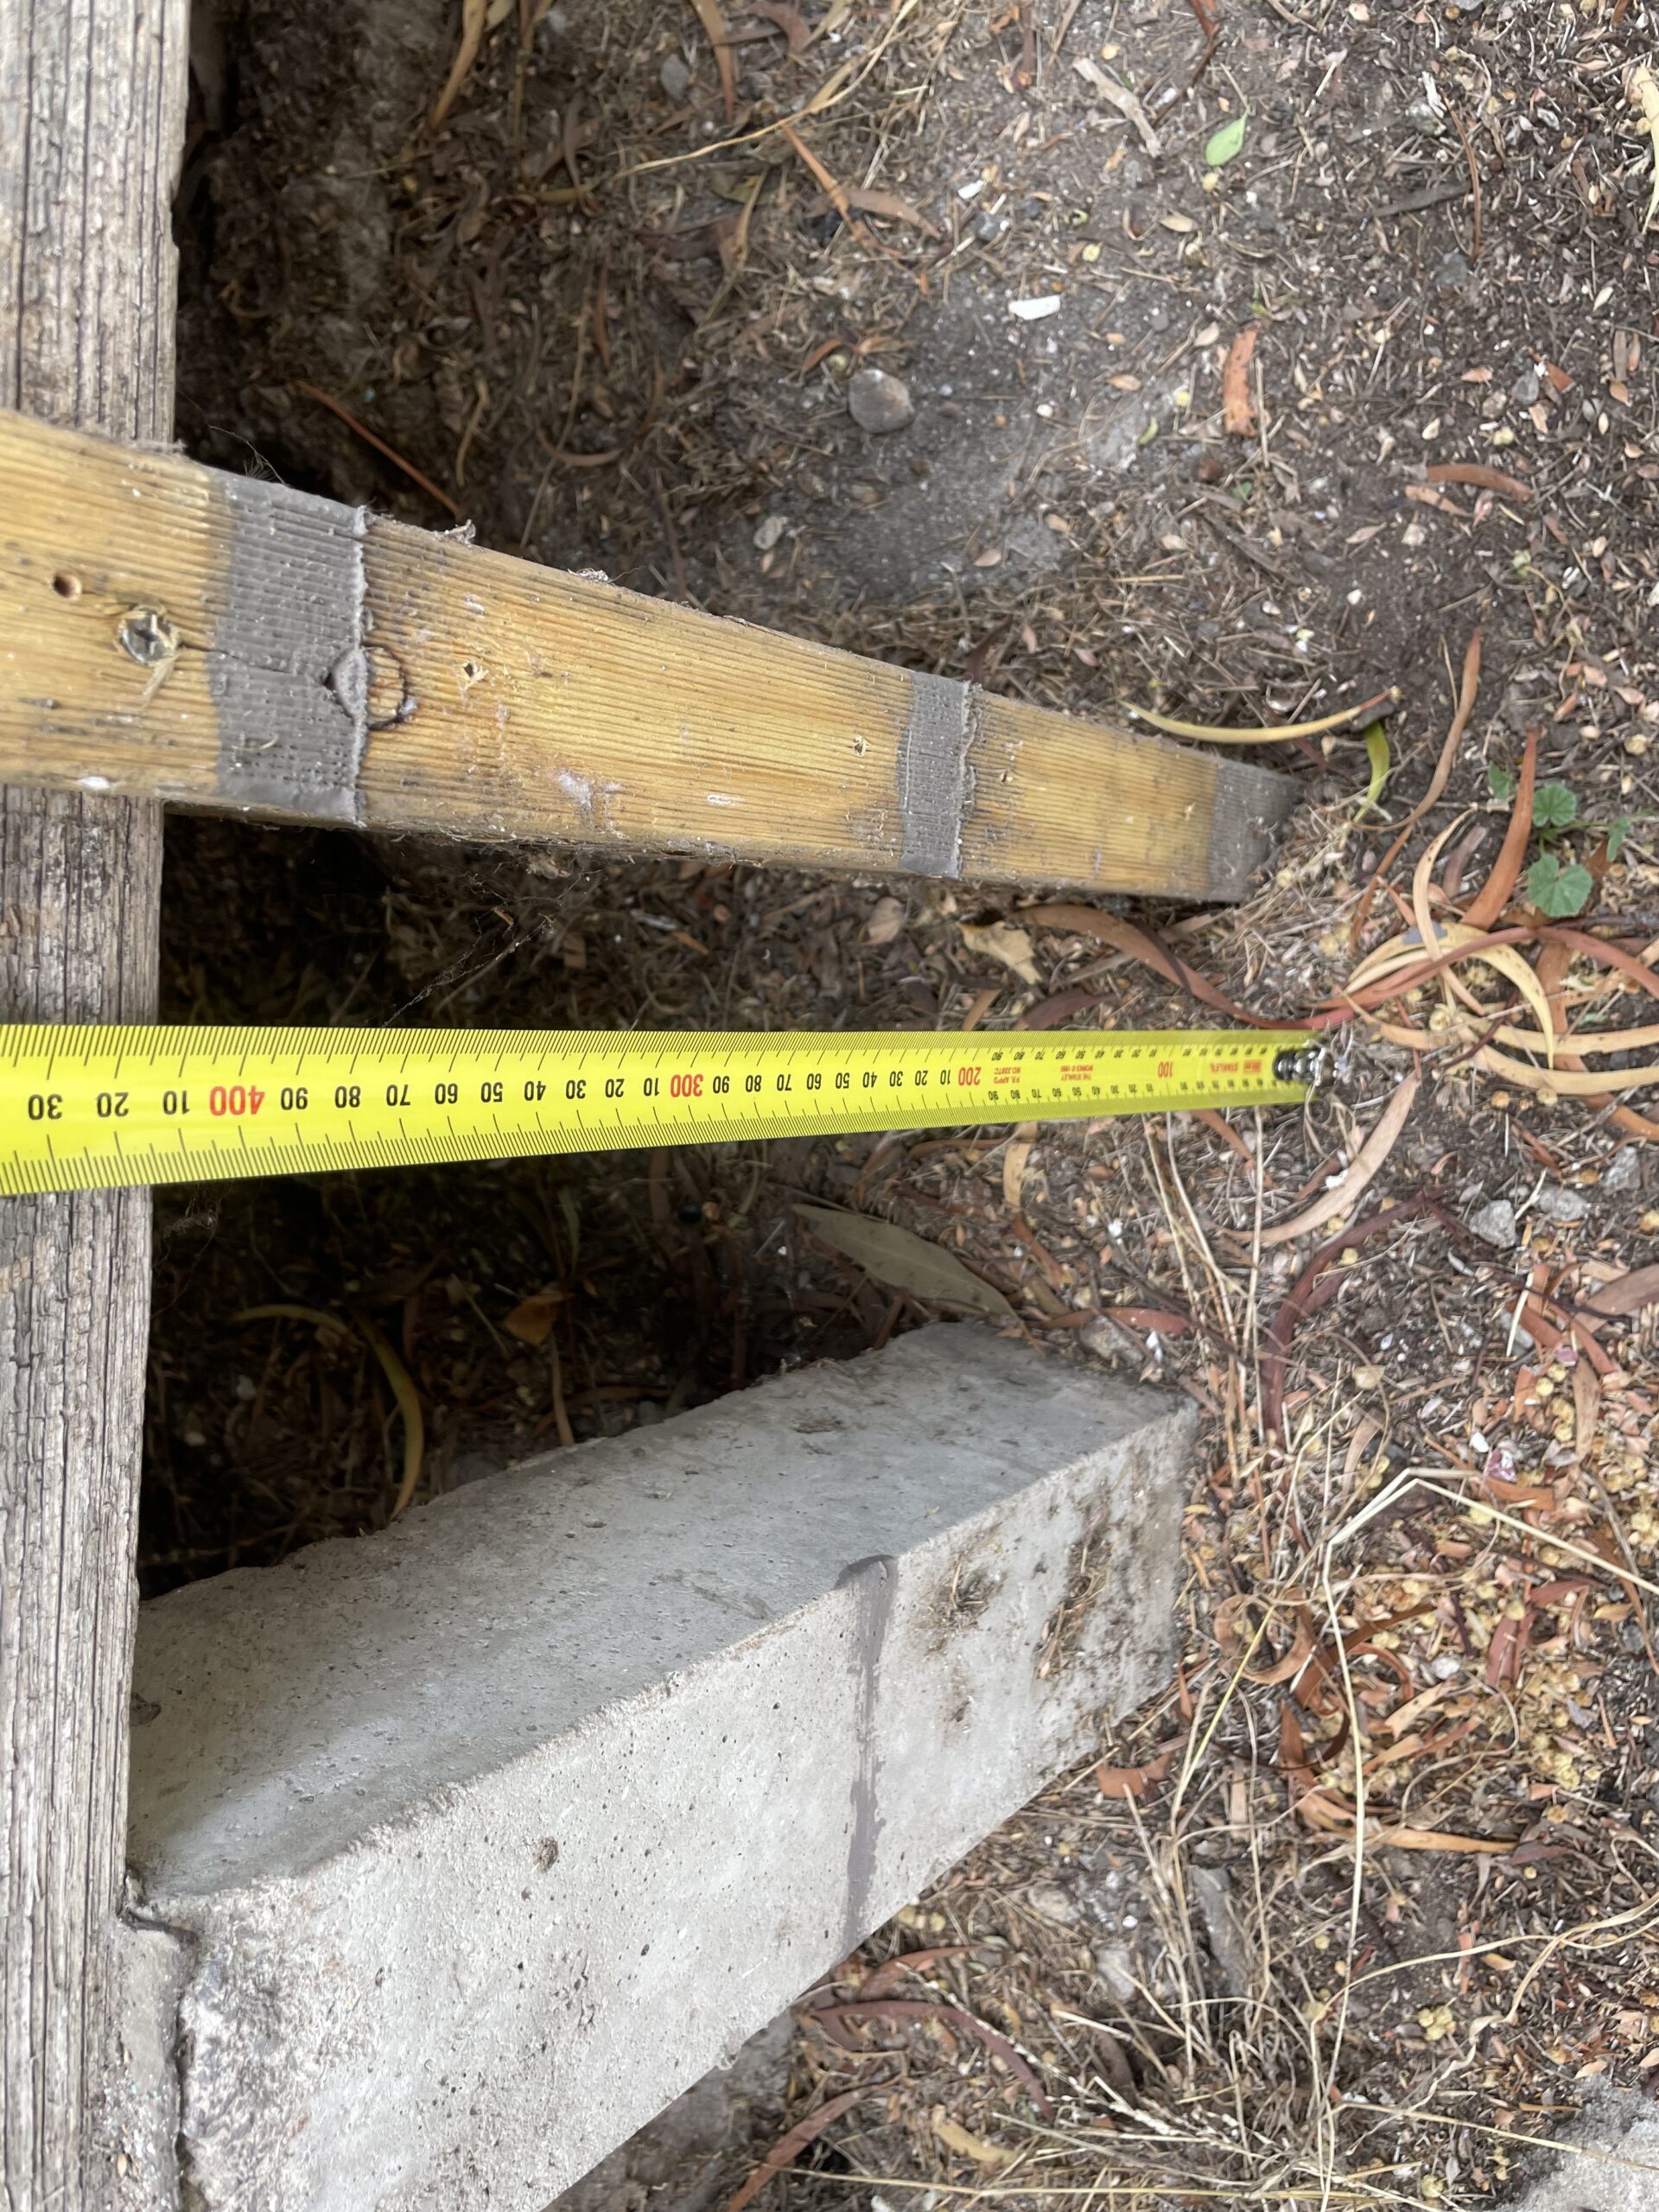
The subfloor is the part of the house under the house. In older wood constructions, the idea is to have airflow under the house to keep the timber dry and free from nasty things like fungus and rot.
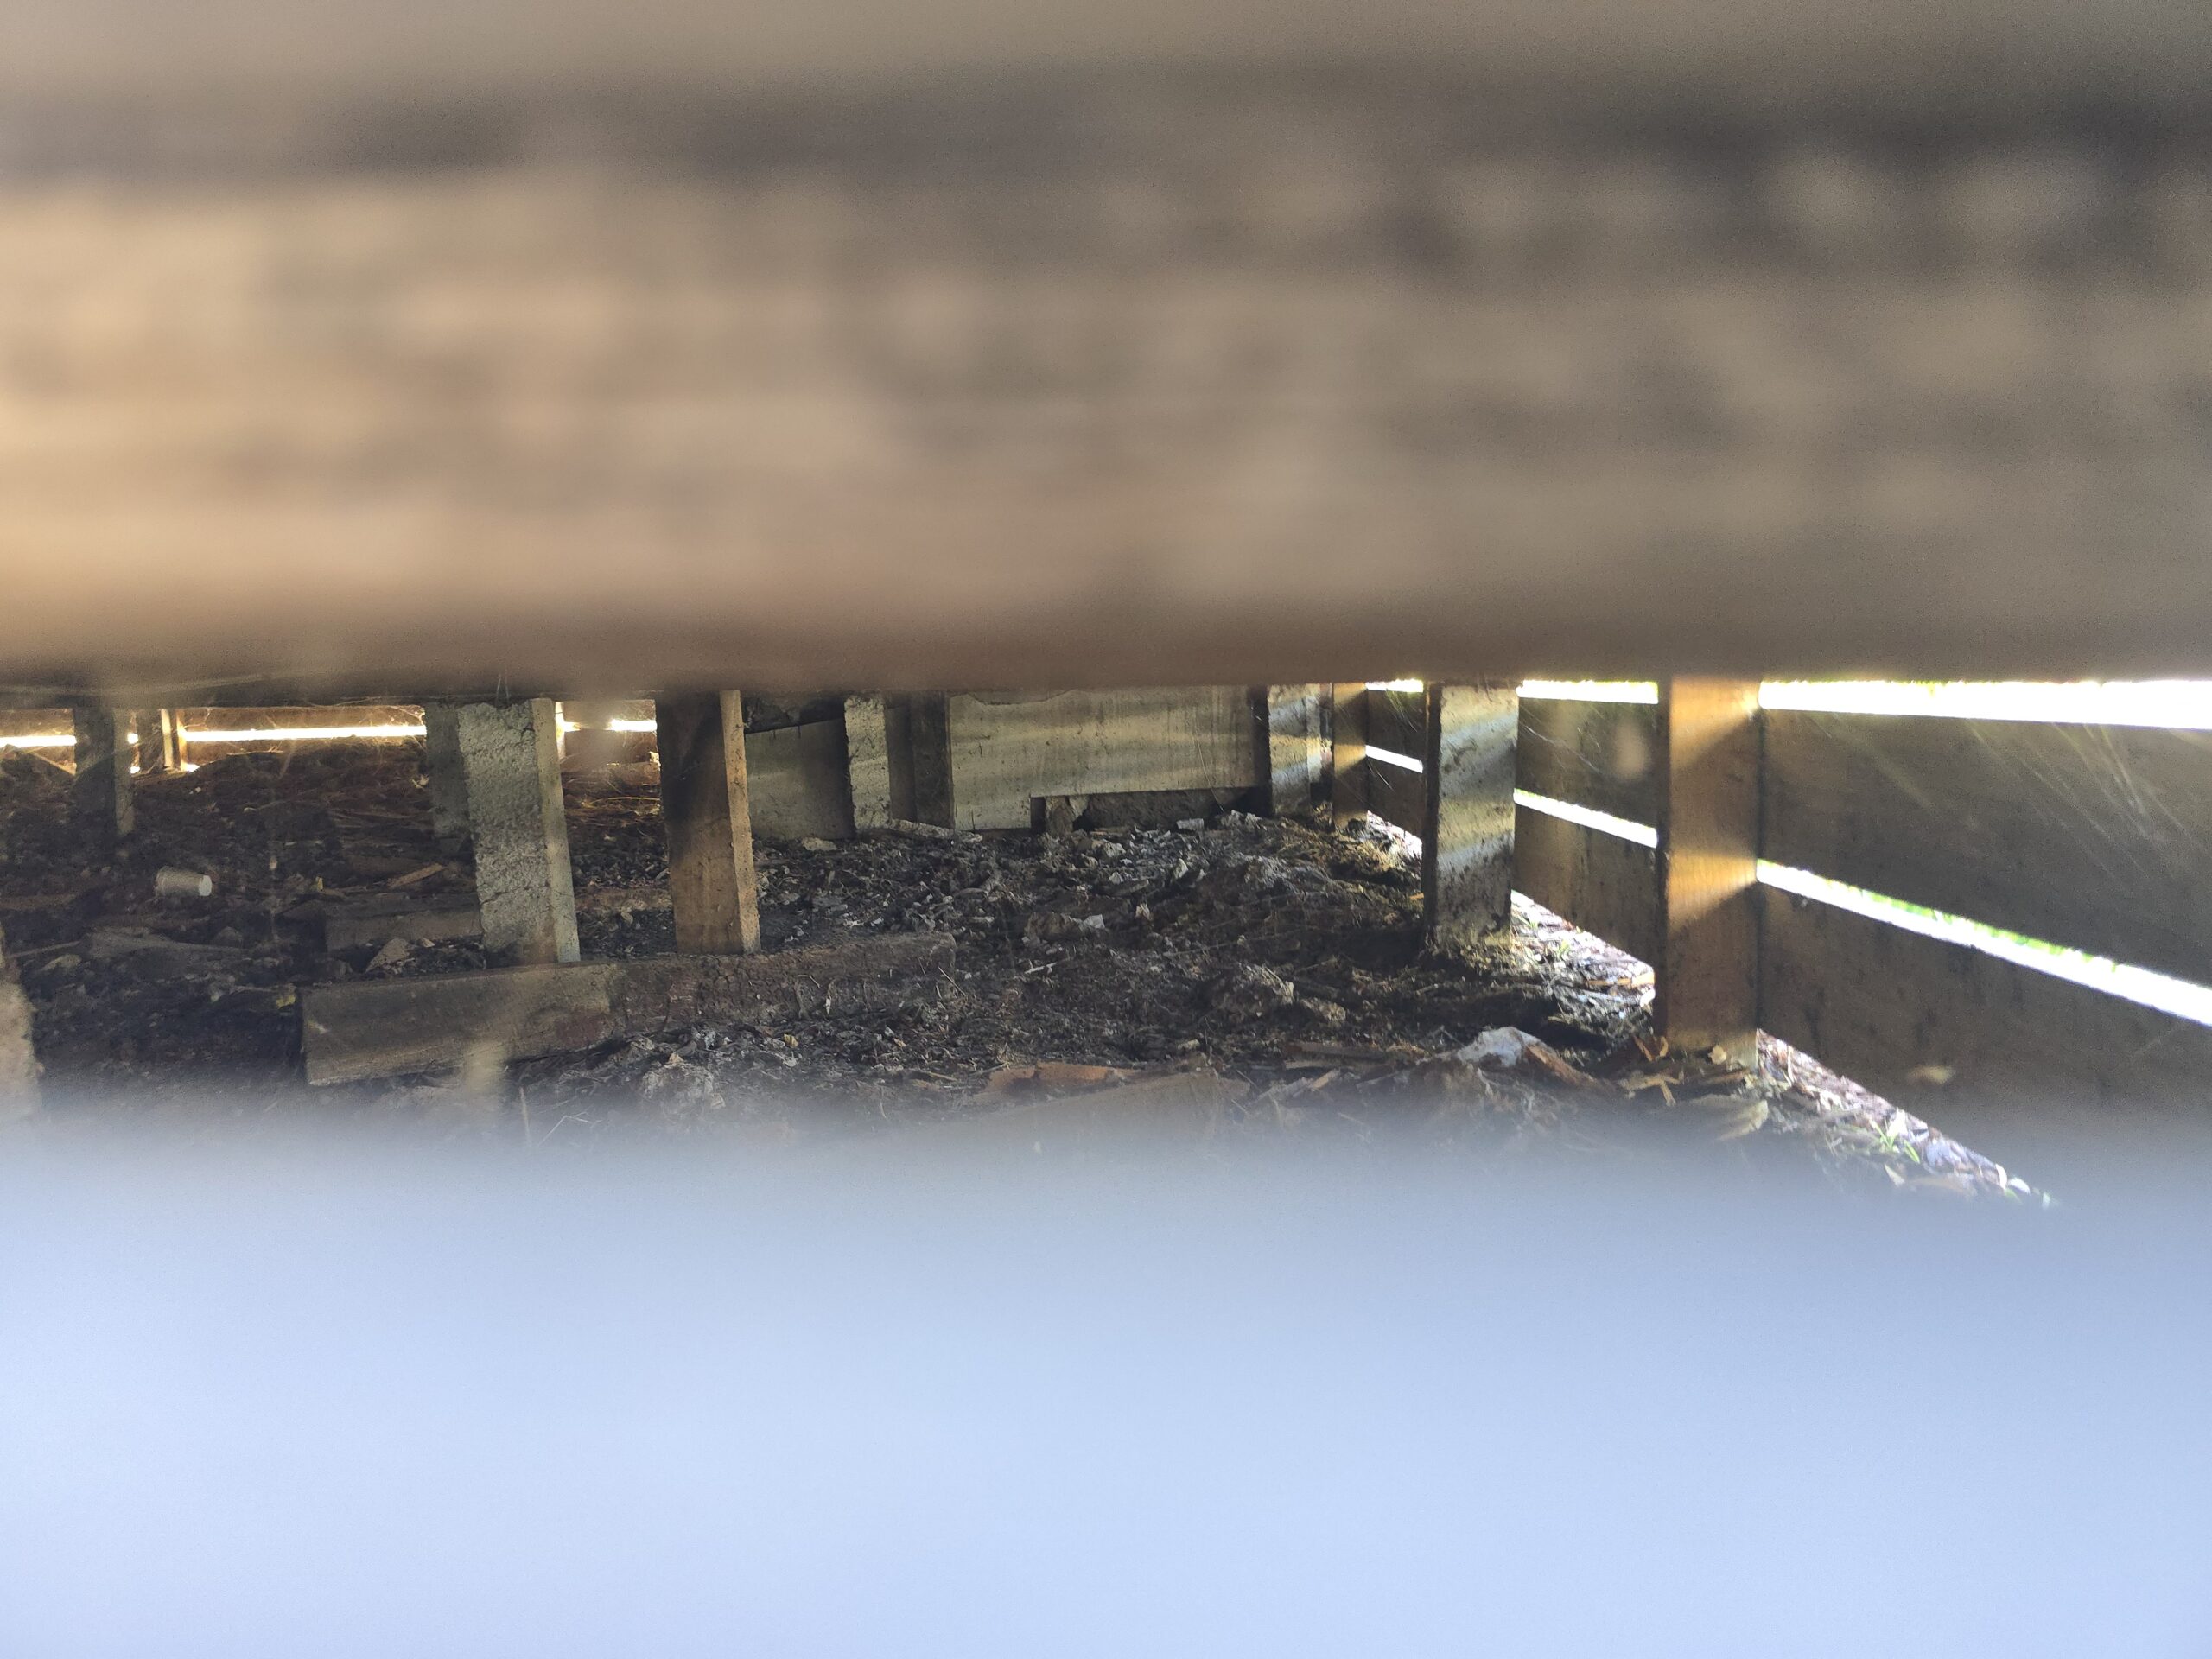
This means the houses are raised up on timber or concrete “stumps”. This seems to have worked fine for my house for the last 100 years or so, but over time the “stumps” can become damaged or out of alignment.
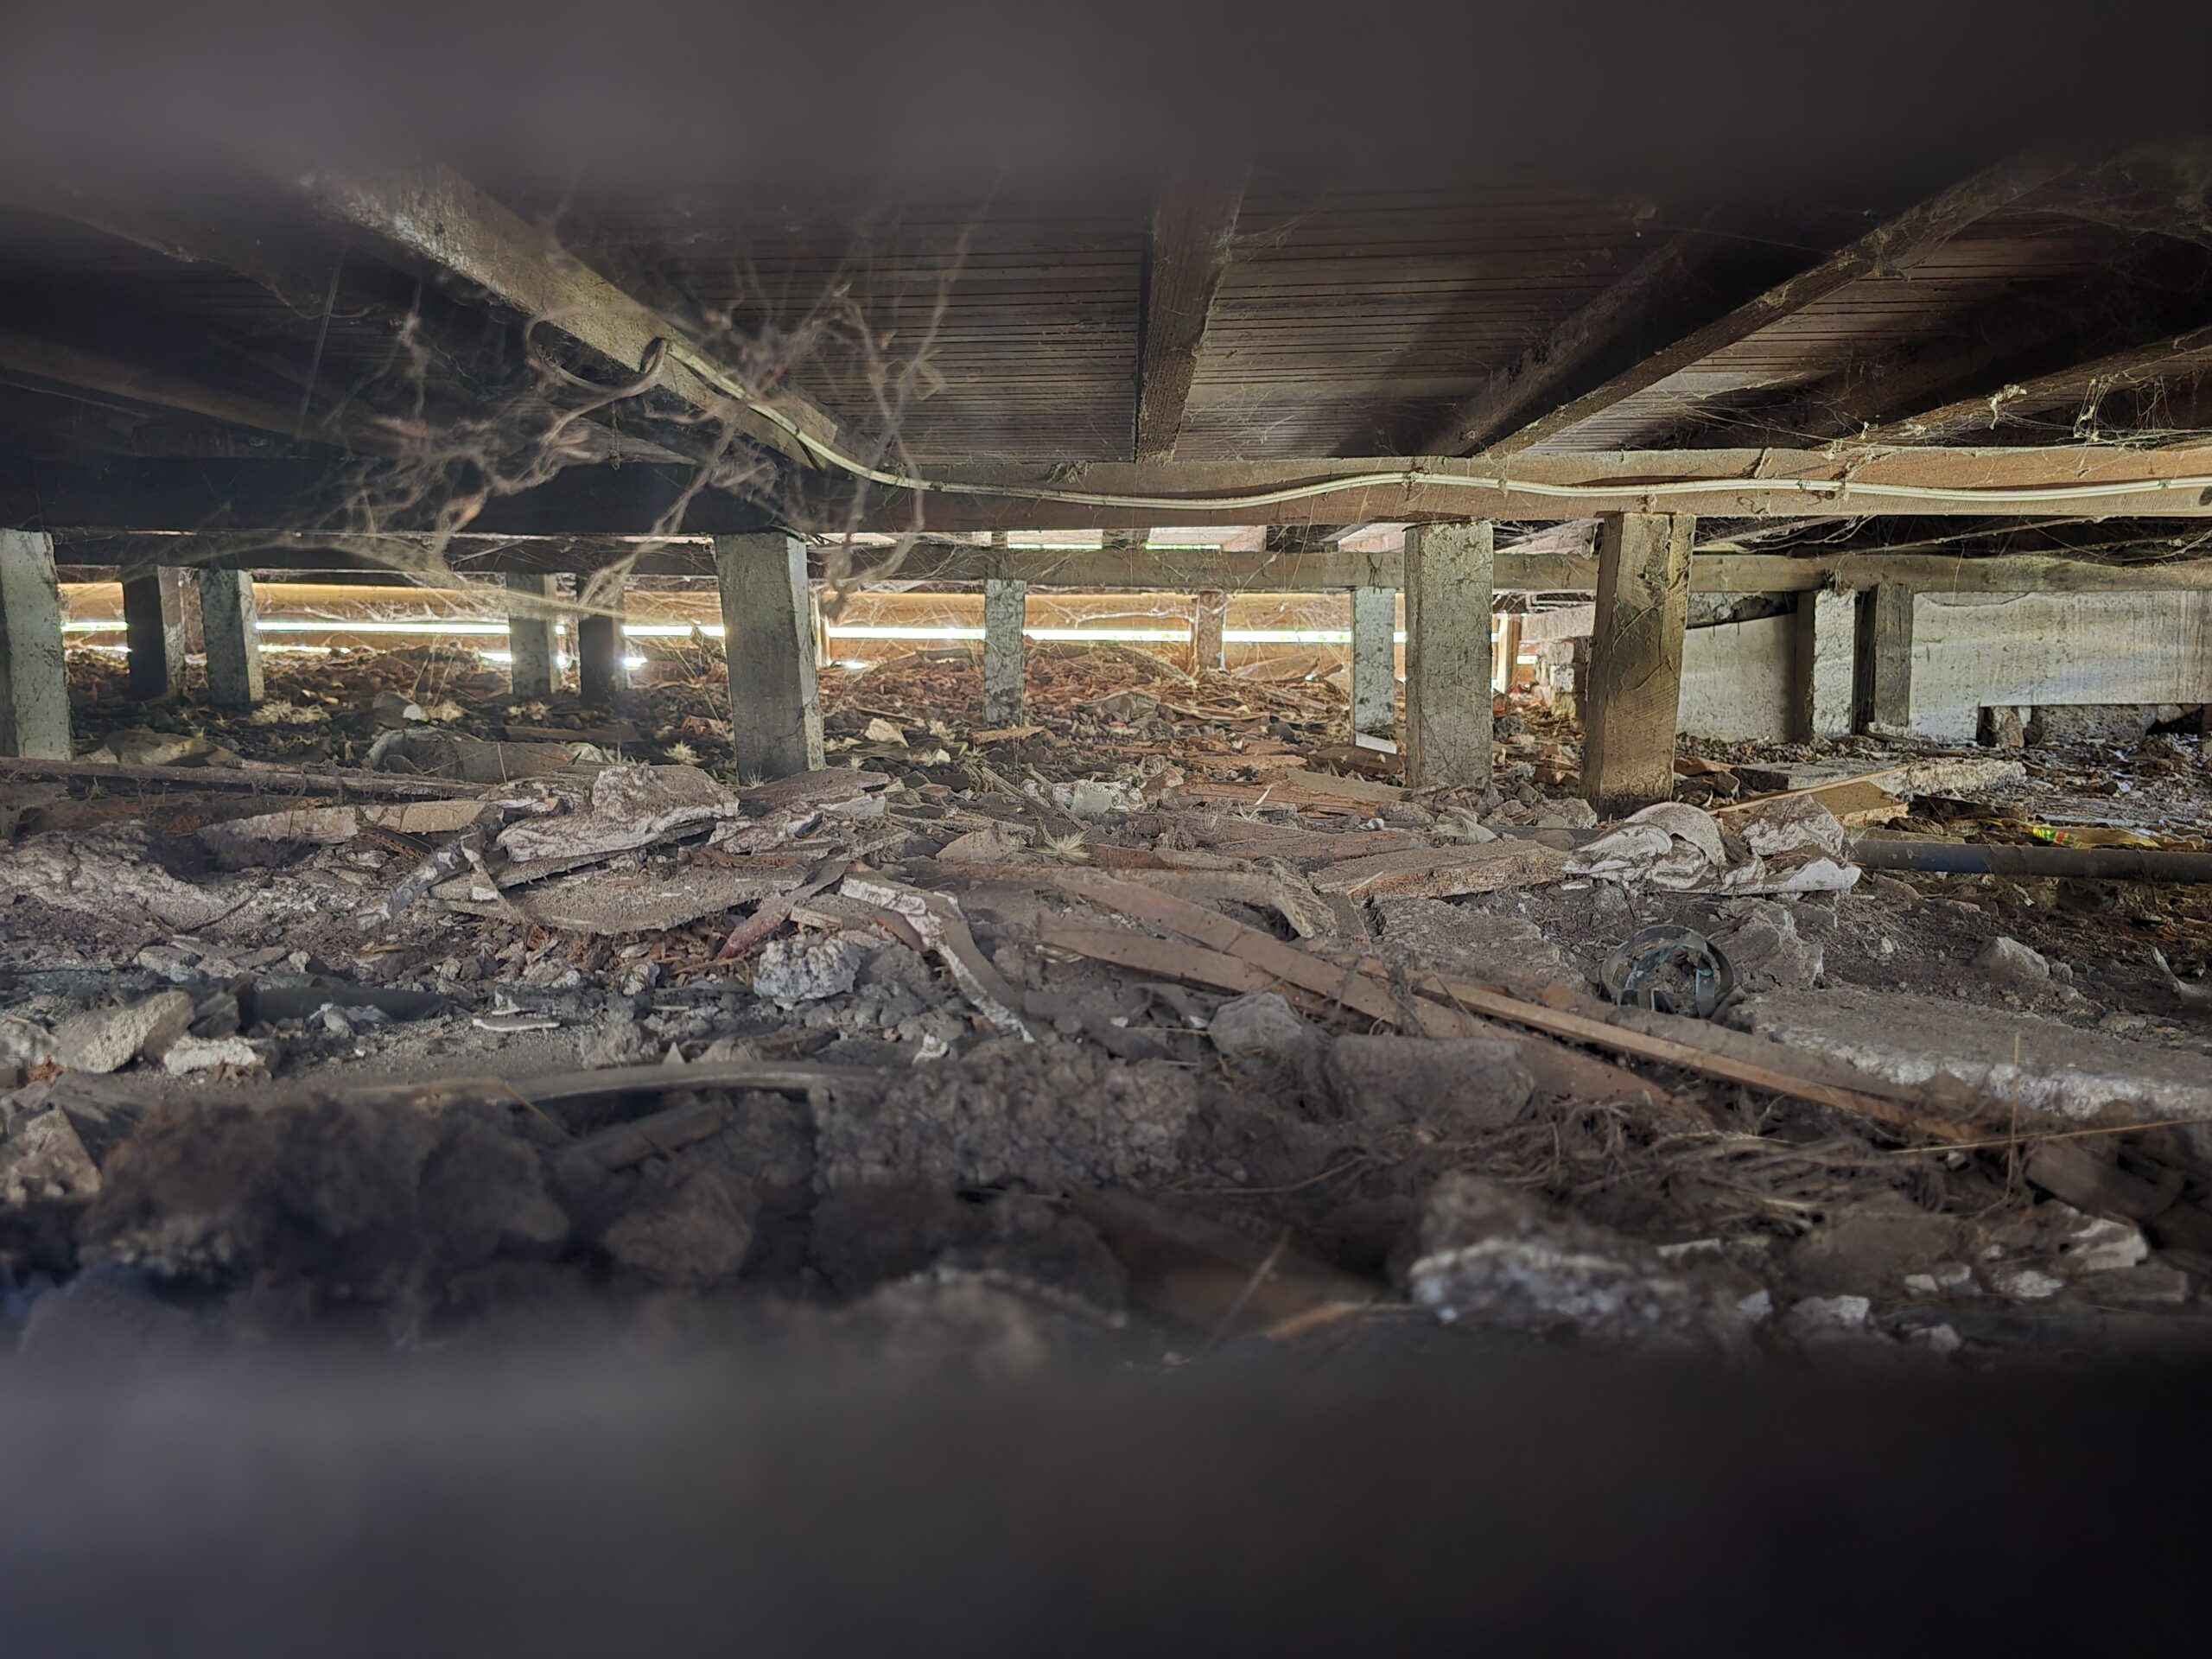
Typically this is why you need “sub floor access” to get in under the house to check on the stumps or do things like fix plumbing or other such things. Think of it like a roof cavity under your feet. You can see in the images above that the house has already been “re-stumped” once before and they left the original wooden stumps in place alongside the newer concrete ones.
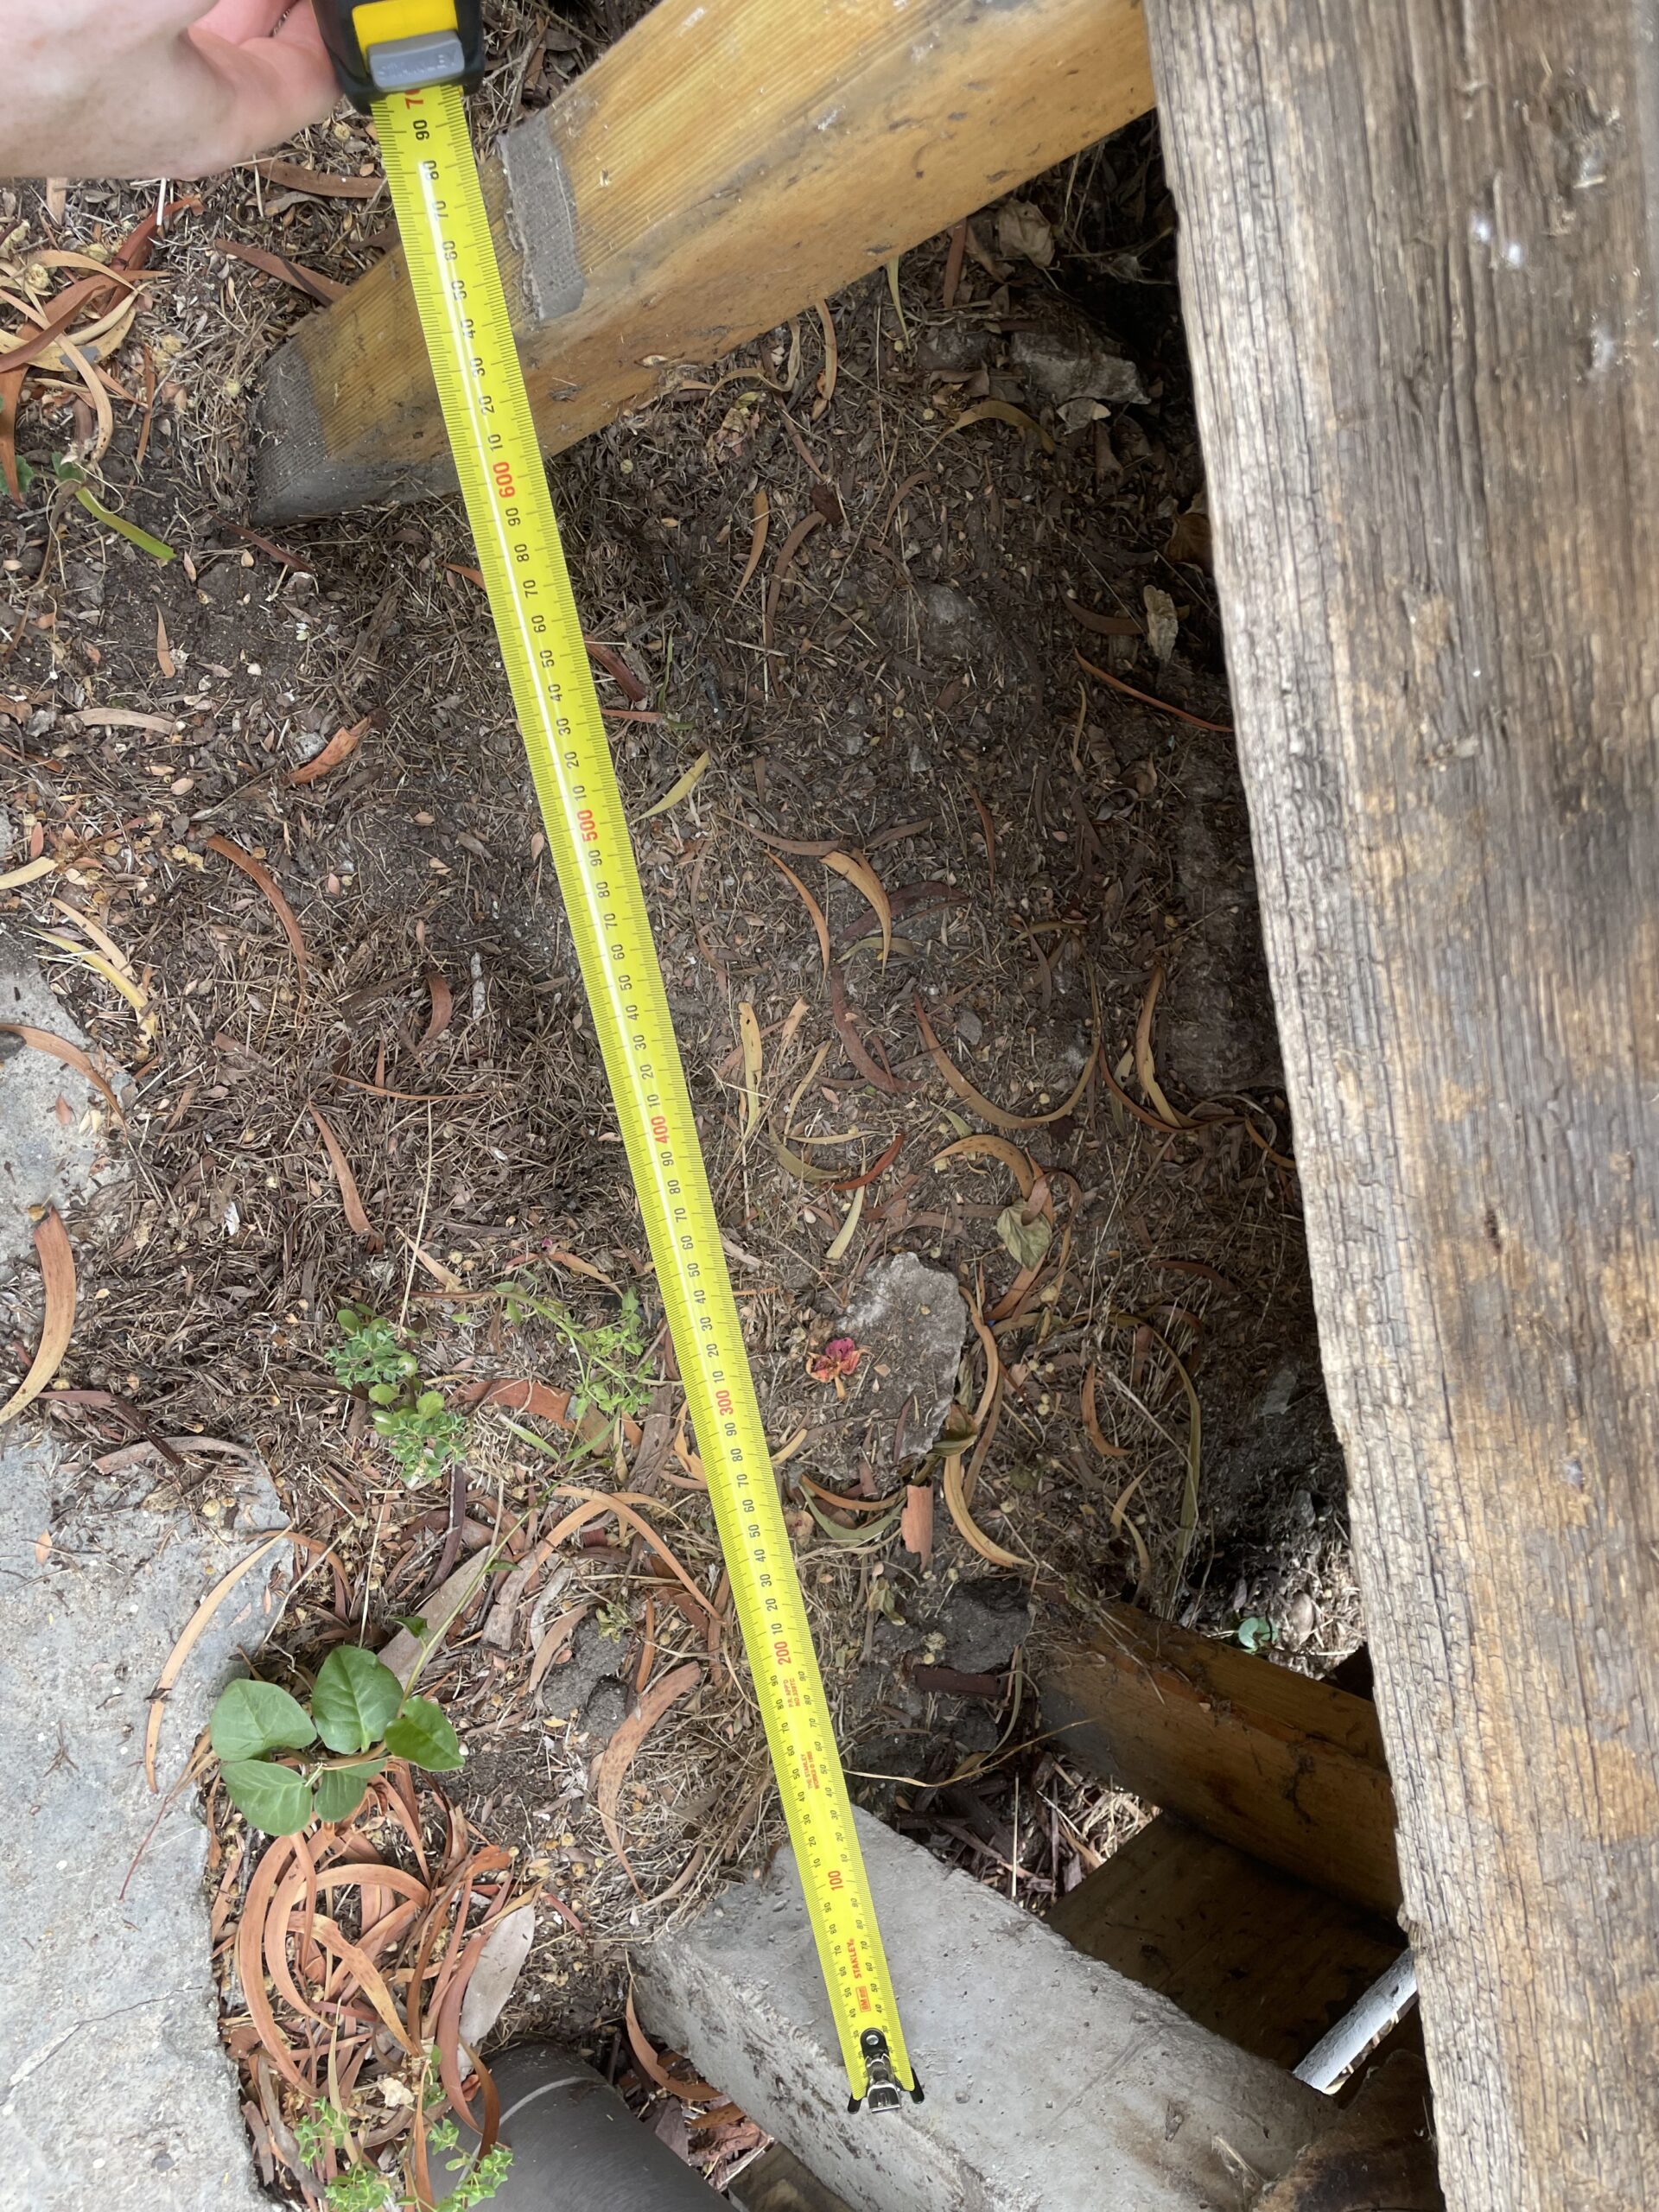
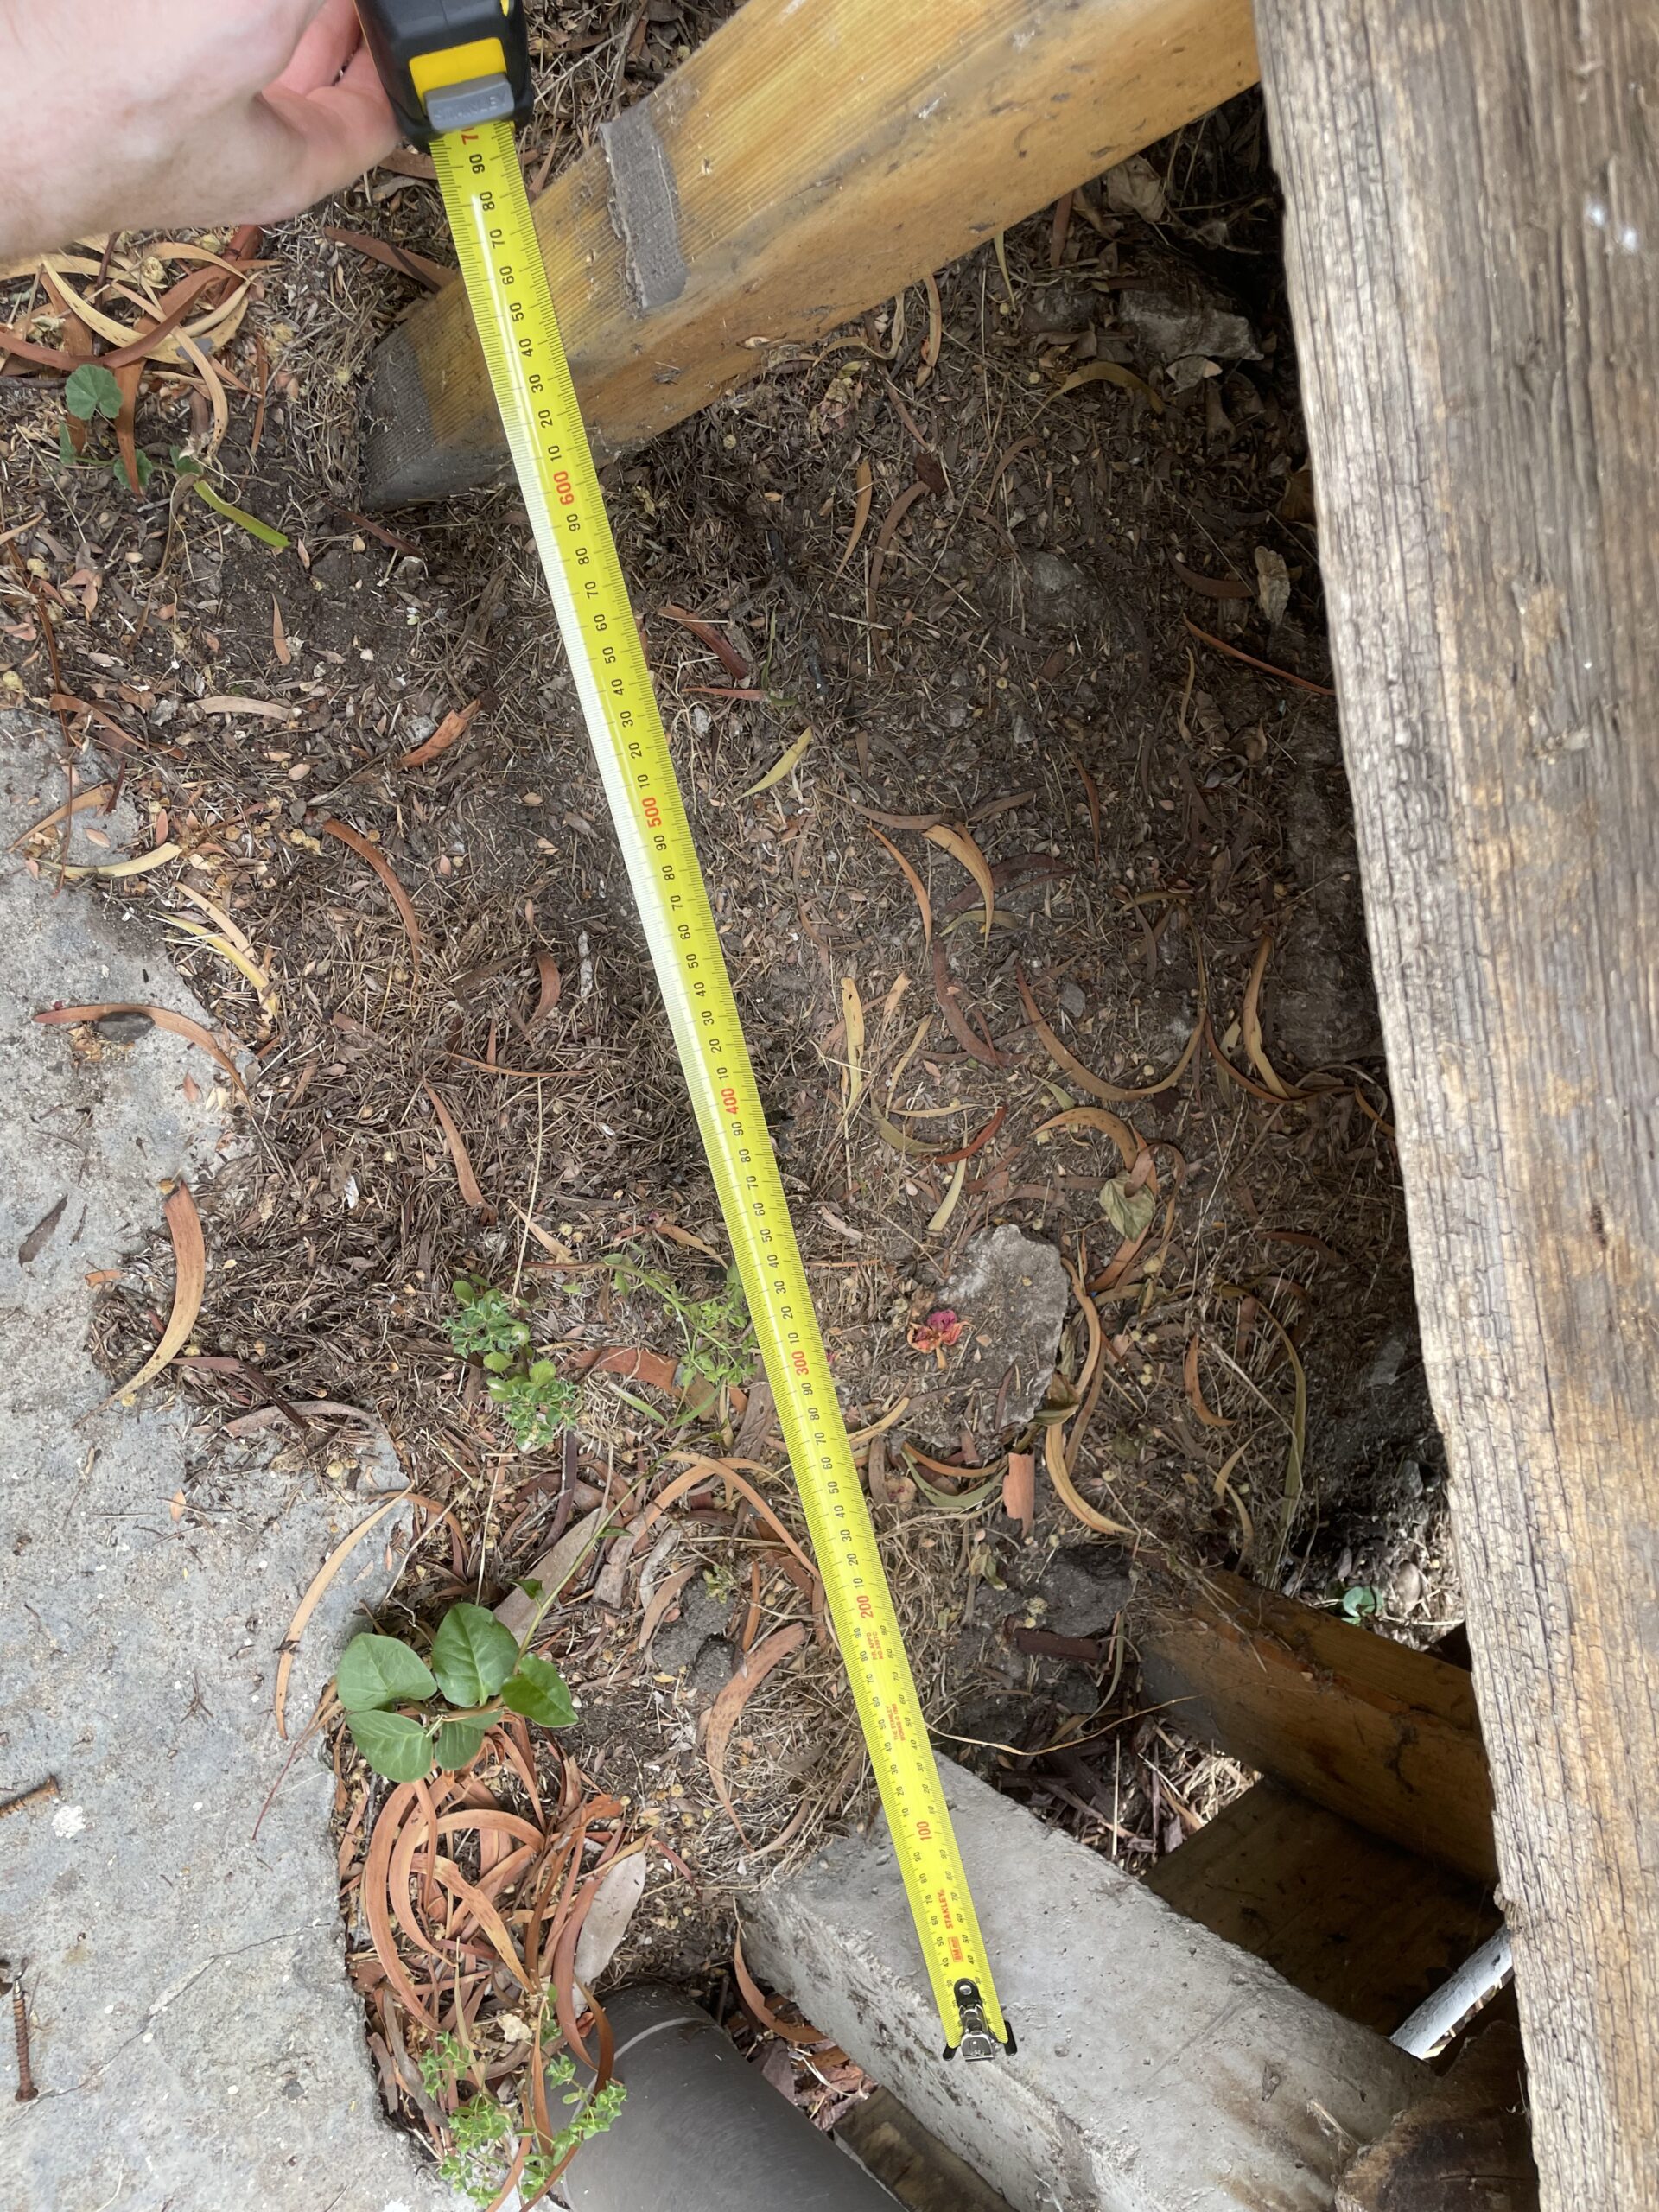
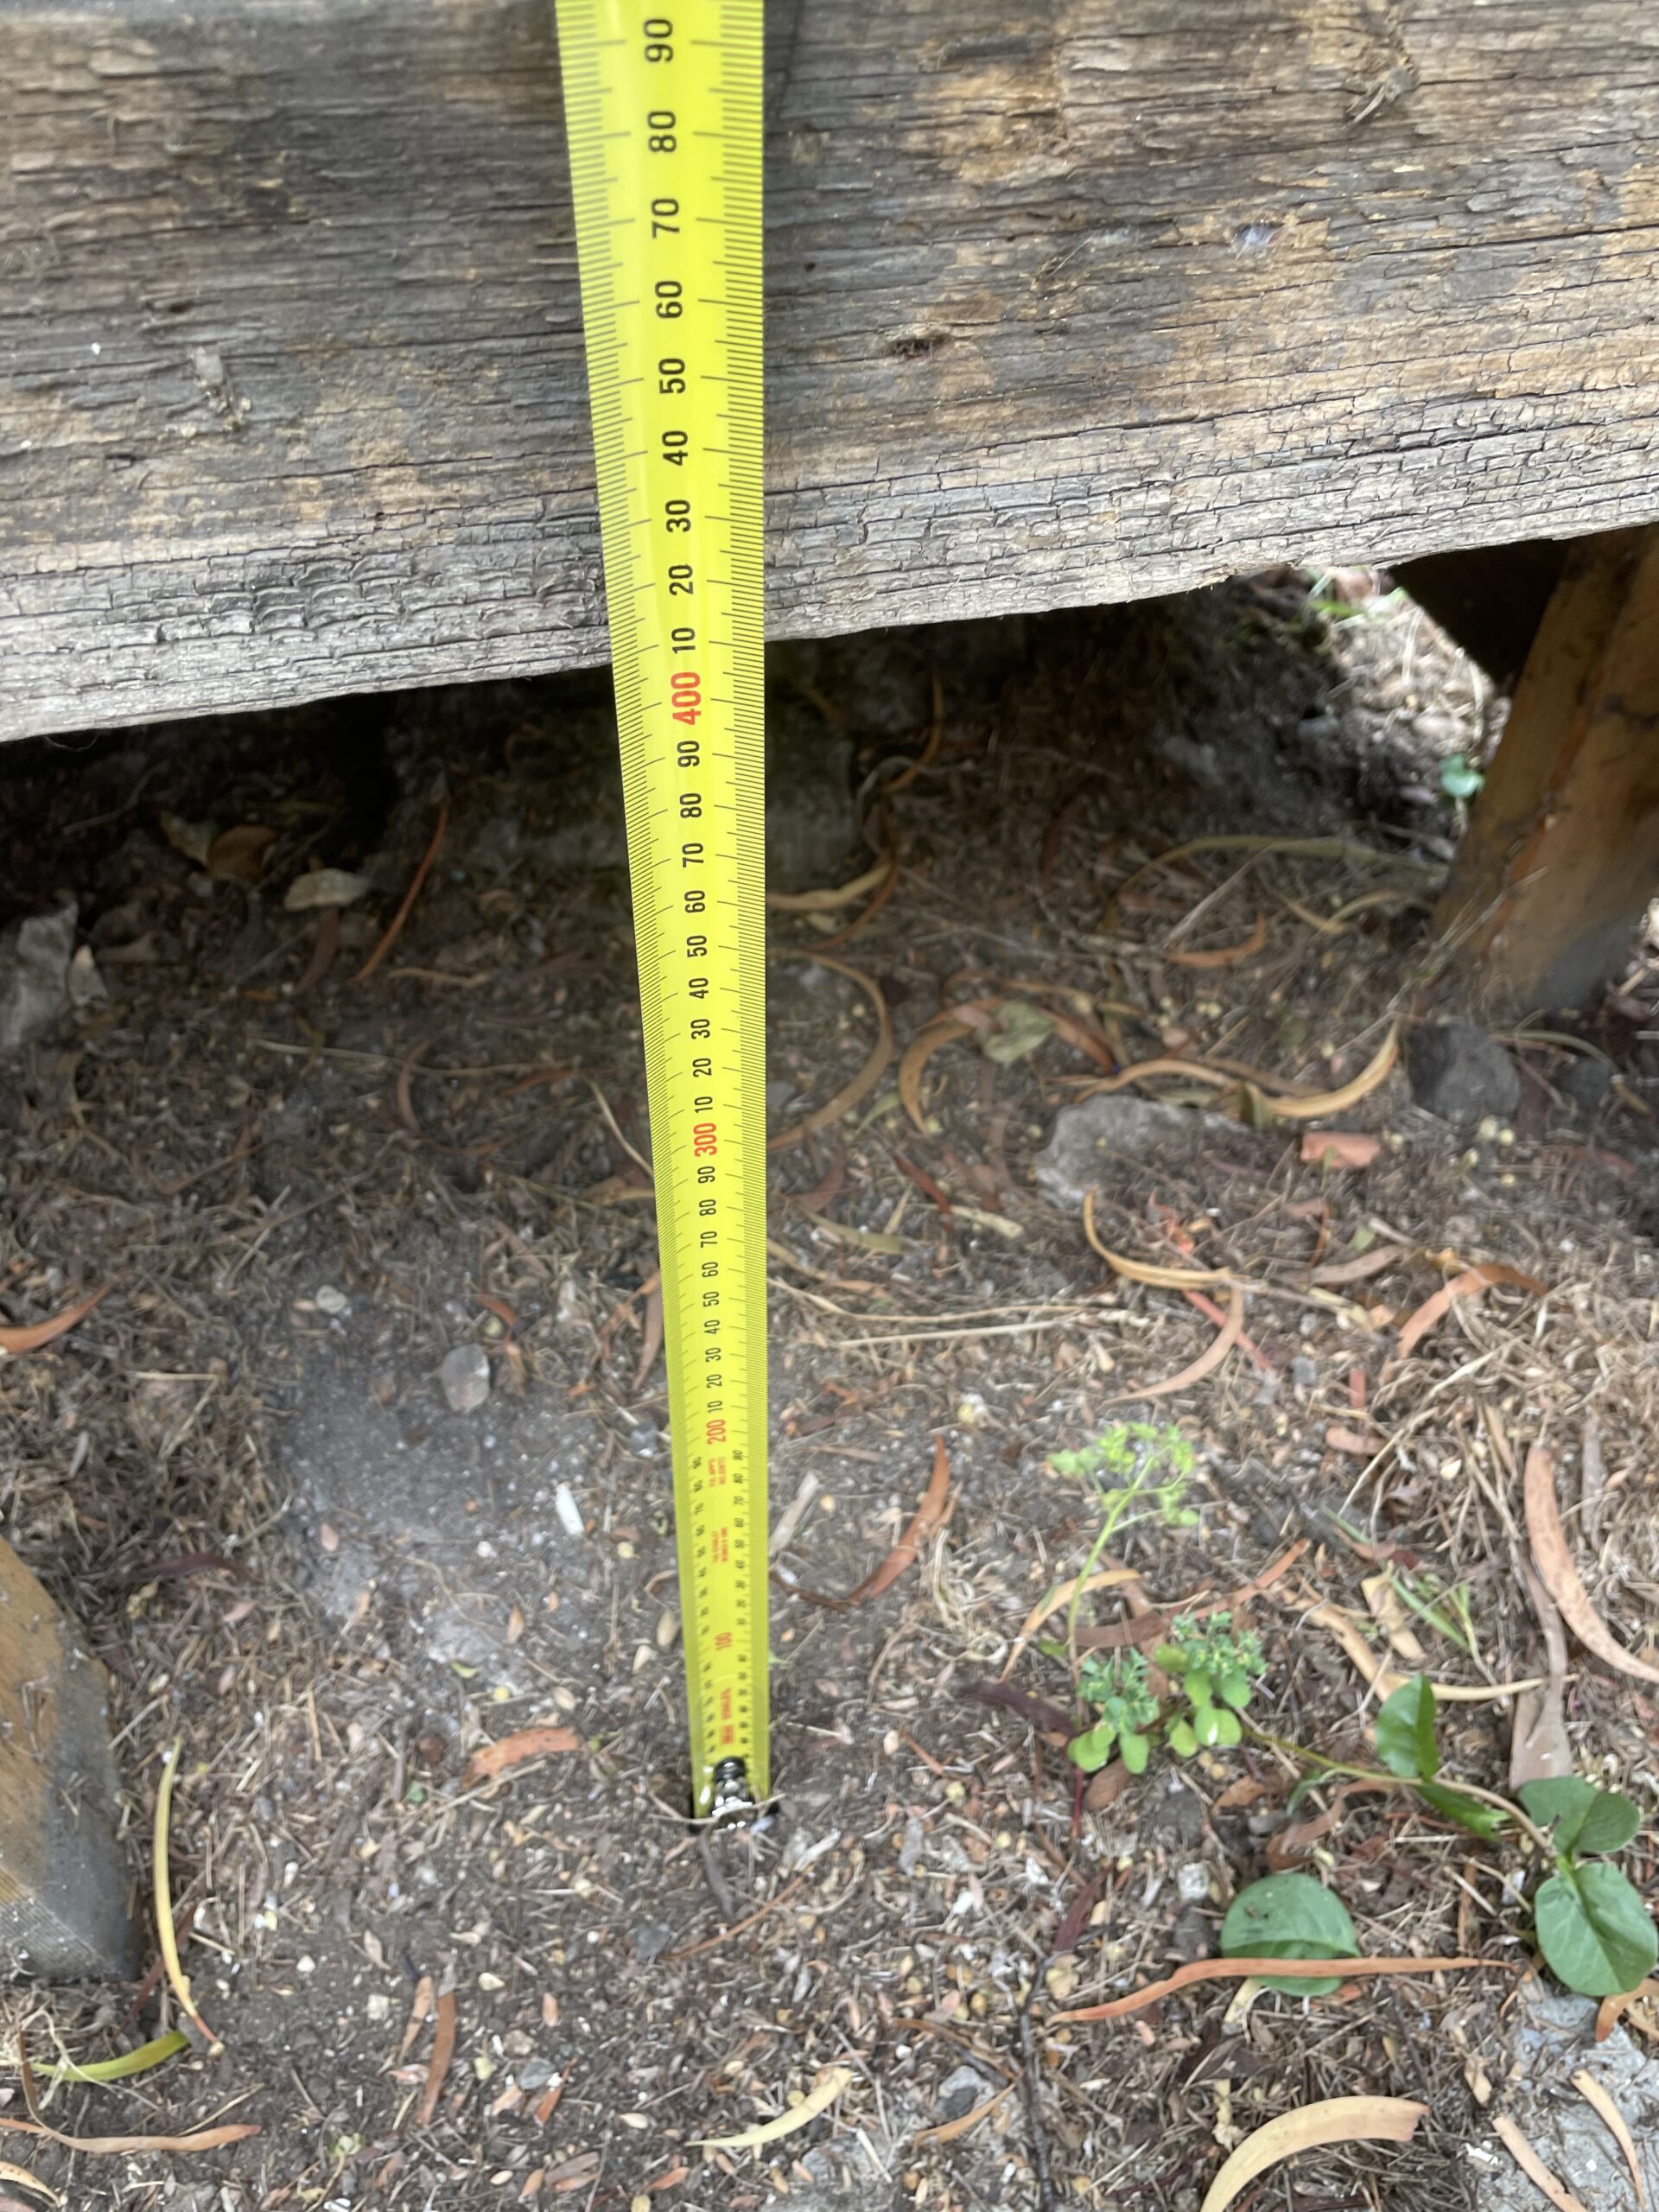
Turns out that there’s no subfloor access at the moment, so I had to create one. After much anguish, I decided I had to do it here near the front of the house because that’s where the biggest gap was (still only 400mm height to squeeze through).
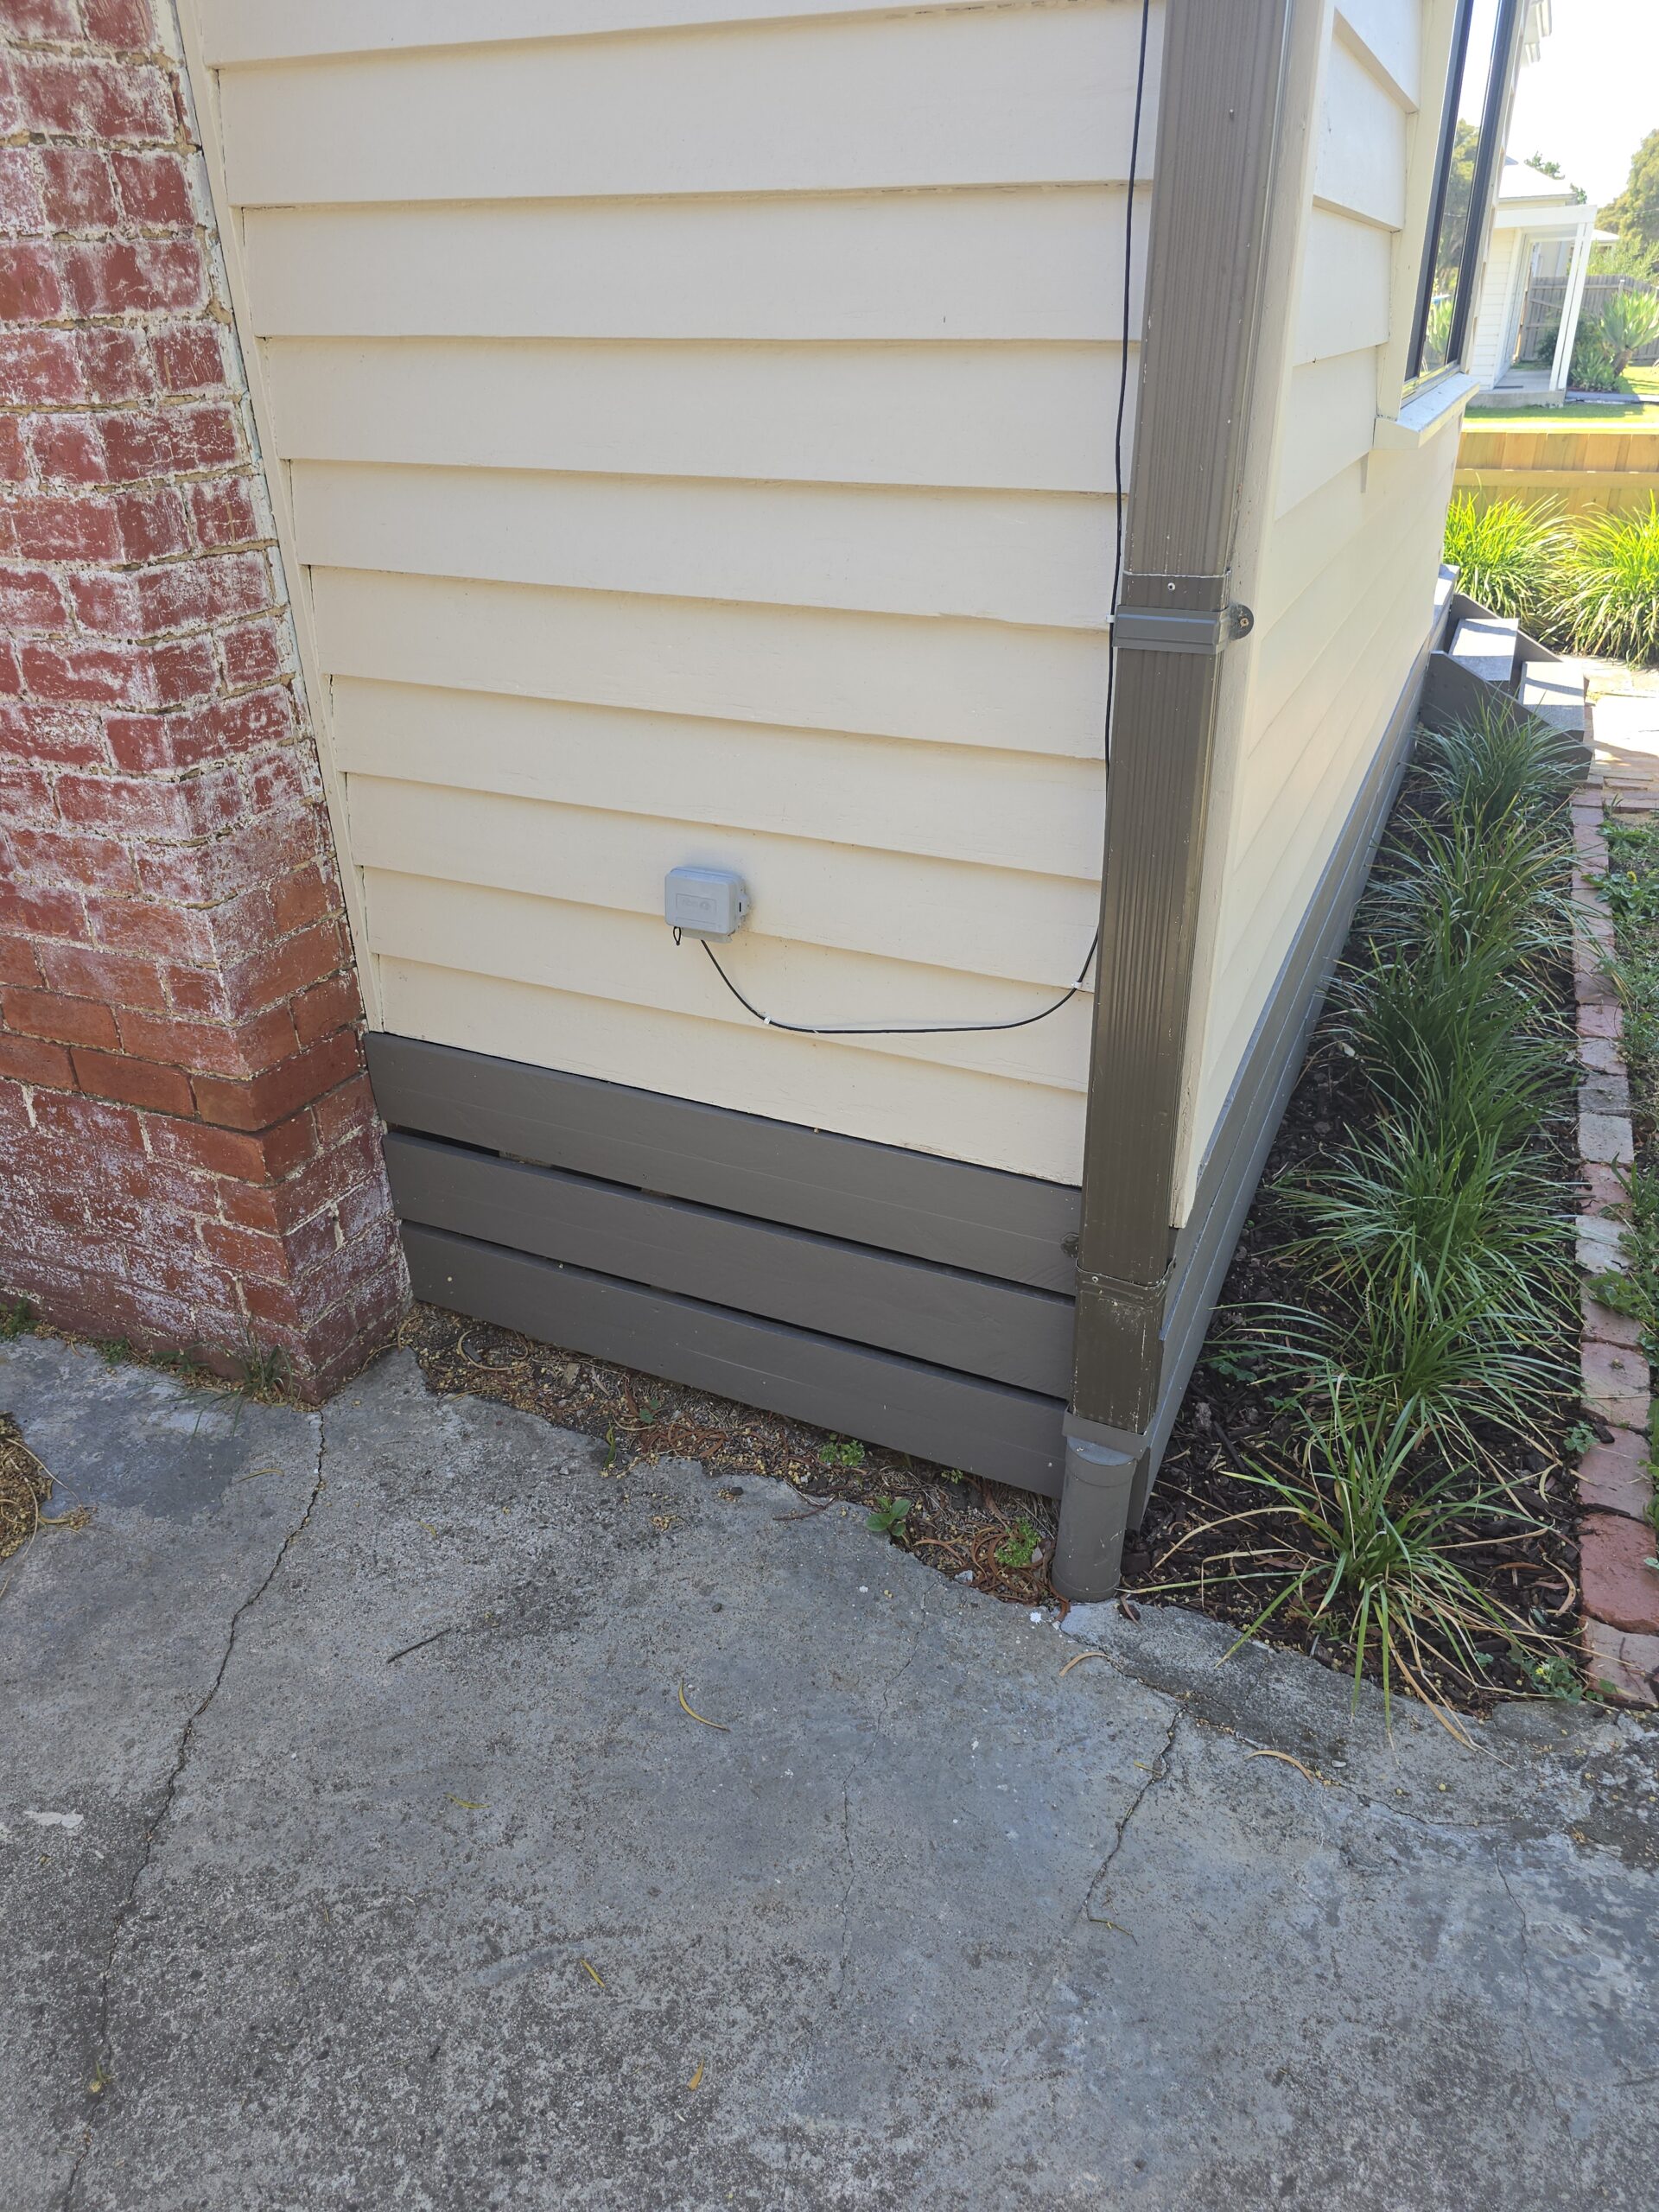
My plan was to create a hinged access panel that swings “up” allowing me to crawl in underneath. I would need to find a way to make it invisible from the front, especially since the council don’t want any changes to the appearance of the heritage character of the house.
I got council to weigh in anyway, the council guy was very supportive “well, you will need subfloor access to do the restumping”.
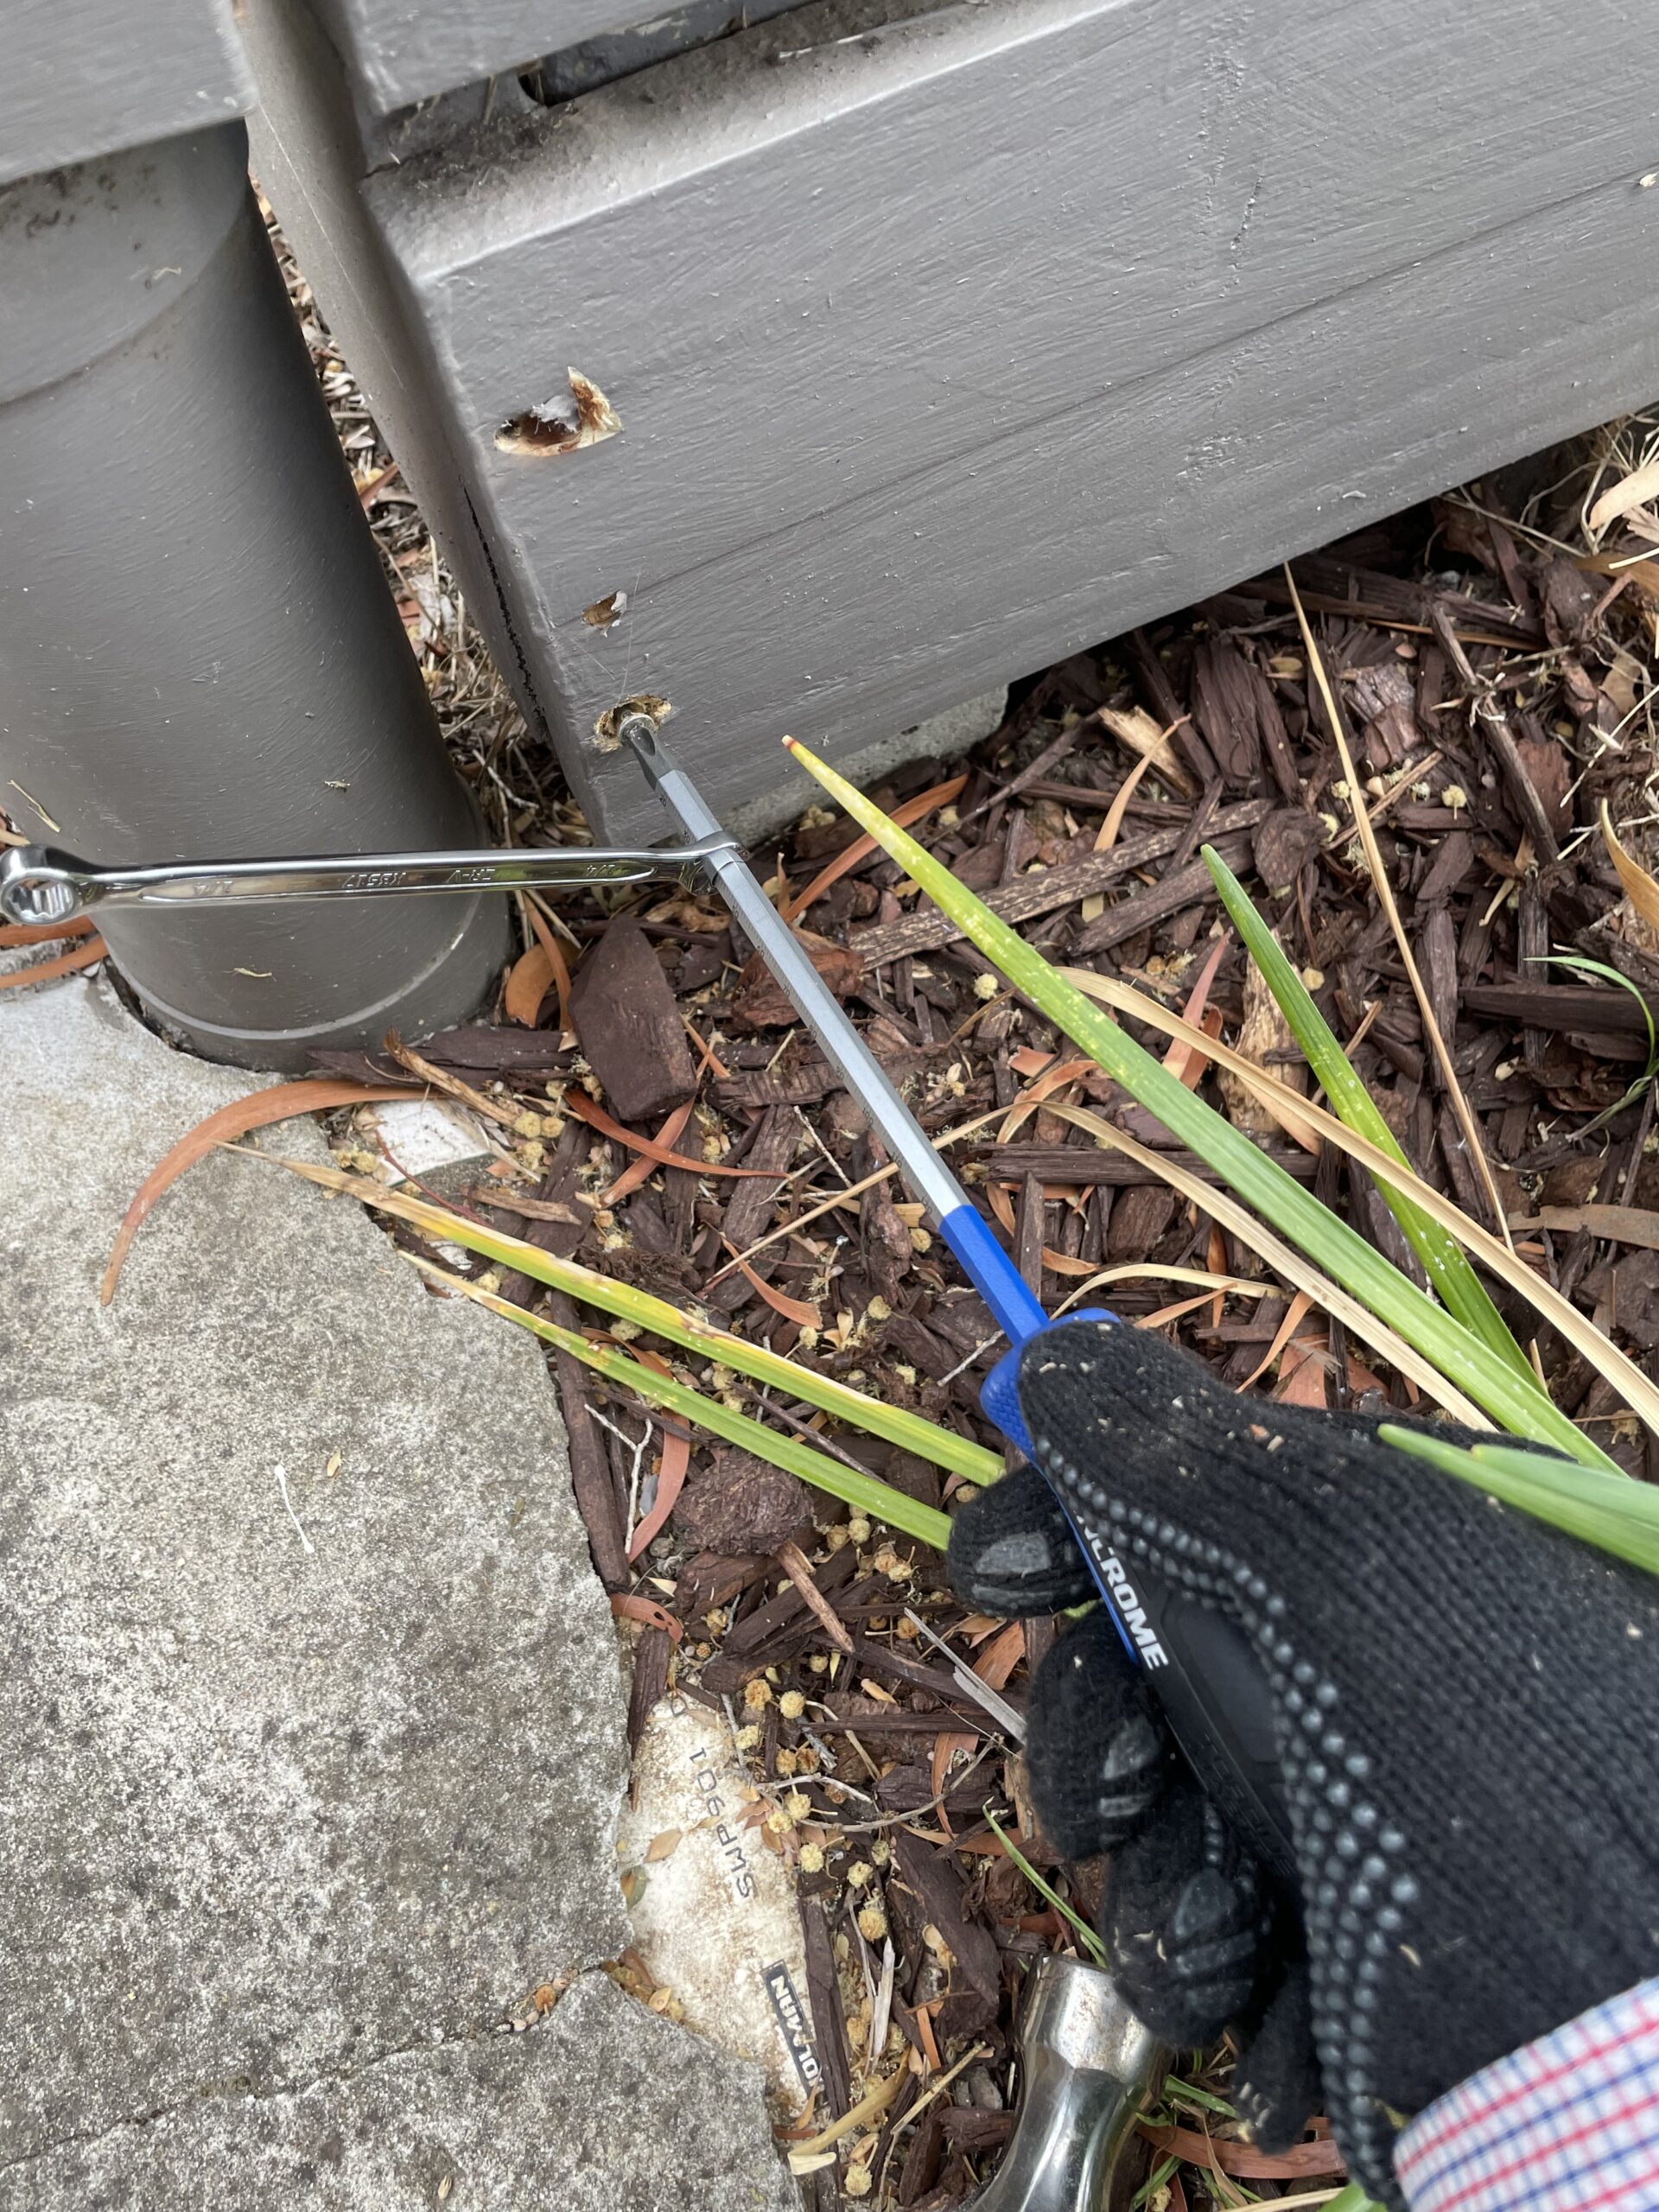
The next challenge was getting these dan screws out. They were rusted in and I didn’t want to use a power tool and strip them. many trips to bunnings resulted in this innovation.
Ah, now it’s finally starting to take shape.
I would need to cut the wood of course, so that I could screw the right hand side to the front of the house. I decided a mitre cut would hide the cut best, but since I was doing this before we bought the mitre saw, it was very hard going.

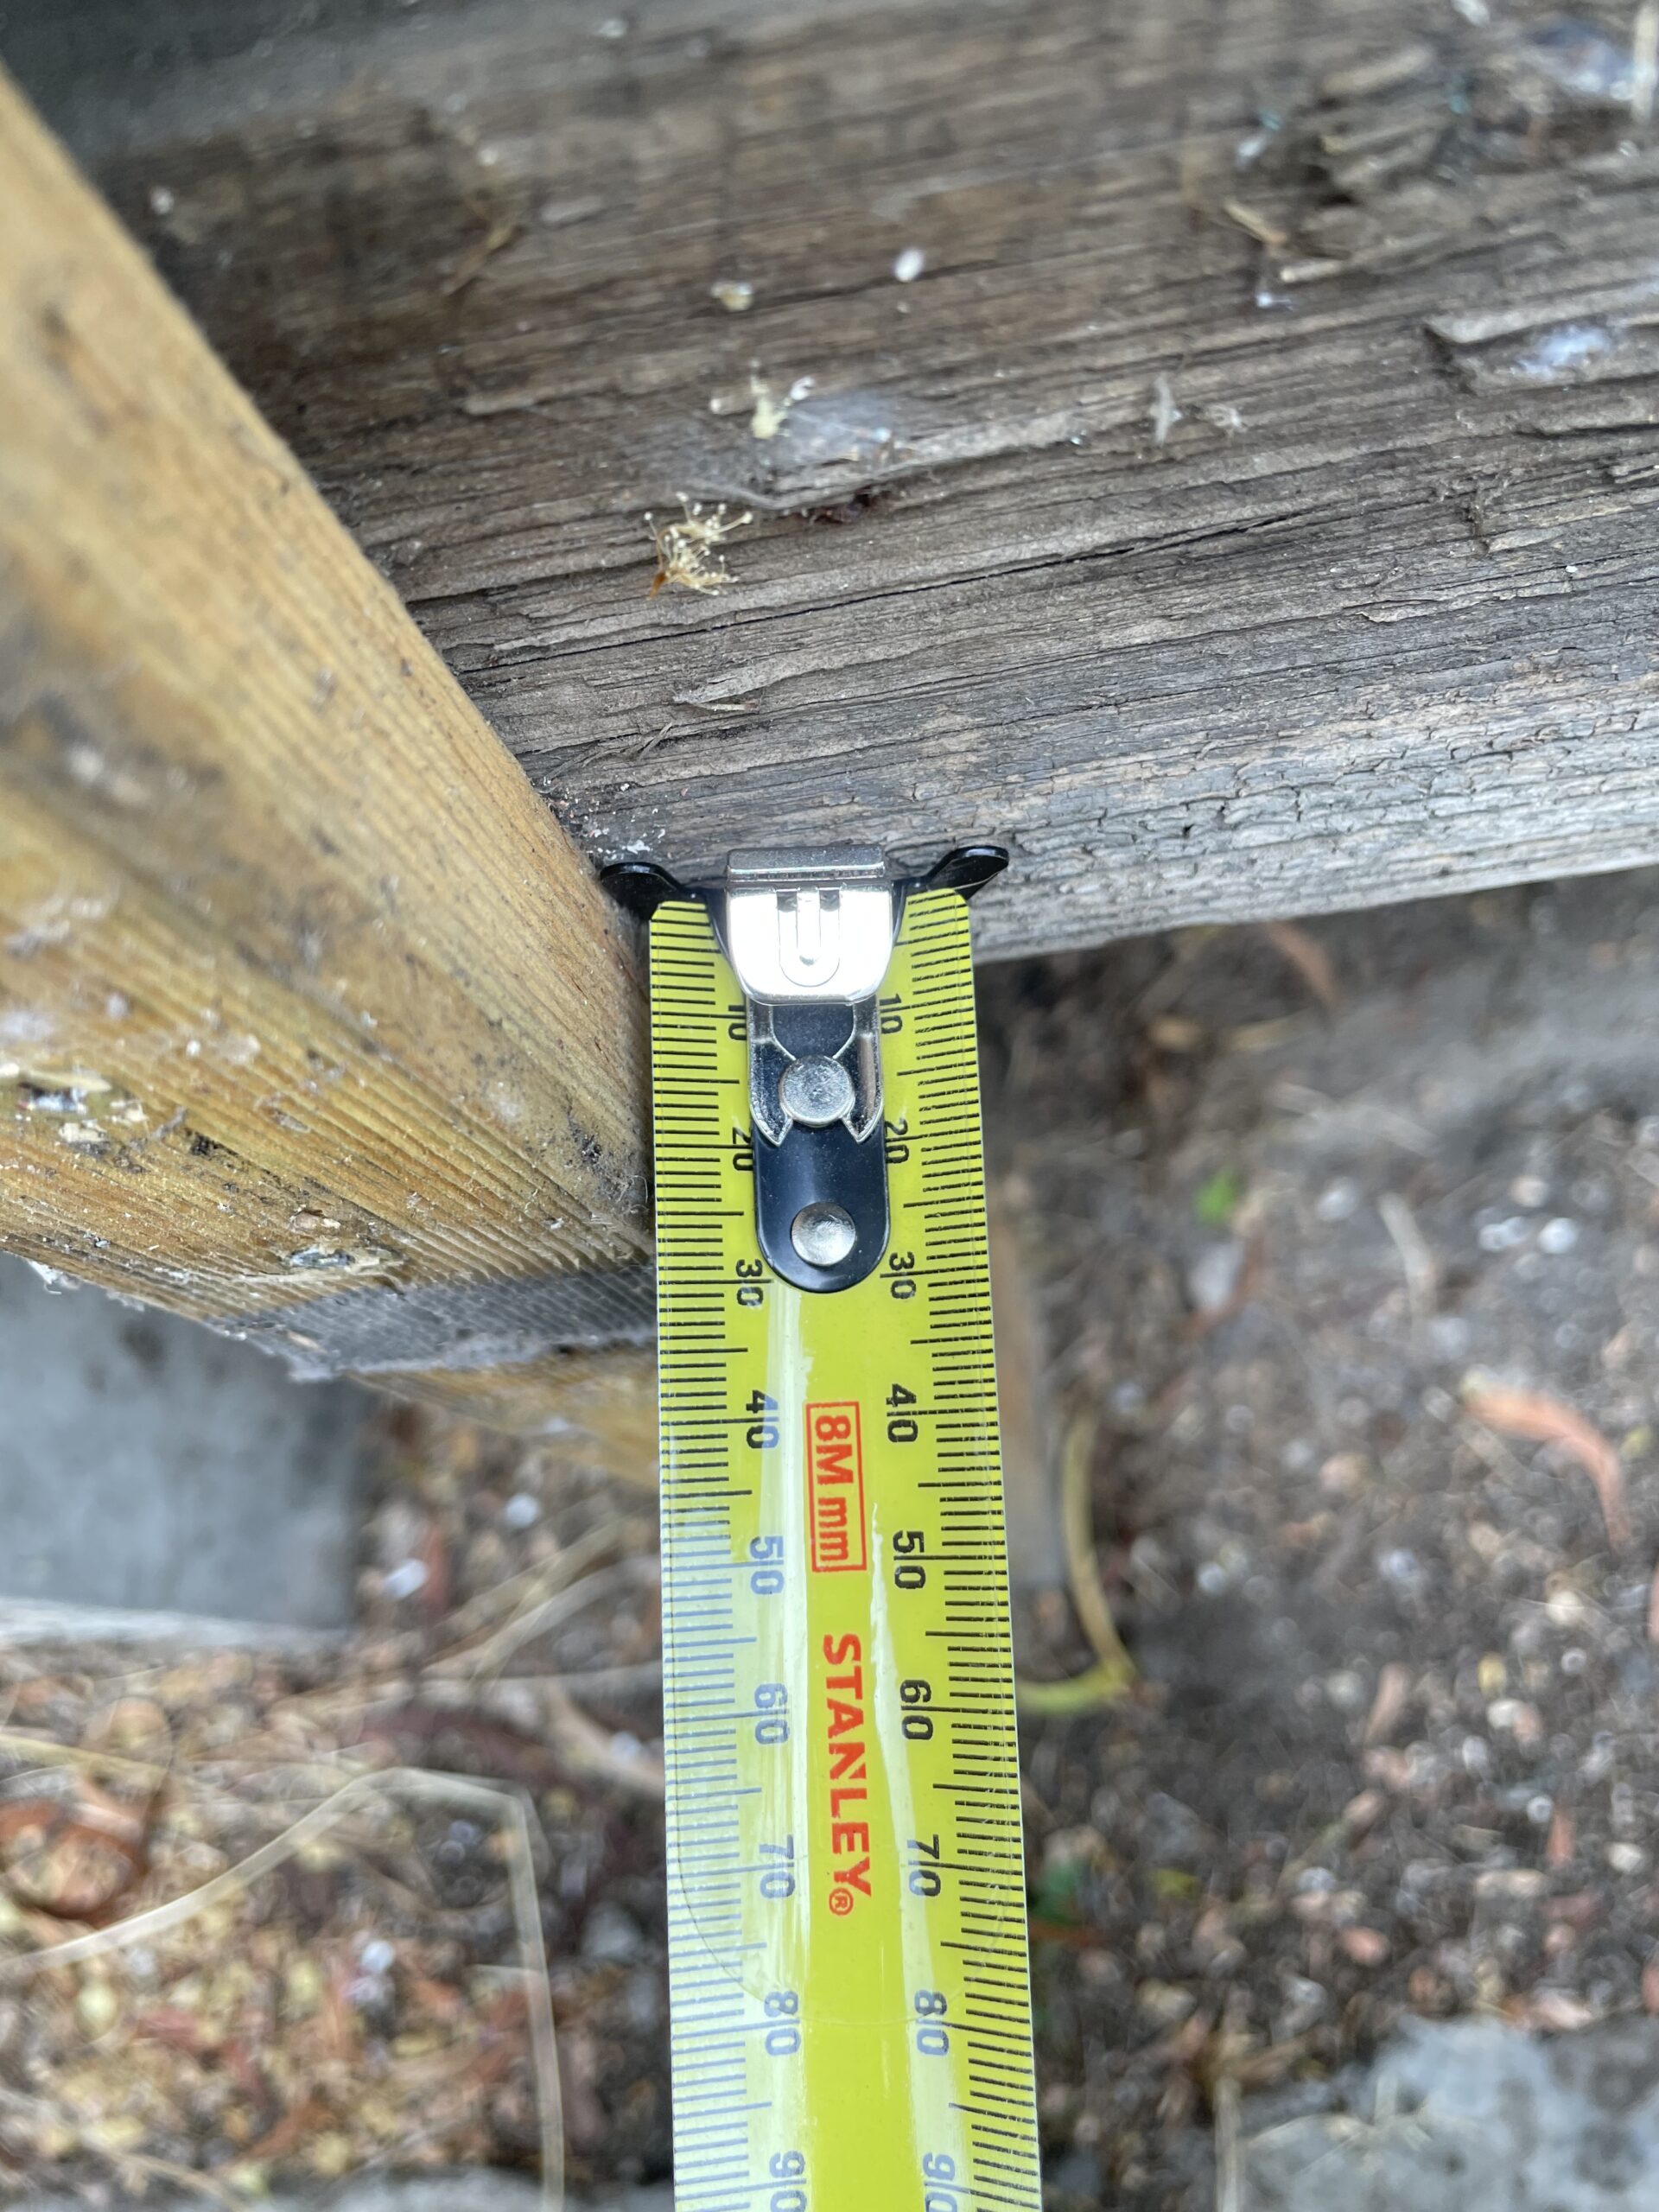
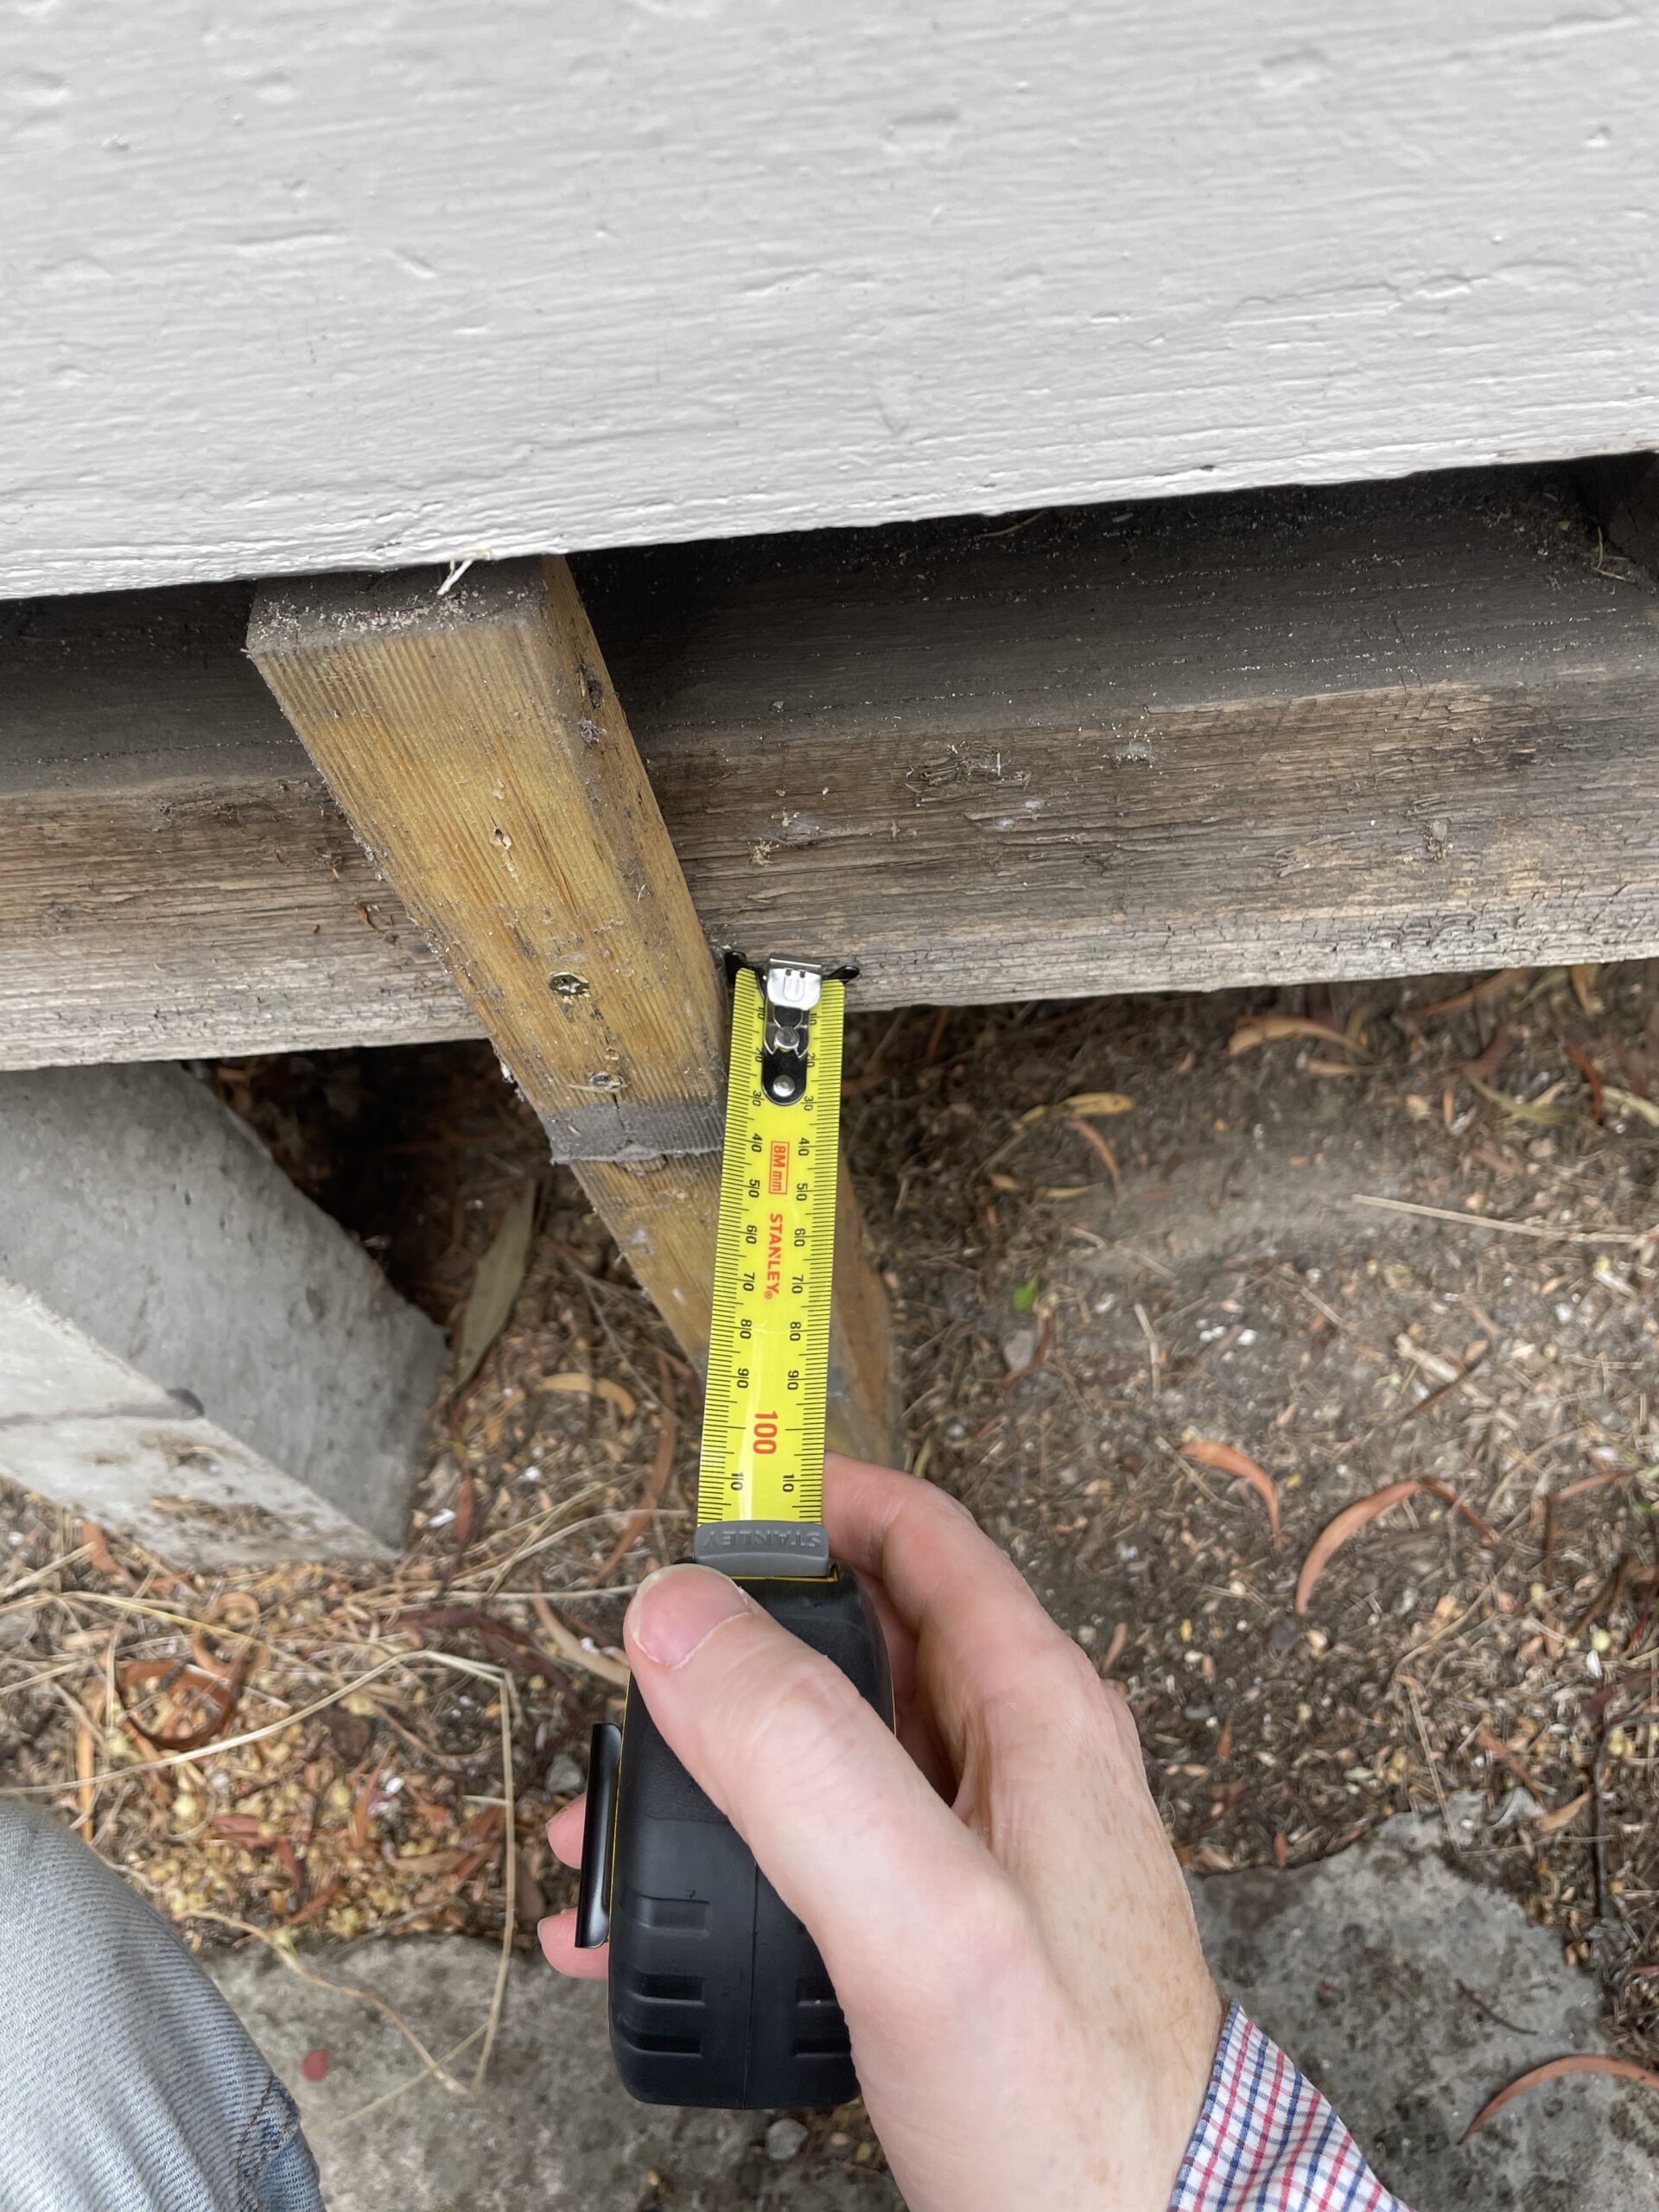
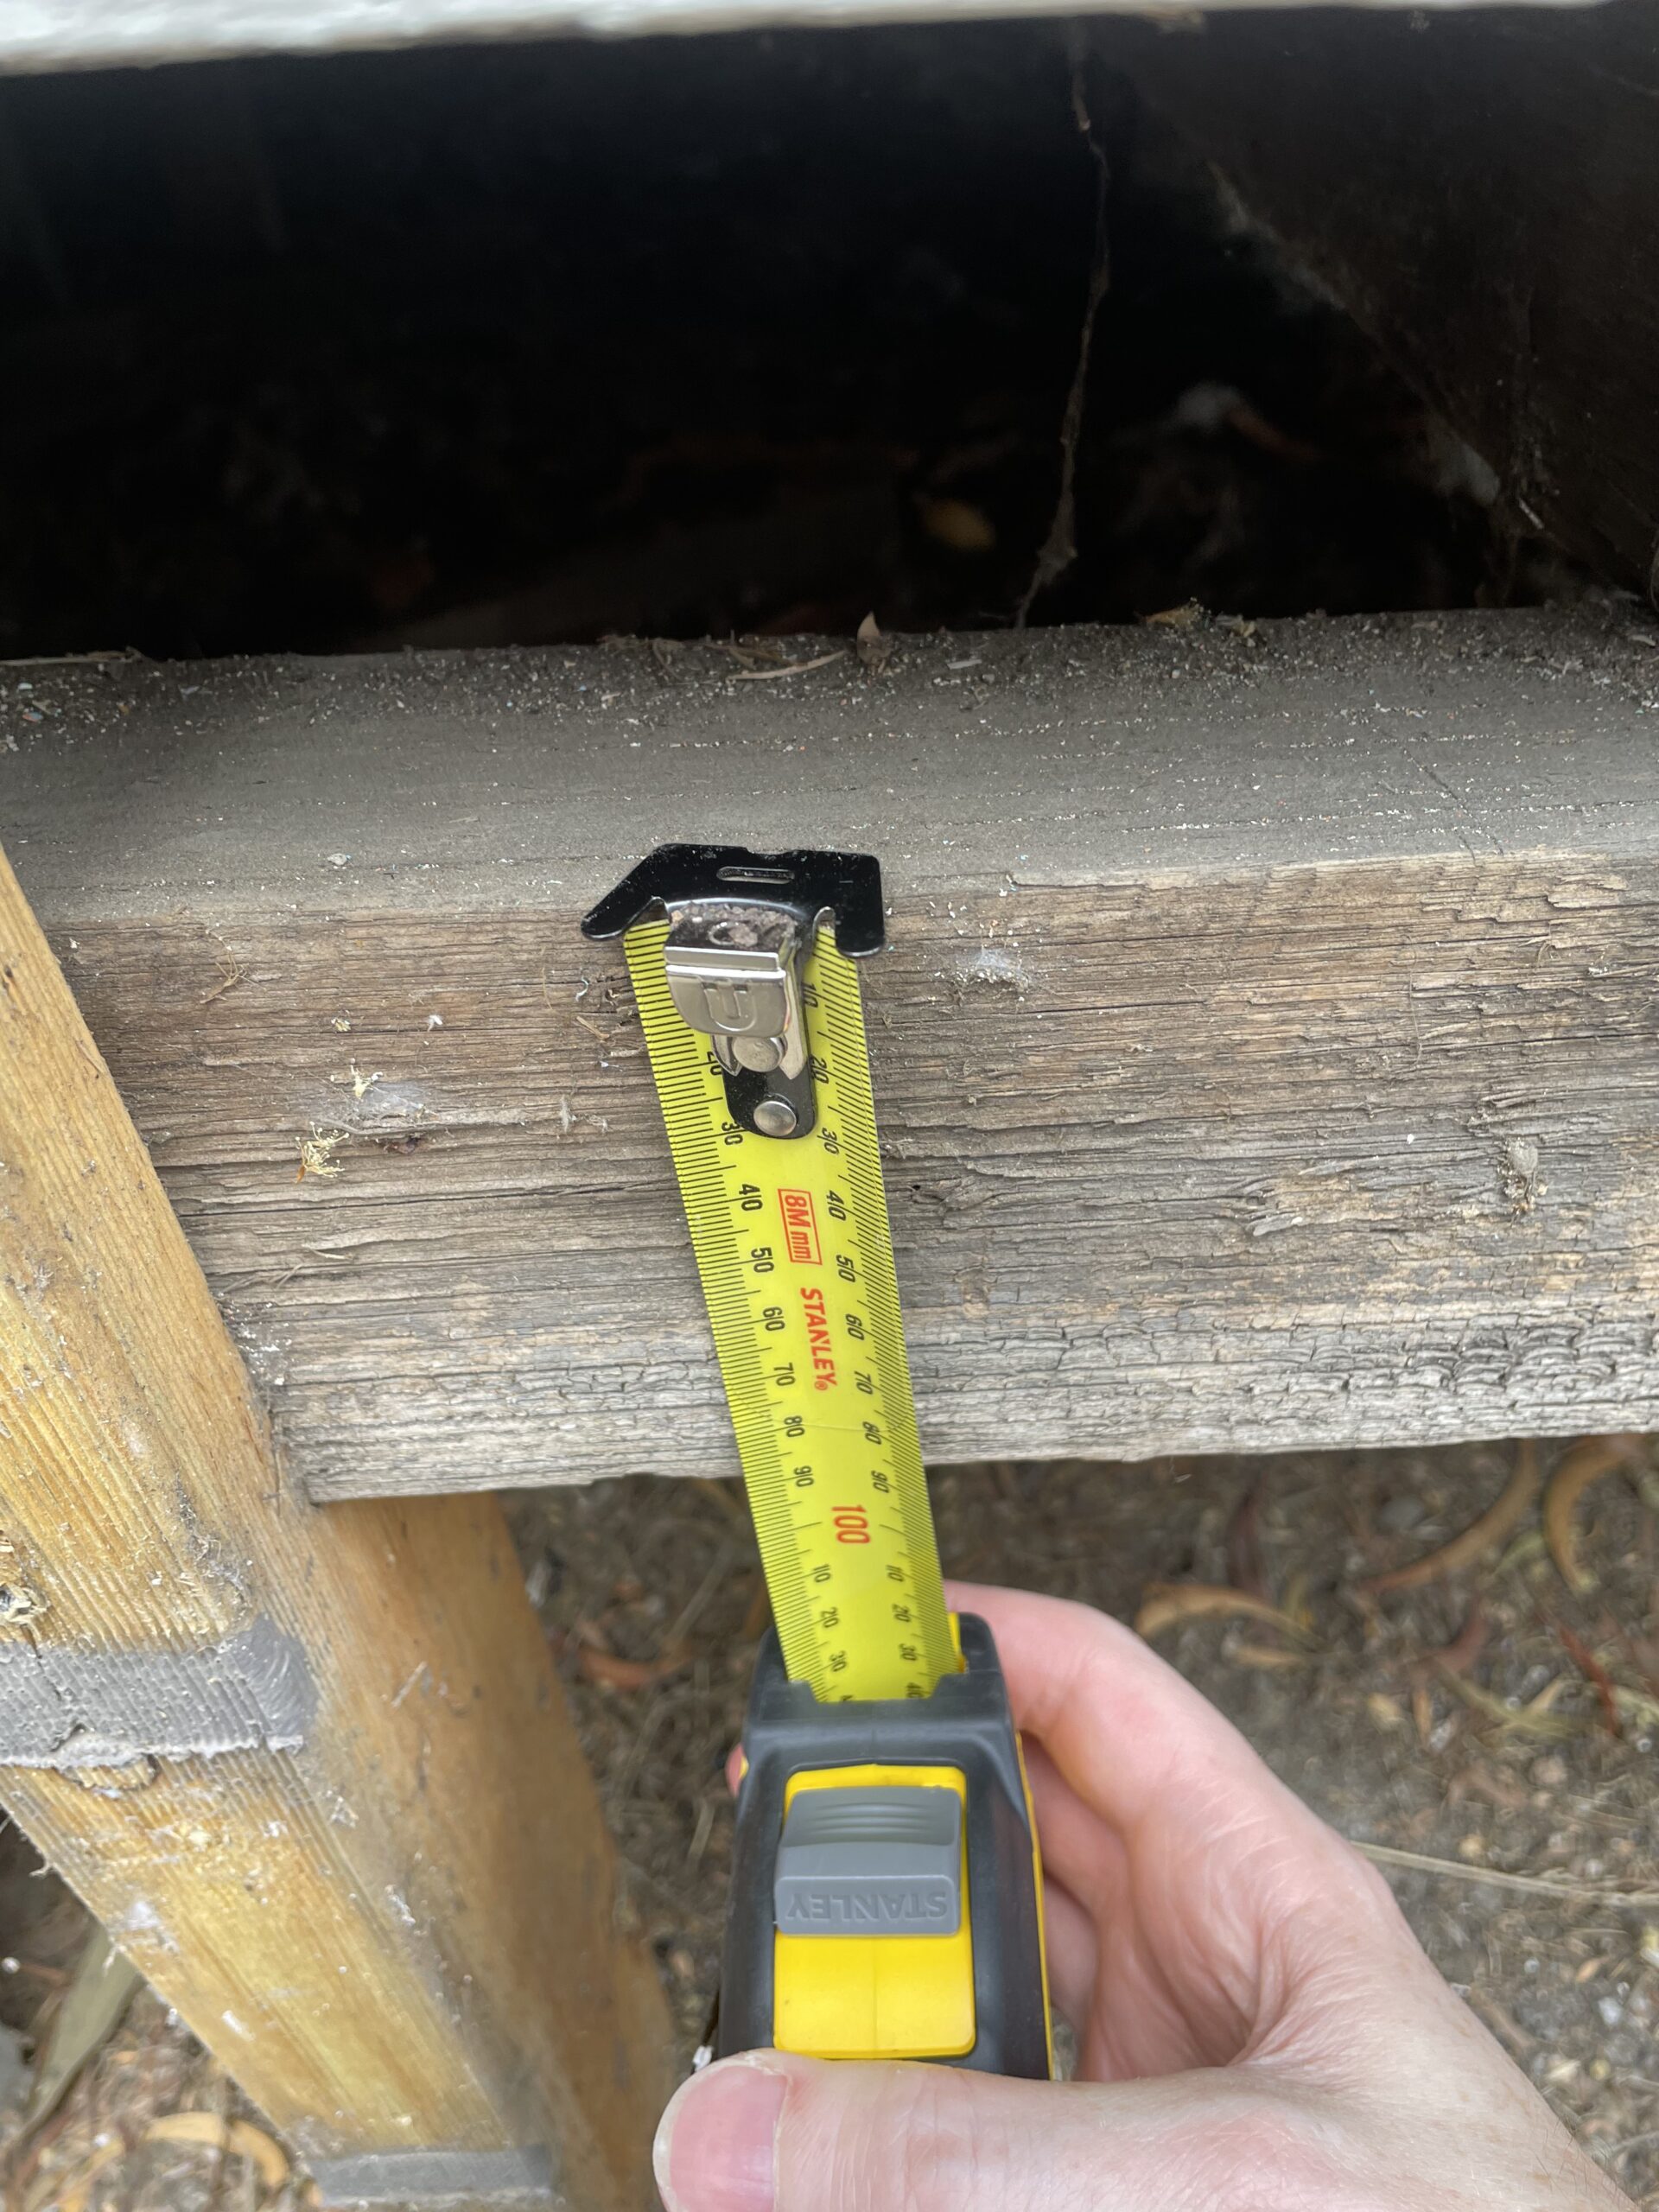
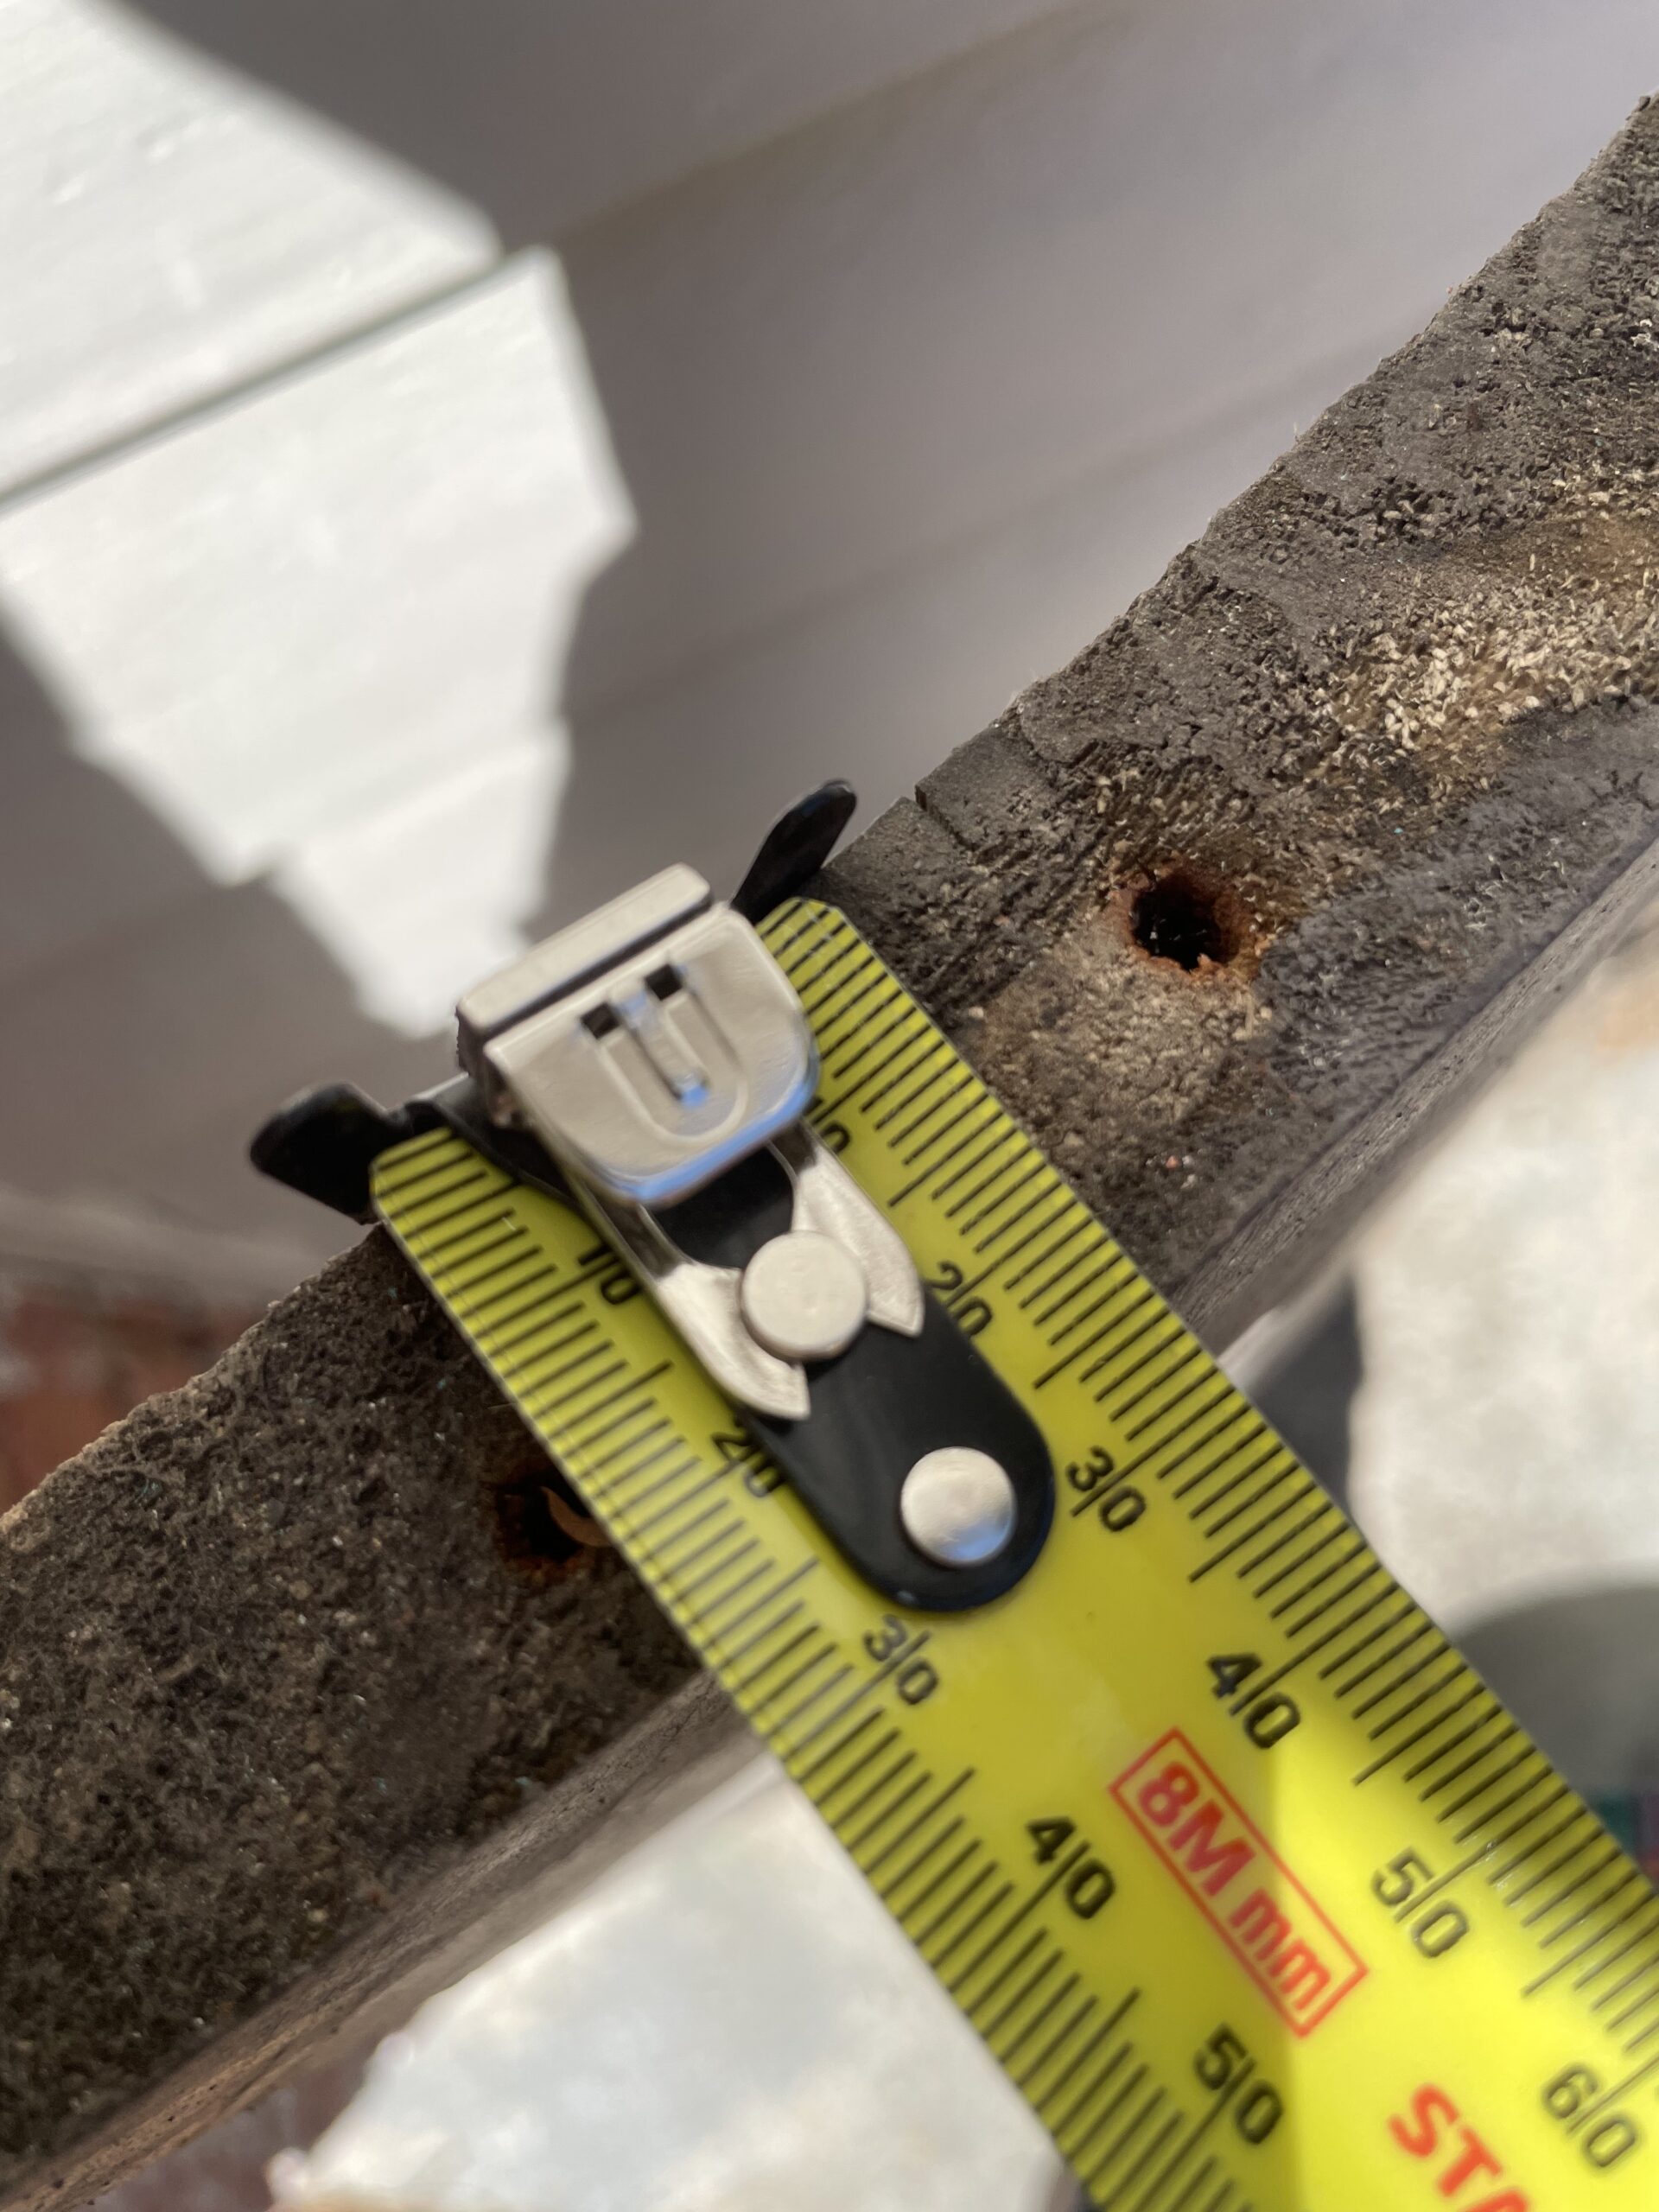
You know how they same measure twice cut once. Well, have they ever heard about measuring incessantly for days on end?

Next, to the hinges. I decided to use these great quality outdoor hinges and paint them black. But the problem is there was no way to mount the hinges to keep them invisible while also allowing the hinges to work properly.
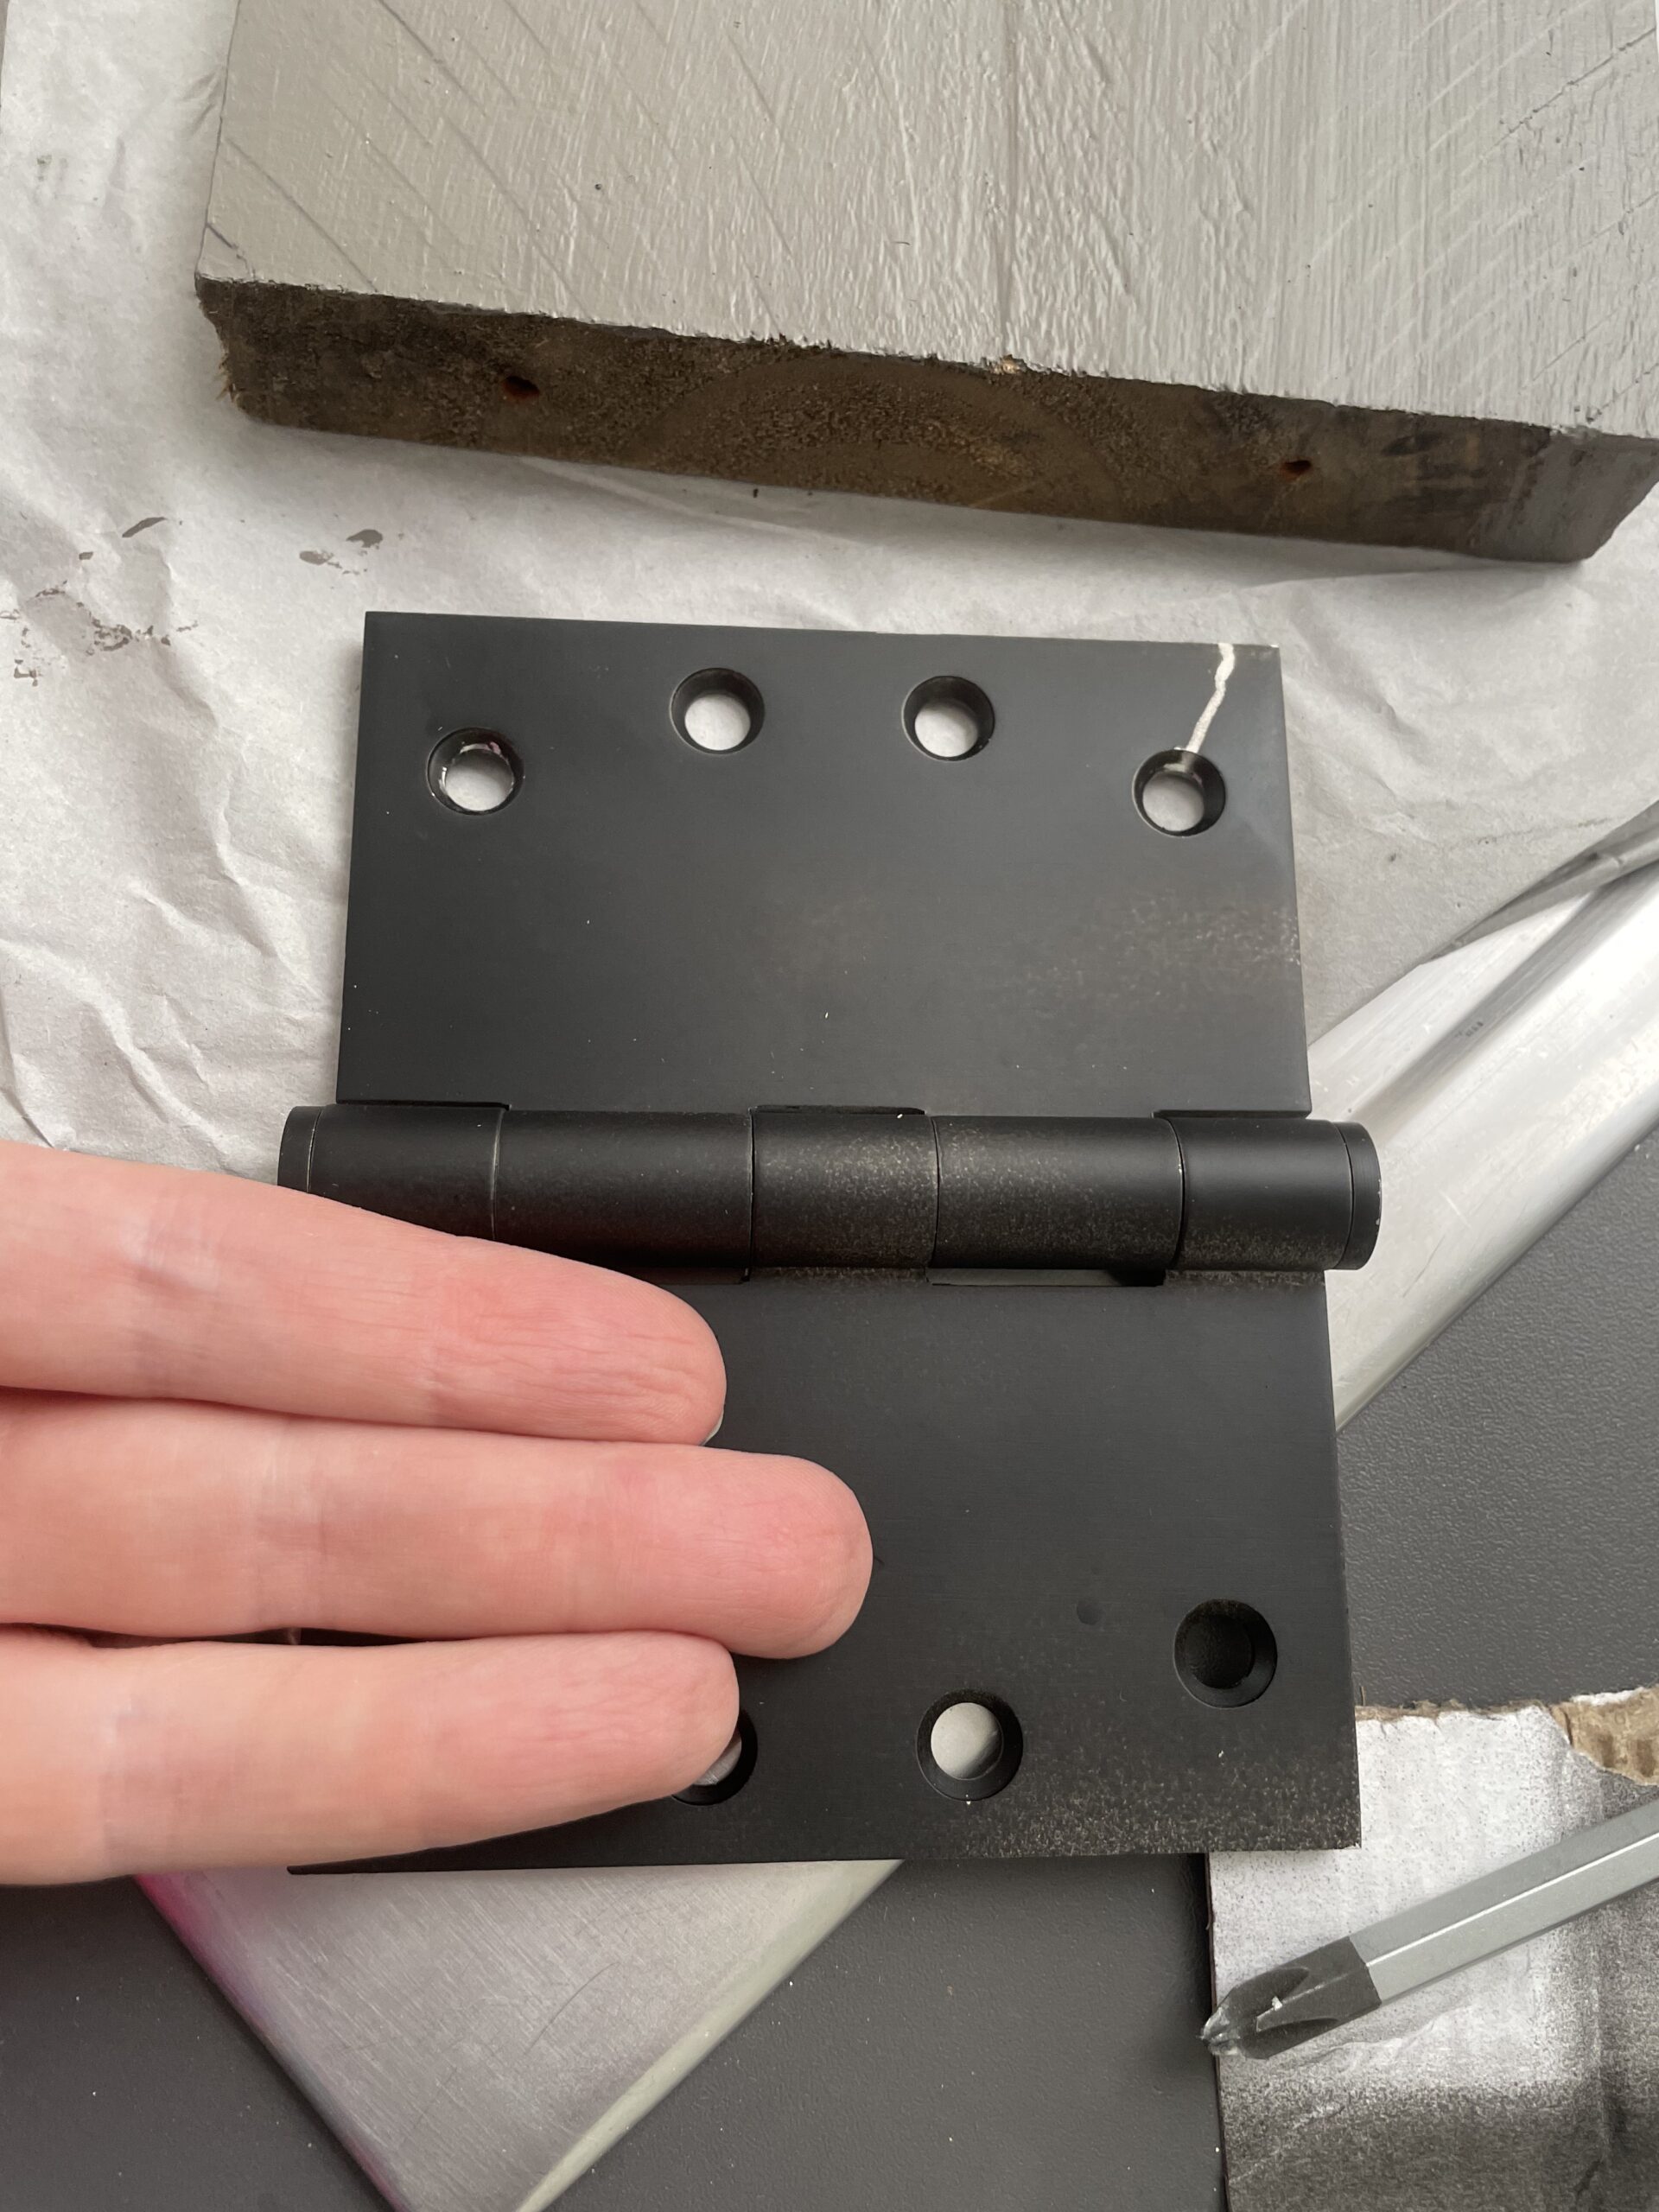
Unless….
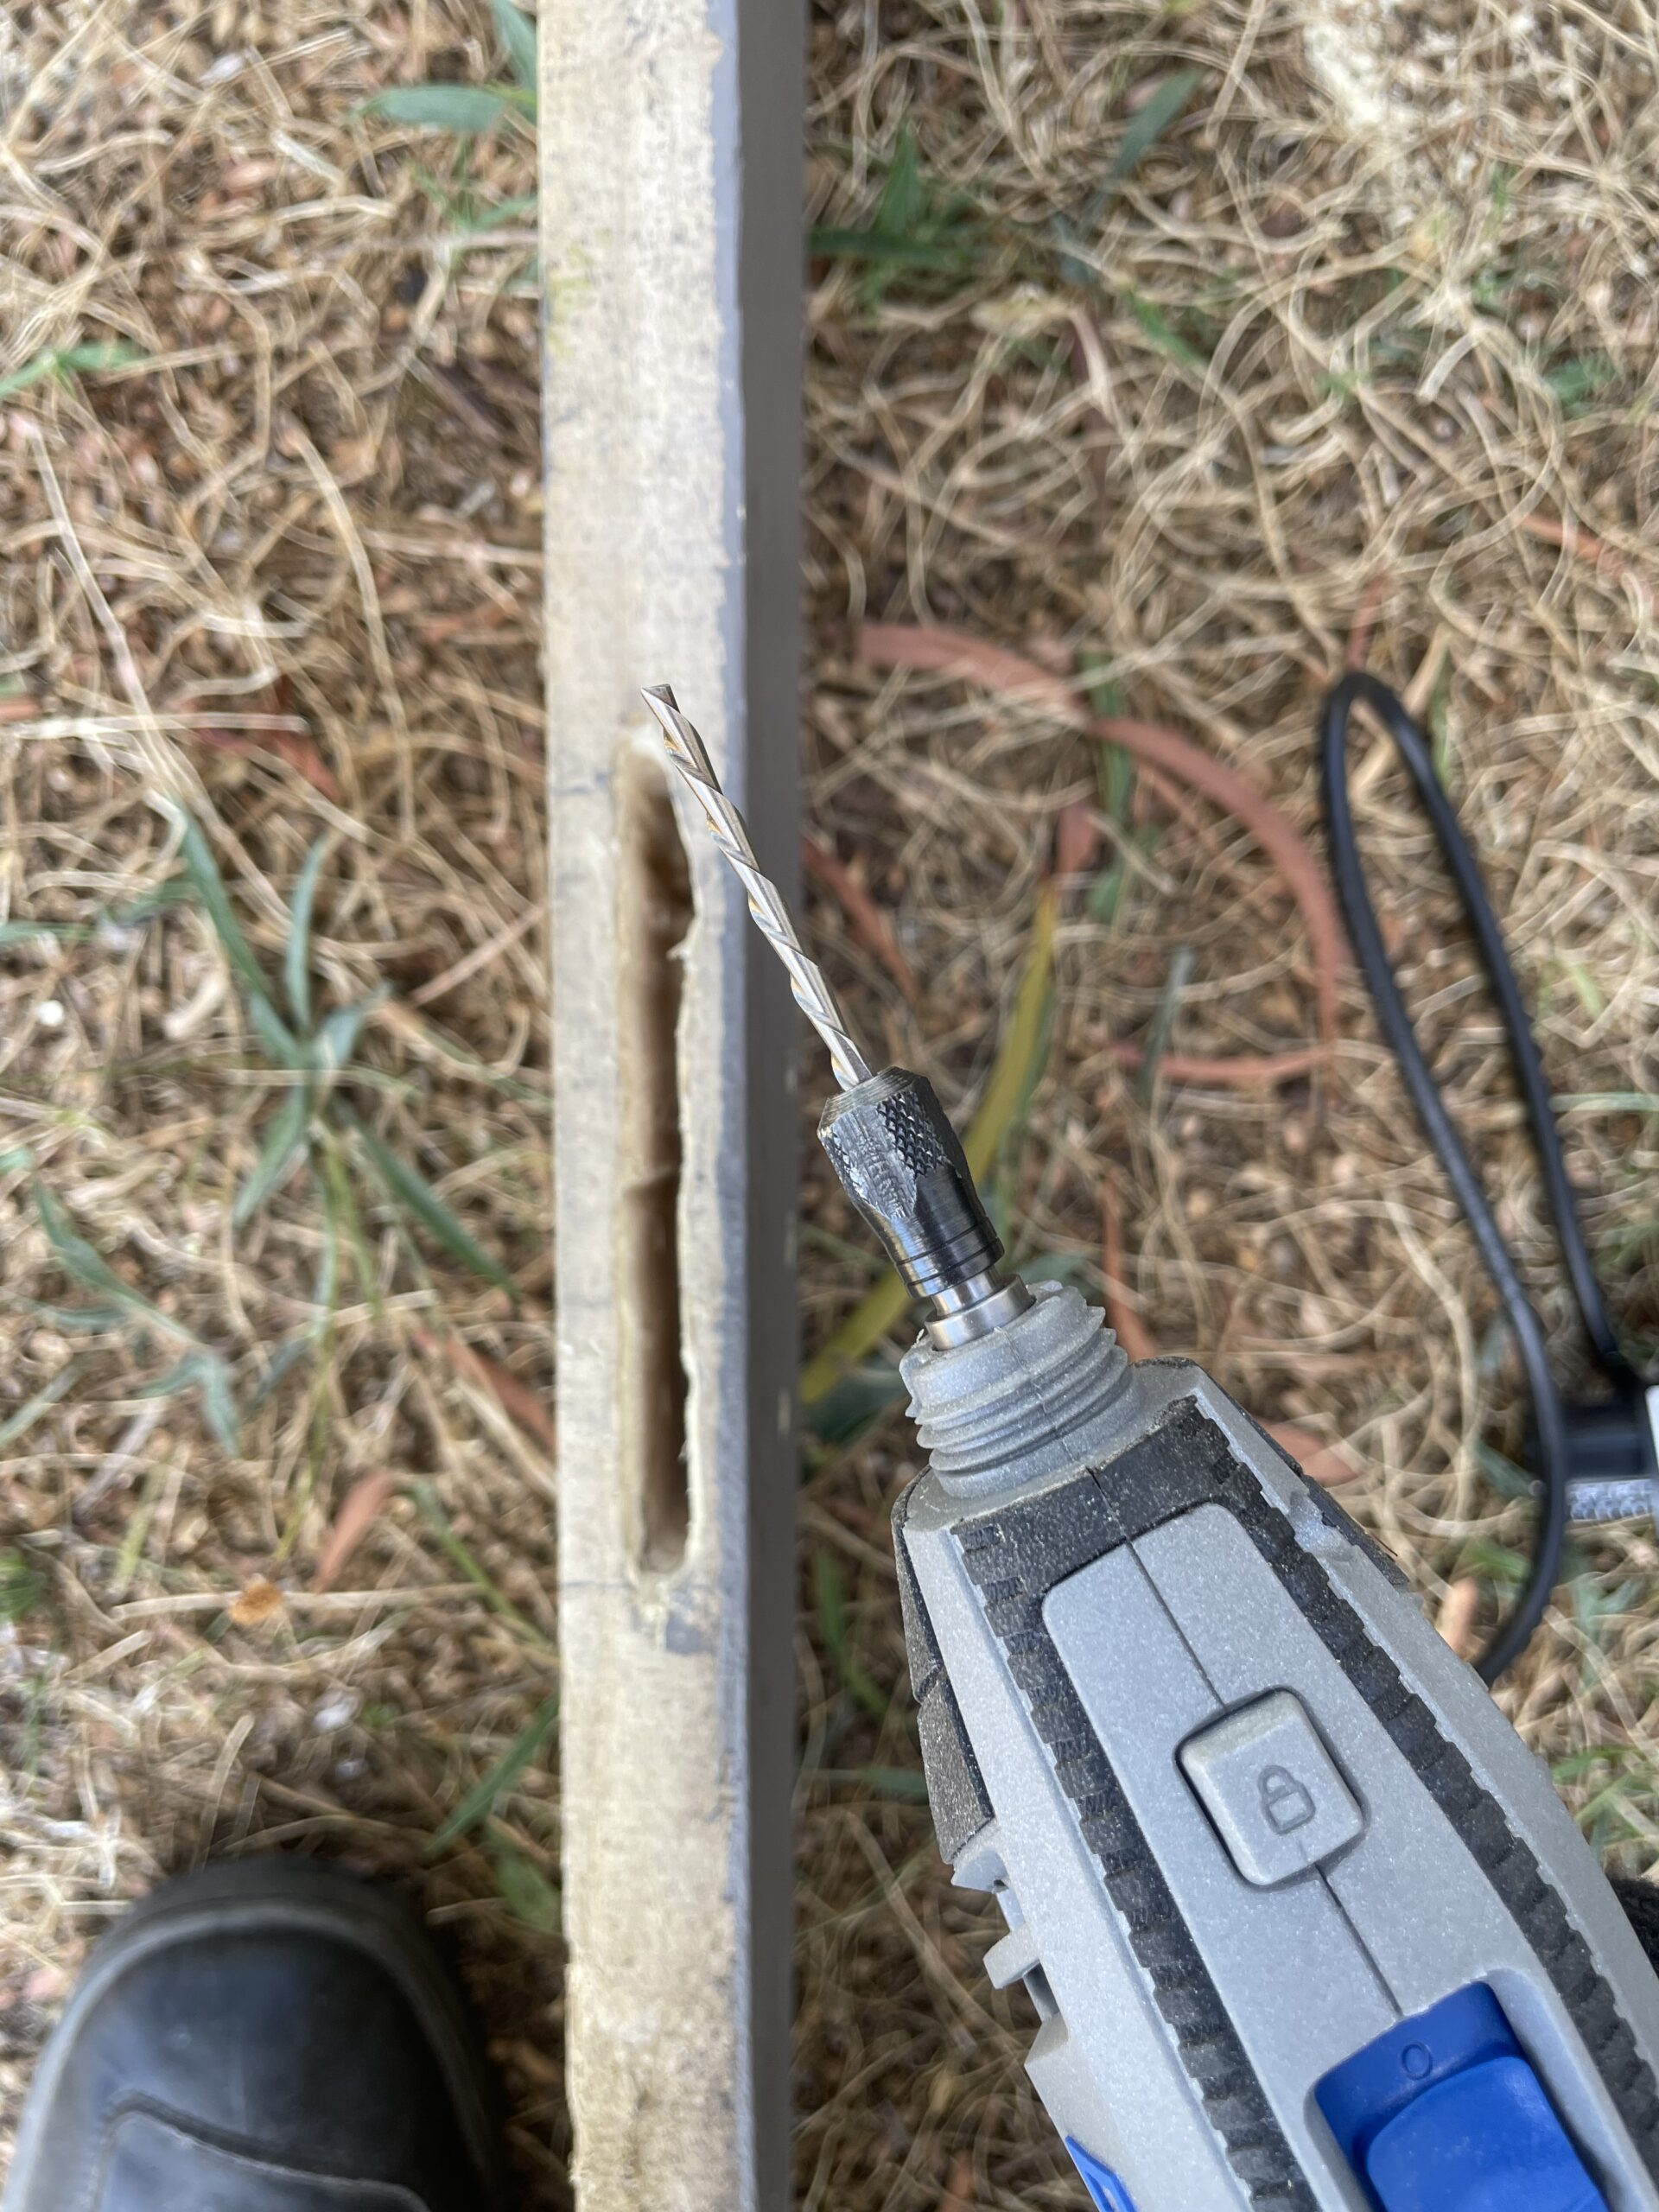
This one image belies many hours of work. I broke a Dremel bit and very nearly ruined a perfectly good piece of vintage cladding but in the end I think you will agree the hinge is worth it. I also had to chisel out the back of the wood so it would sit flush against the timber frame.
And when you look at it from the street, you can’t even see it at all.
