Borer

After removing the wall that separates the lounge from the kitchen, the structural engineer drew my attention to a piece of steel under the carpet “I didn’t put that there!” he asserted.
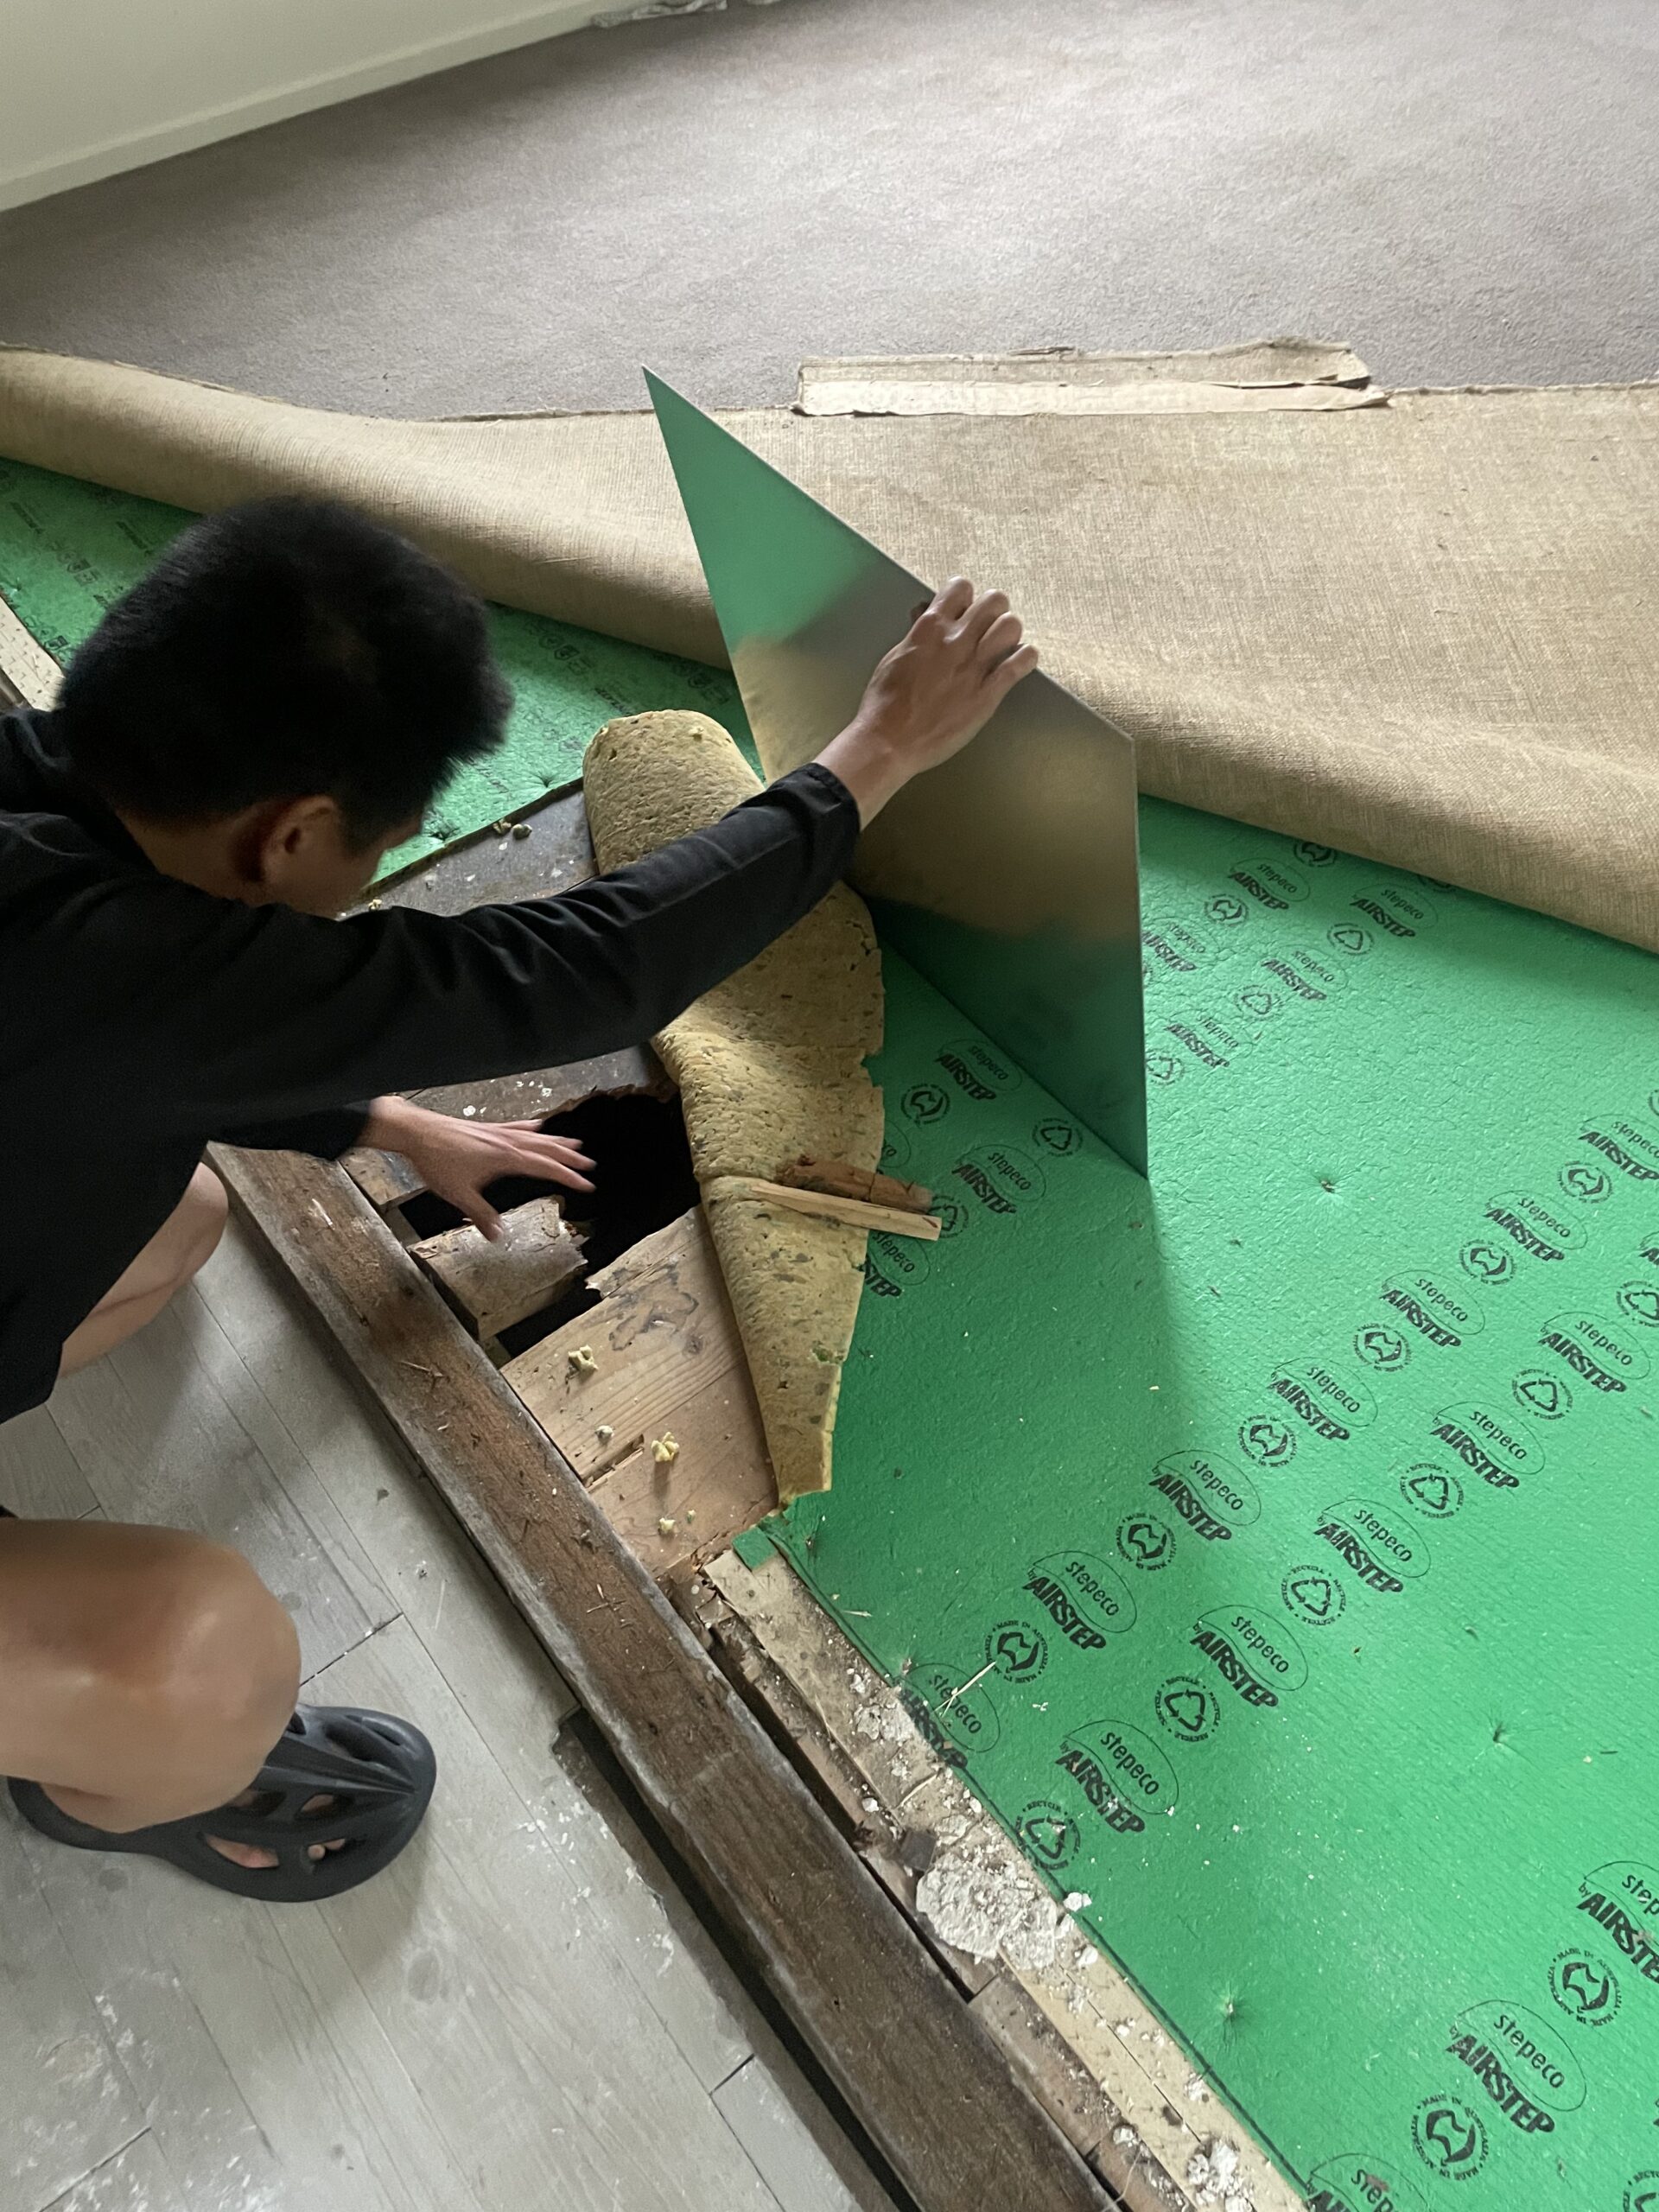
Now, we were already a little suspicious about the floor, once we started removing the plaster from the walls Tim accidentally put his knee through the floor at one point. Was that just an unlucky piece of wood or a more sinister systemic problem. Let’s find out together shall we?

We had an expert come in (from Bear Bottom inspections, tee hee) to inspect the floors and tell us what is going on. Turns out that the floorboards are riddled with borer.

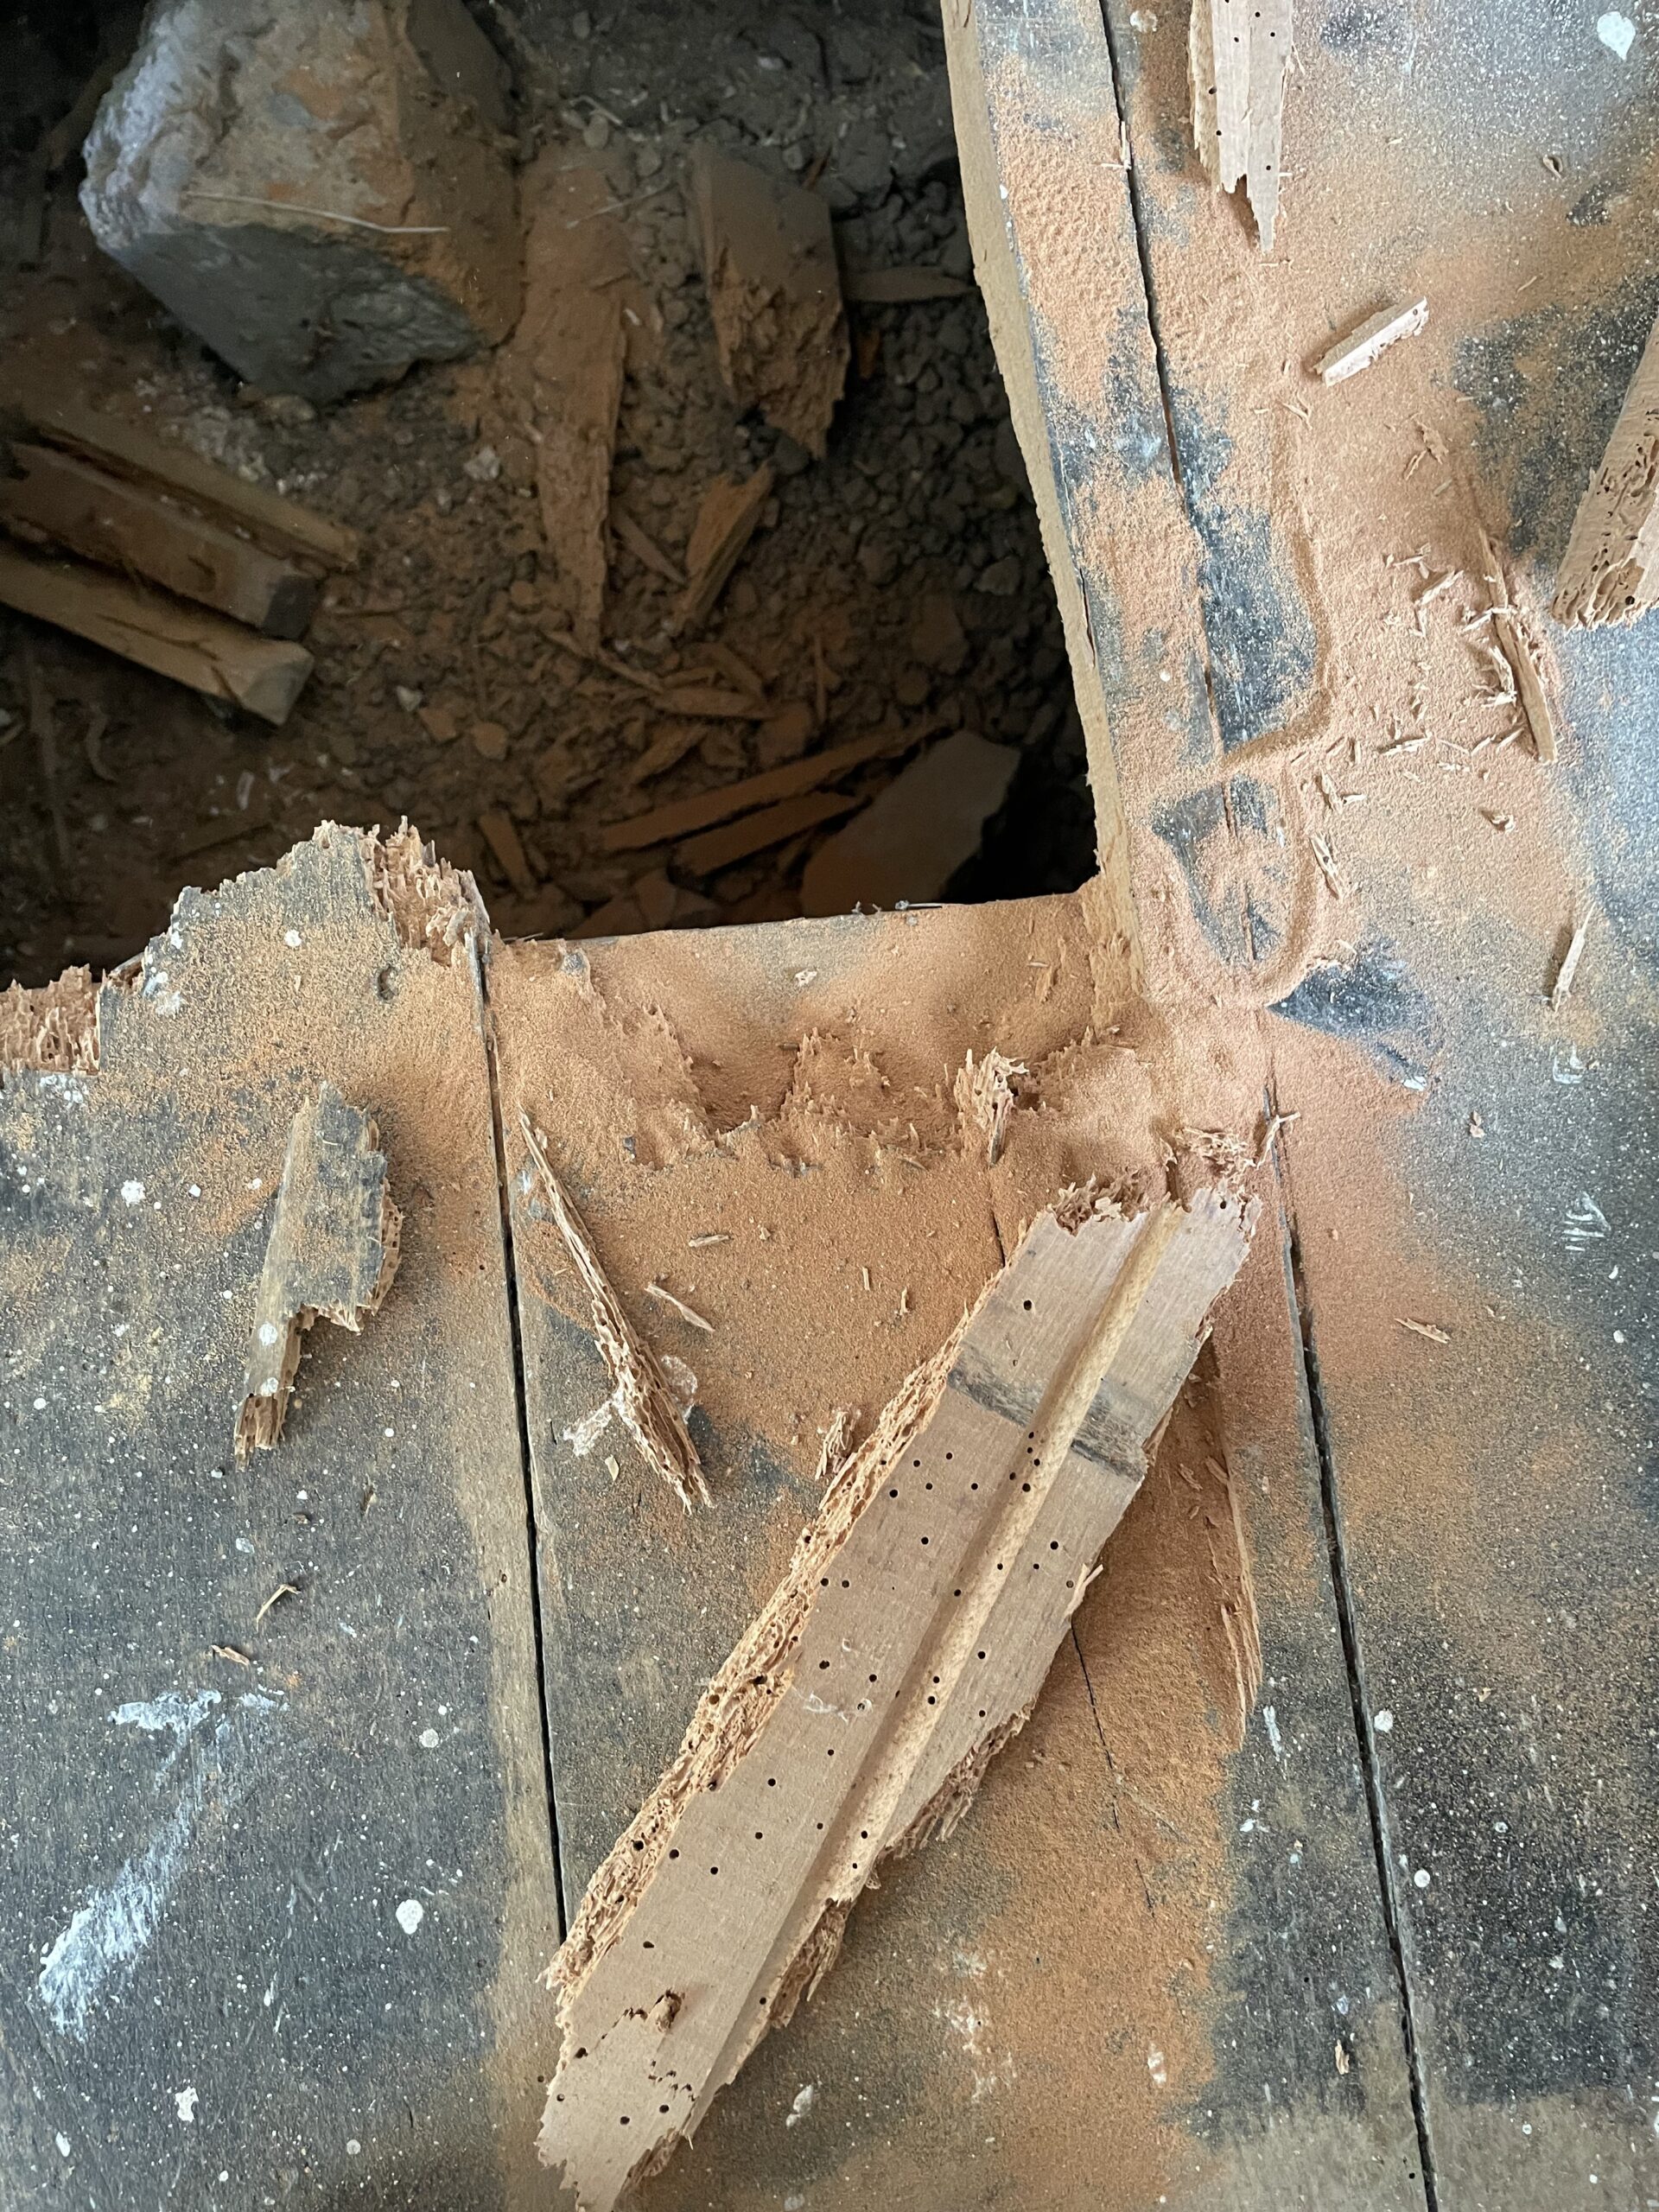
Apparently the borer beetles lay their eggs in the wood while it’s in the timber yard and then some time after it’s installed the larvae hatch and eat their way out of the wood. Pretty much all the floor boards are suspect. The good thing is that the insects themselves are long gone.

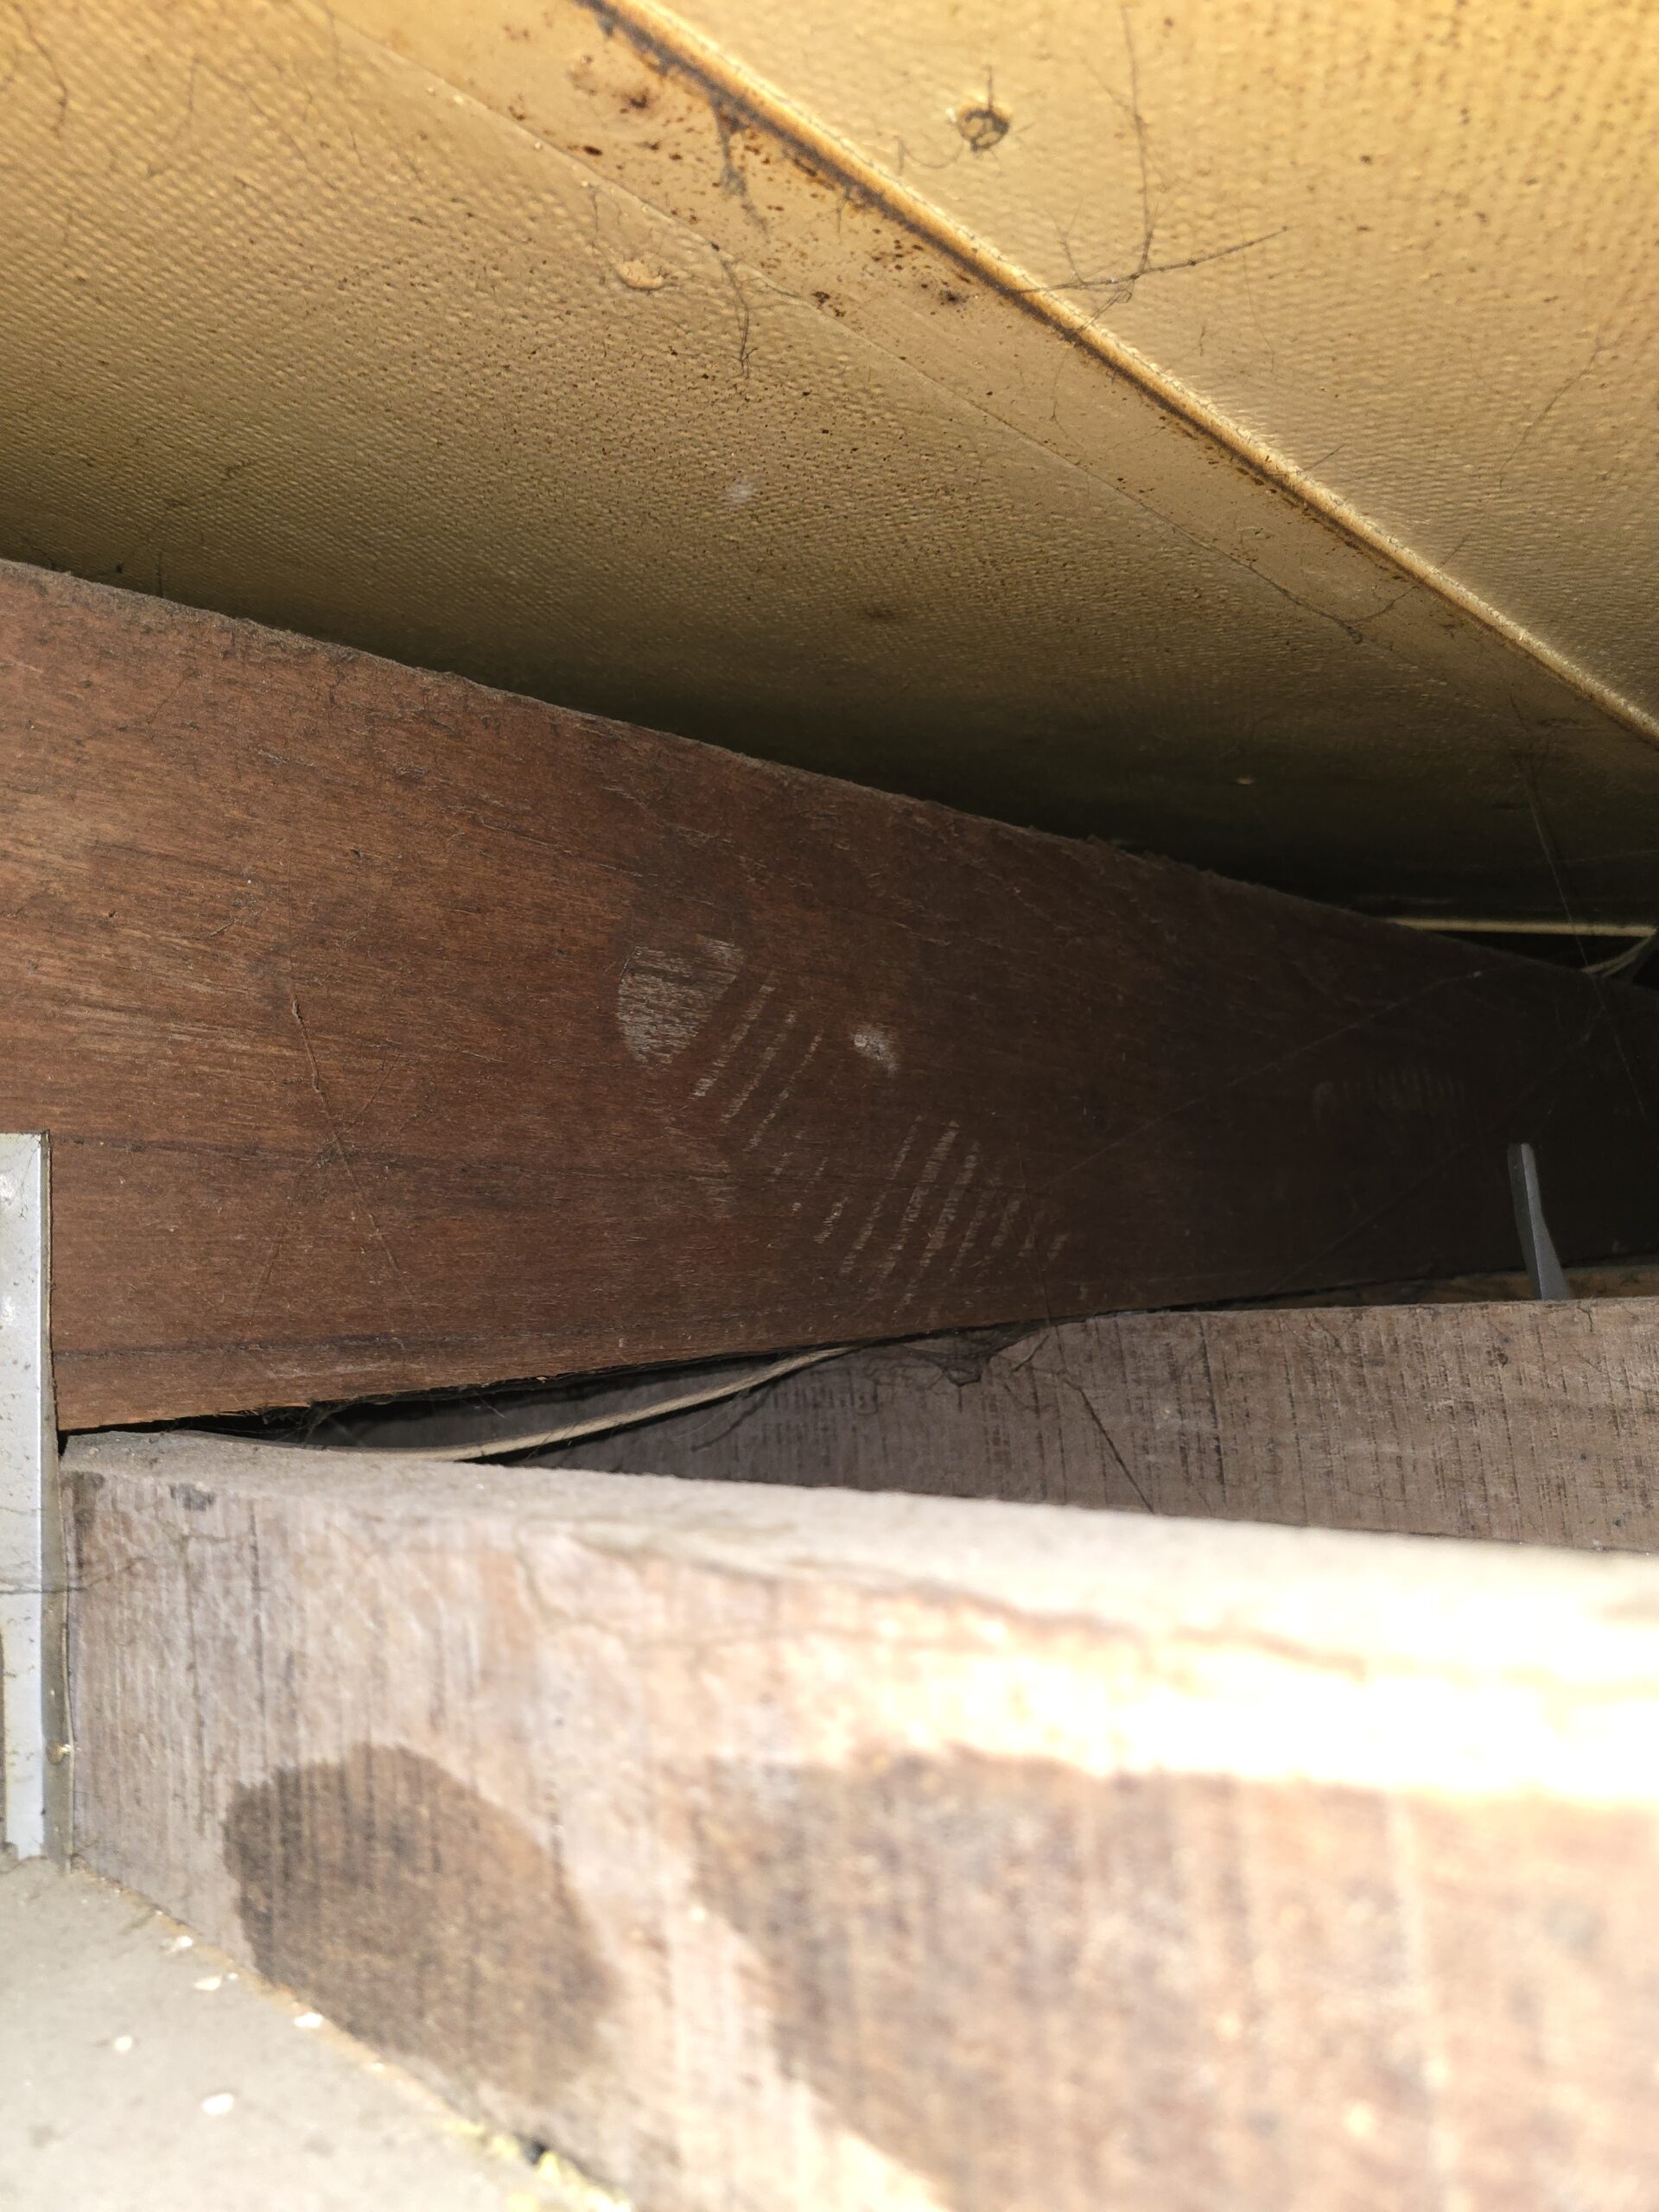
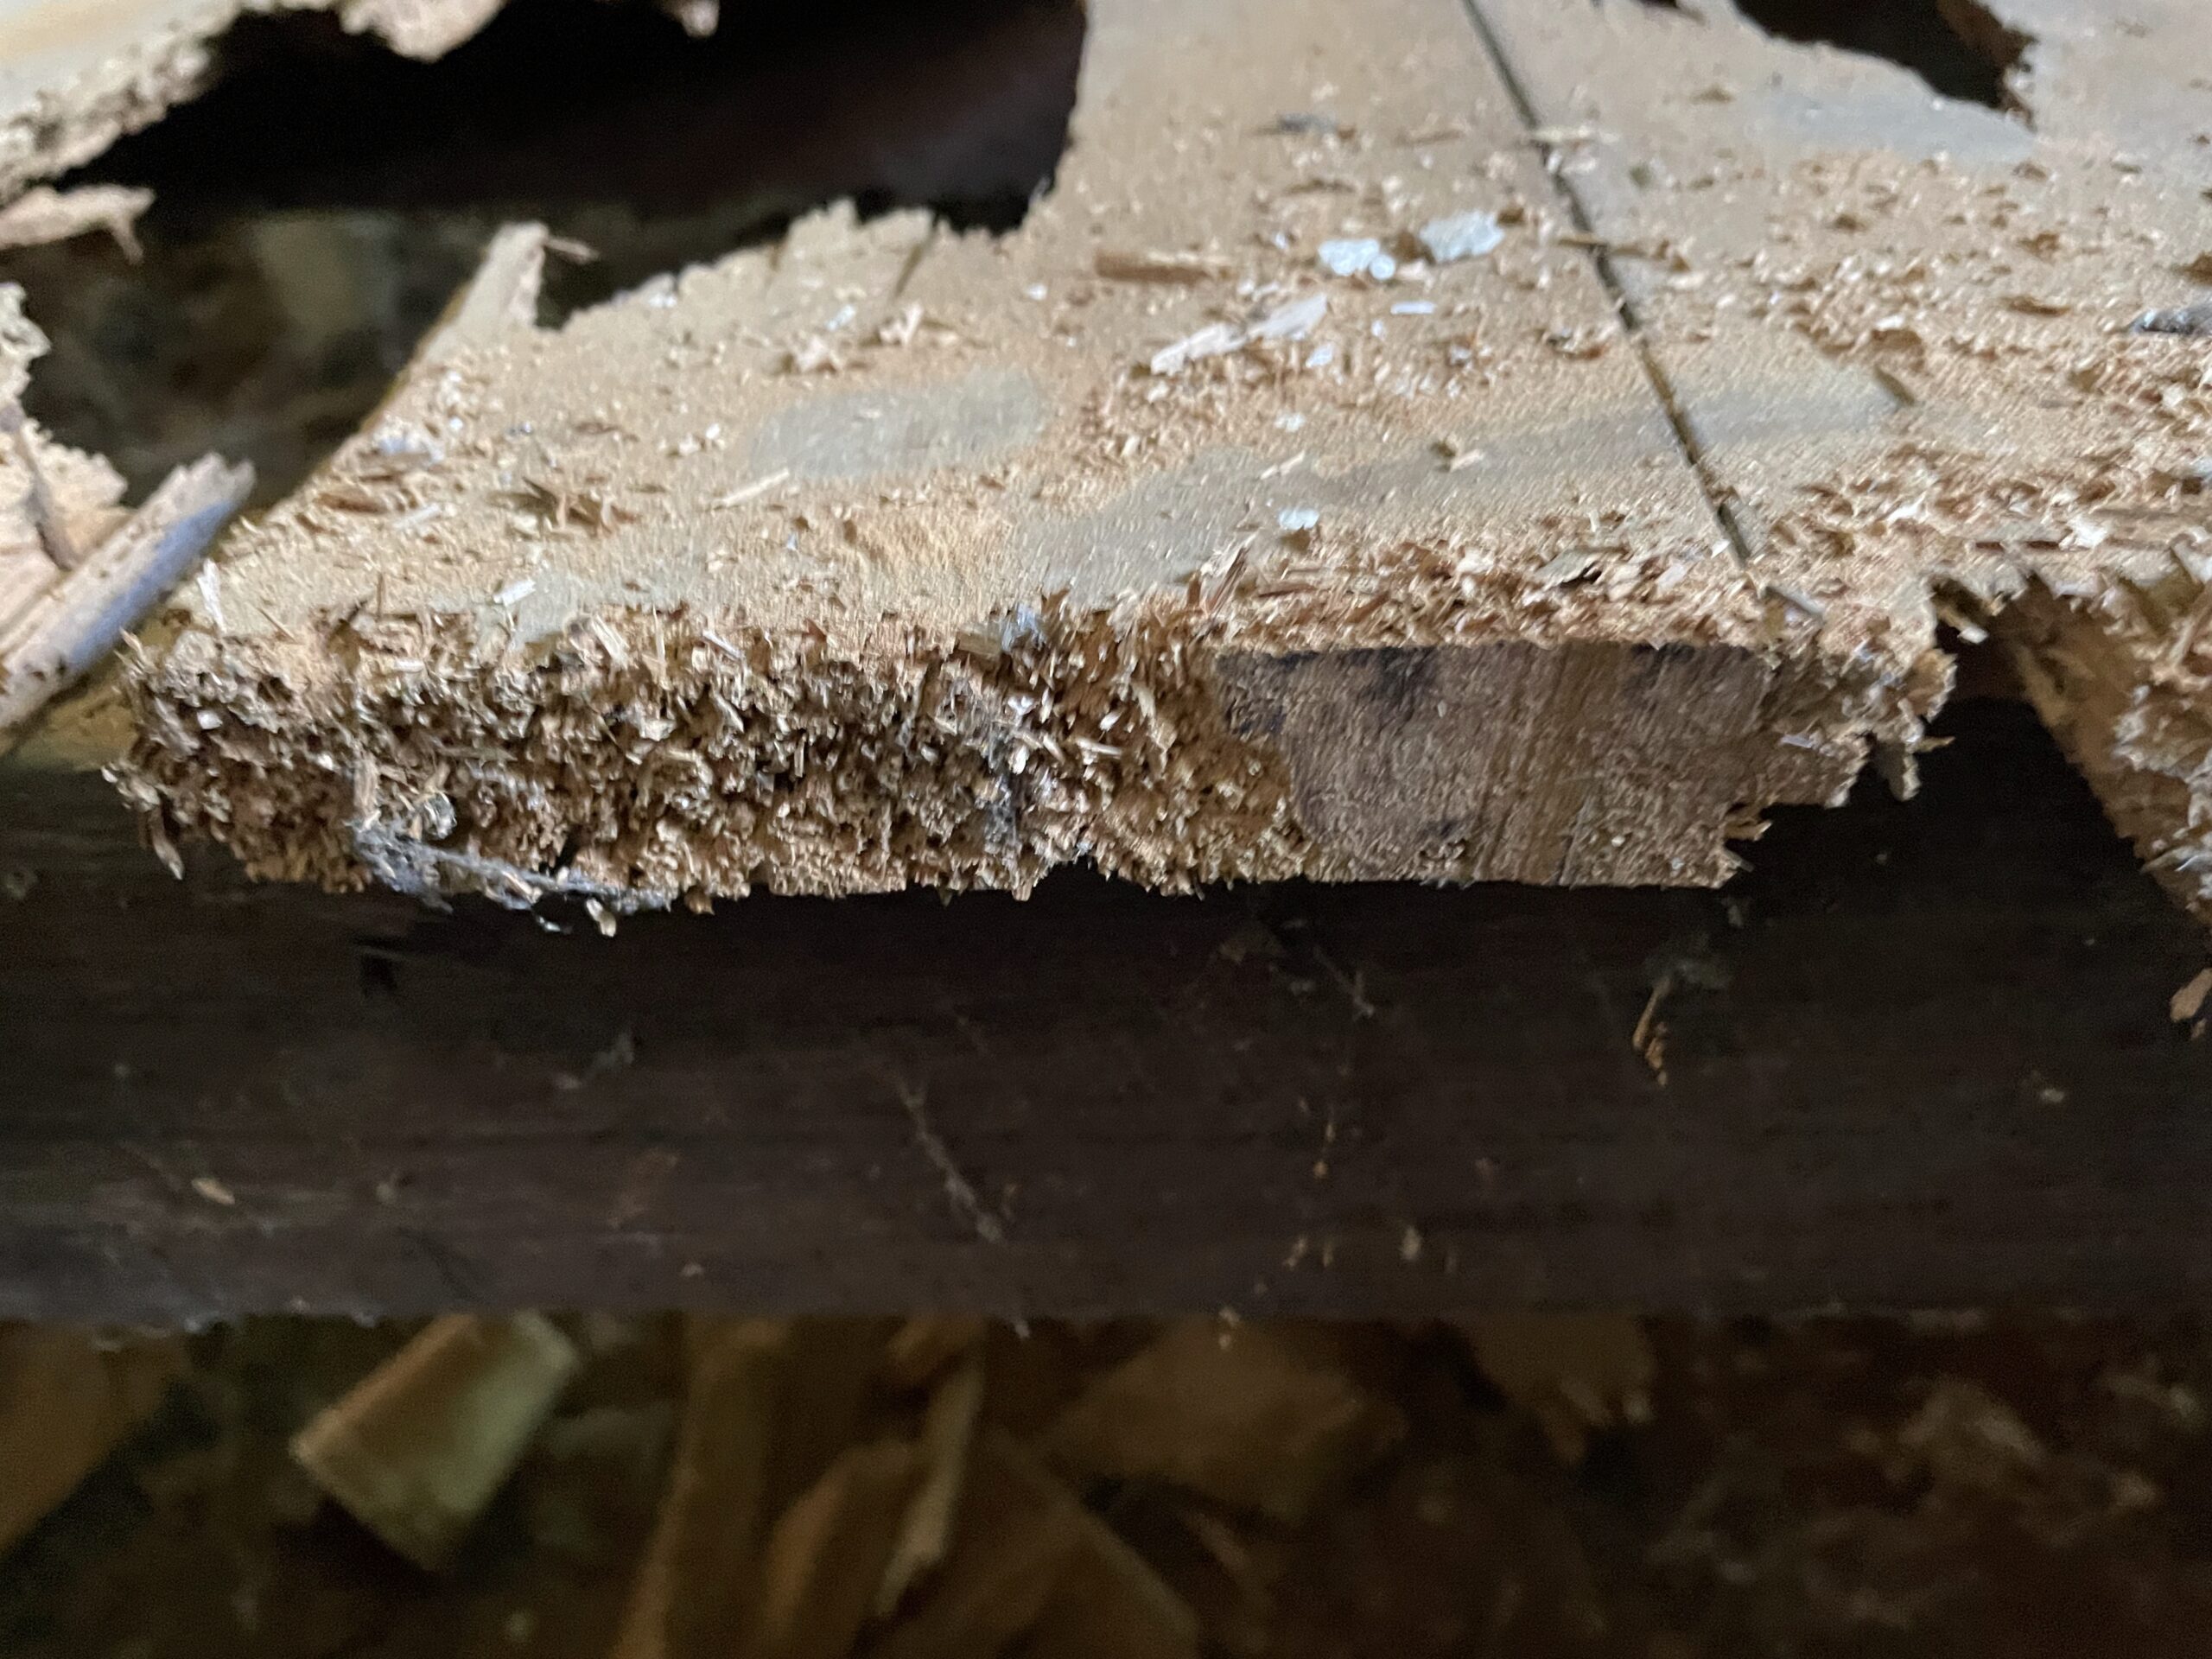
You can really see how much damage they do to the wood if you cut it, the image below shows a piece of flooring that has been cut, the bit that’s been eaten by borer (left) may as well be cardboard, you can see a little sliver of solid wood on the right hand side.
Am I a little annoyed at the previous owners from not selling anything? Yes, I am, but it’s an excuse to re-do the floors properly with more modern flooring, so I am not too upset.

See below for the progressive discovery of borer in the bedroom as well, from the glossy sales photo through to bare floor through to uh oh.
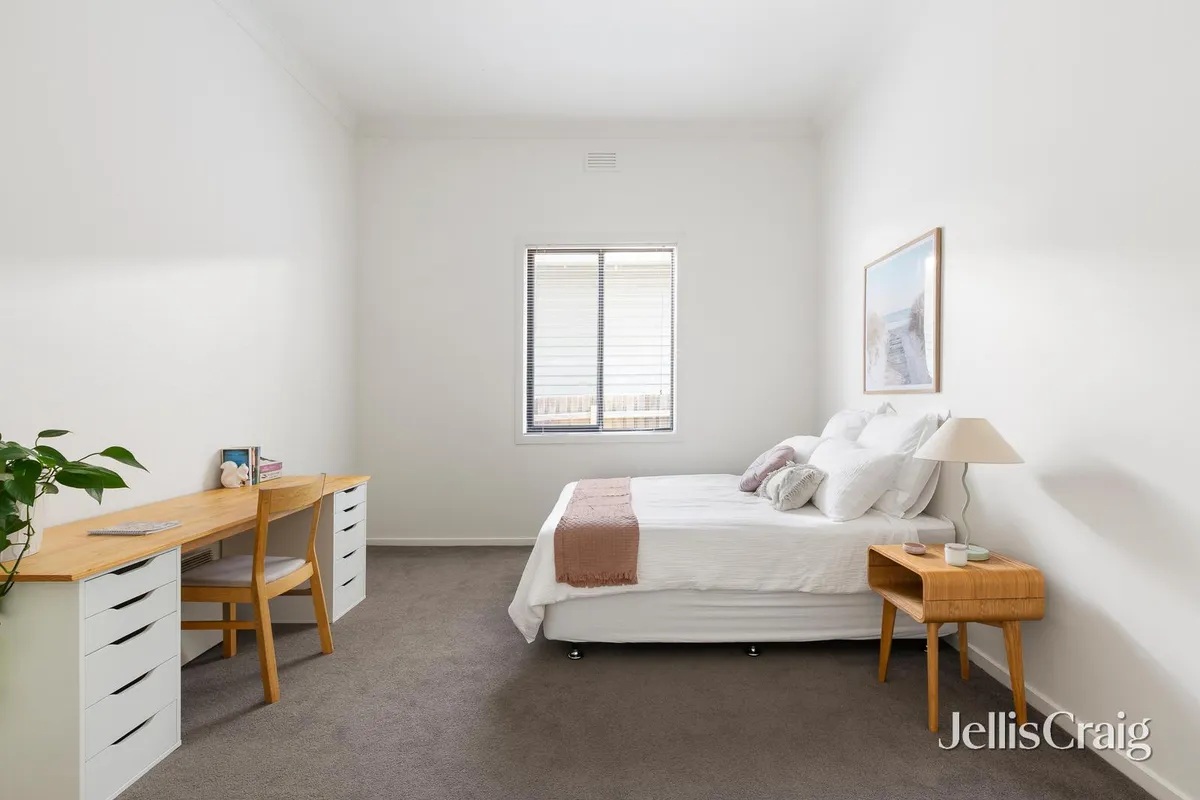
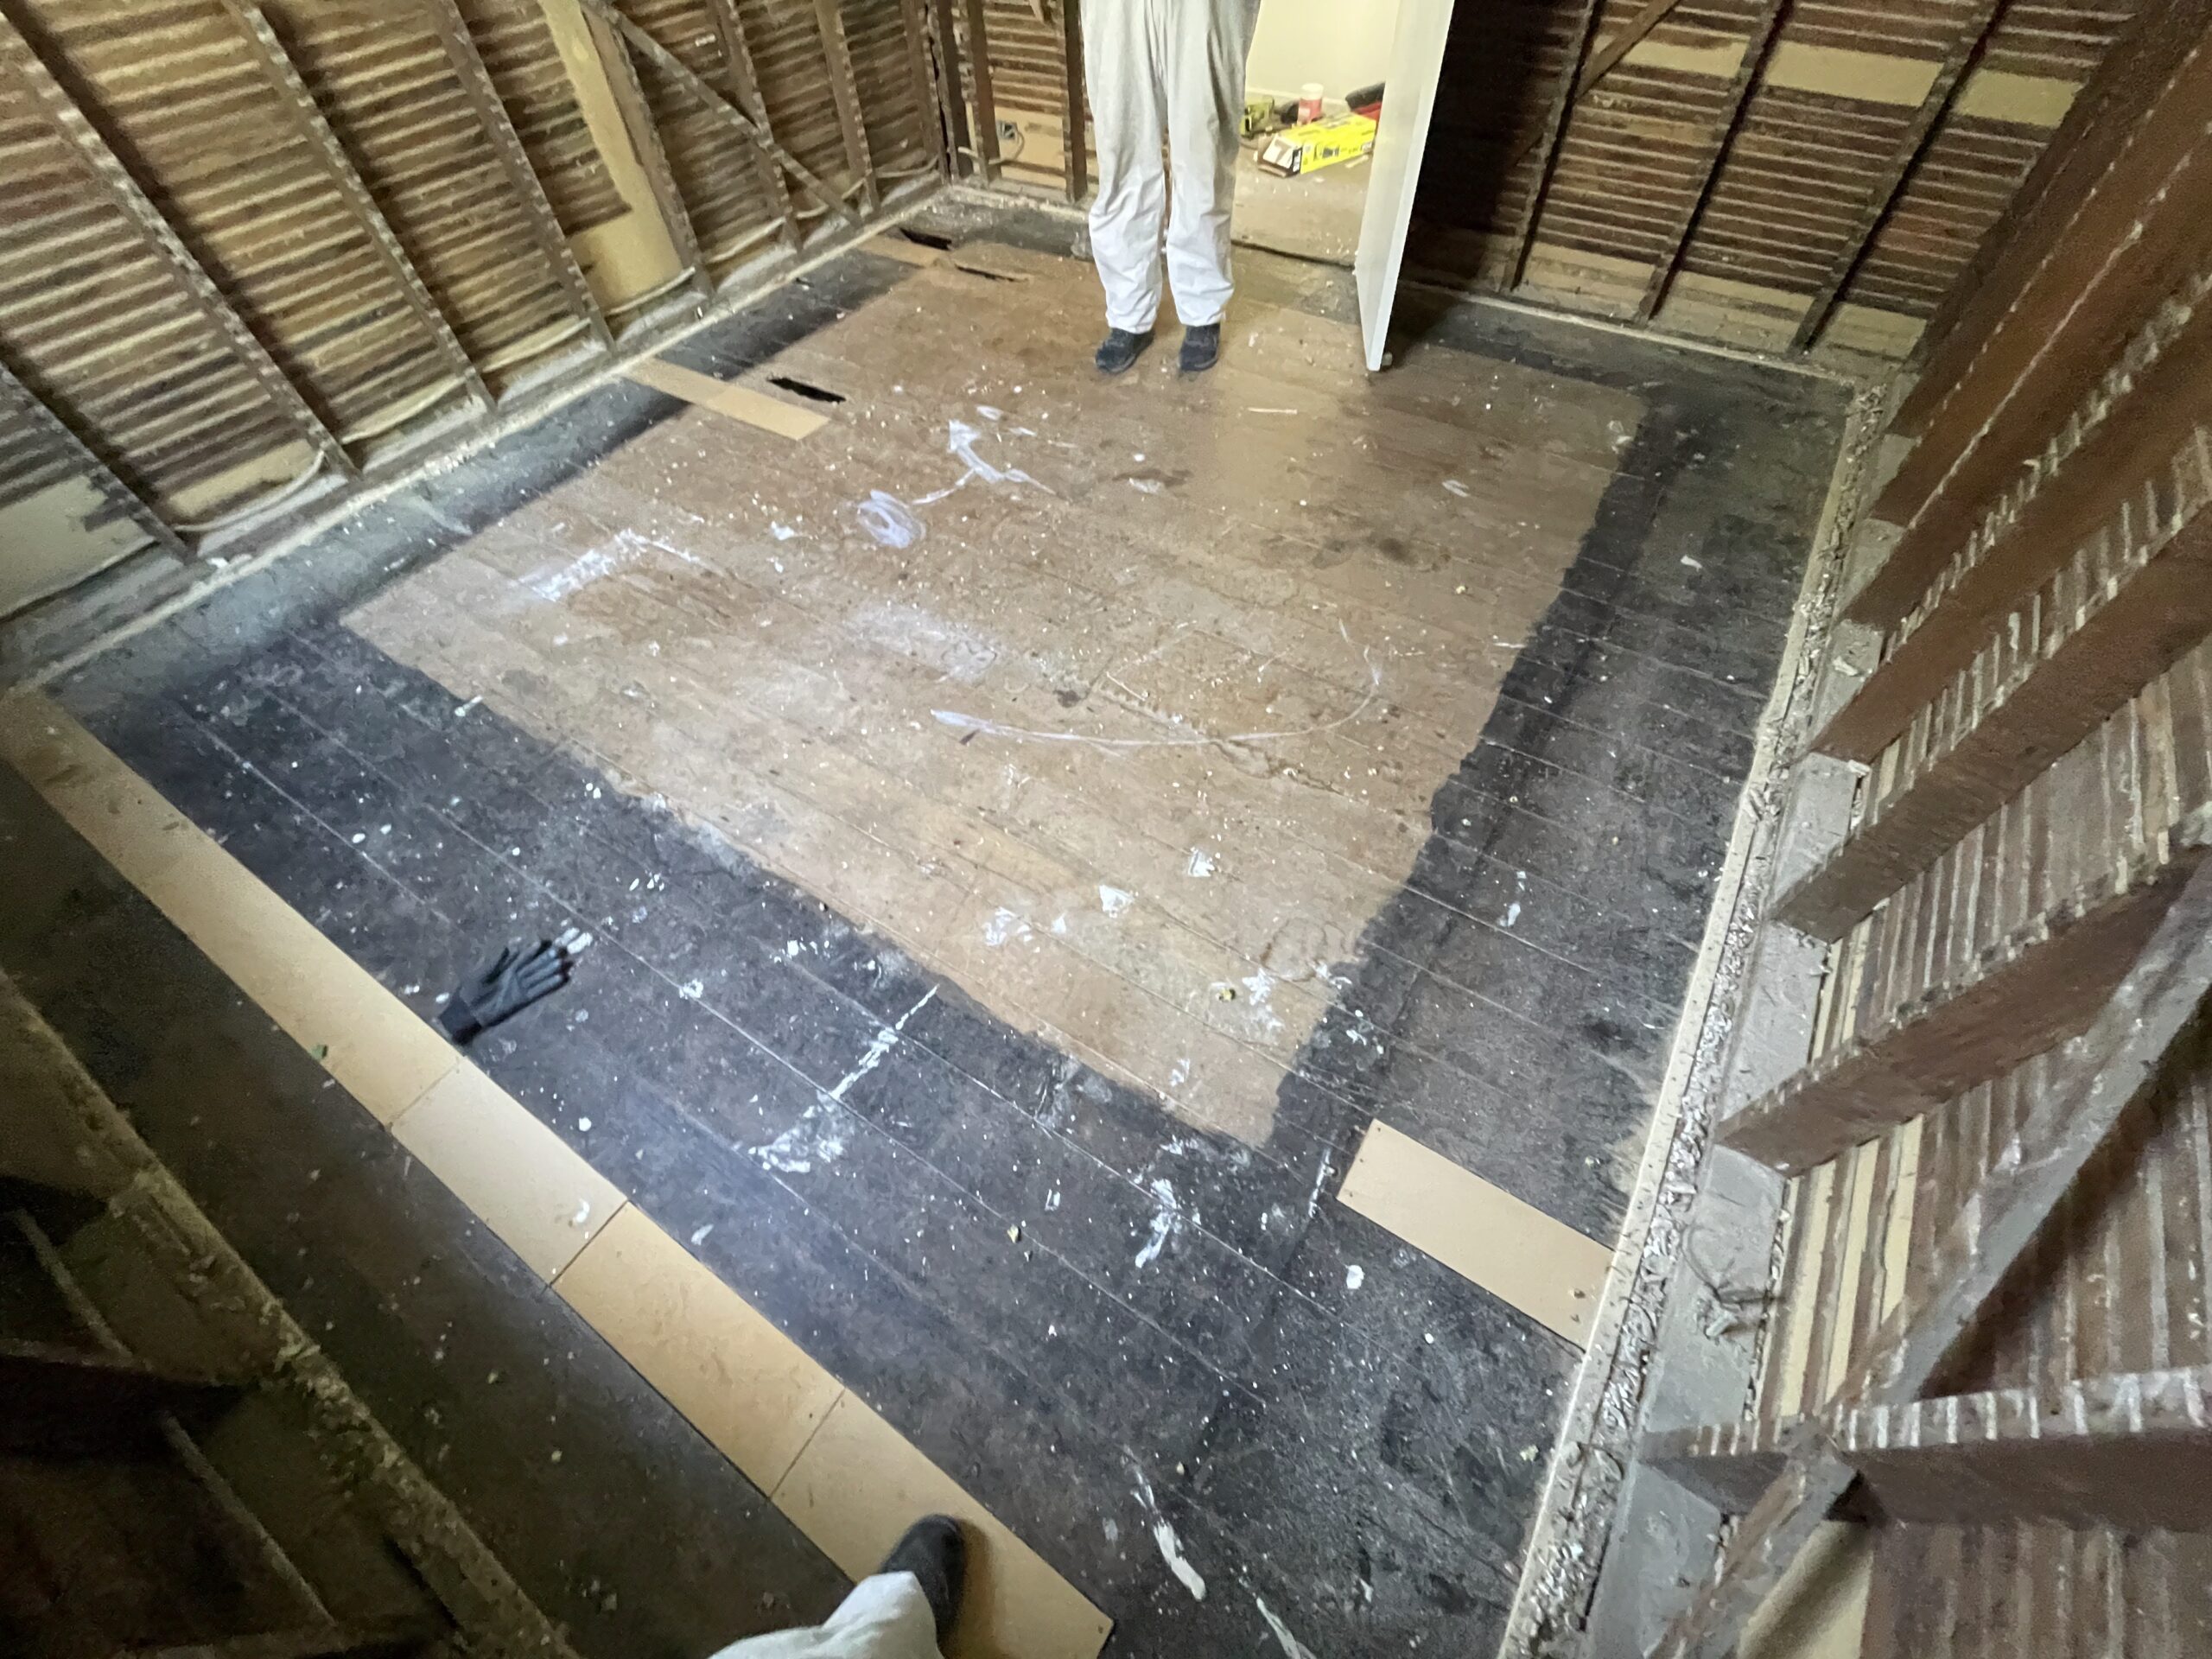
Note that some floor boards are painted black? Apparently back in the olden days you would have a rug in the centre of the room and then paint the bit around the outside of the rug.
Open Plan

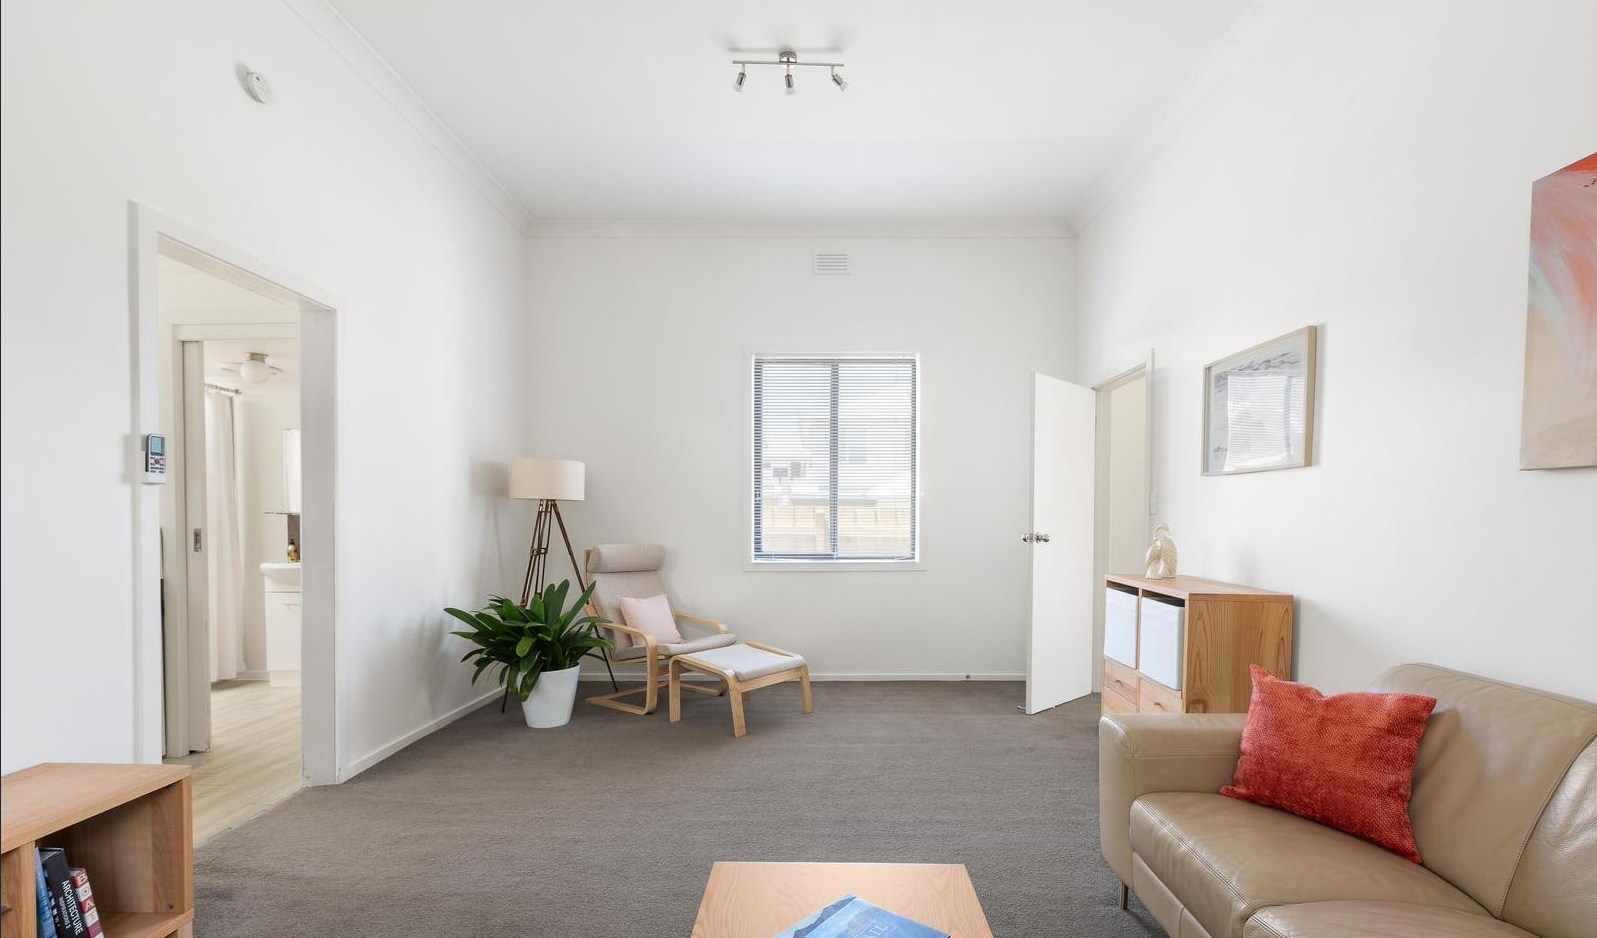
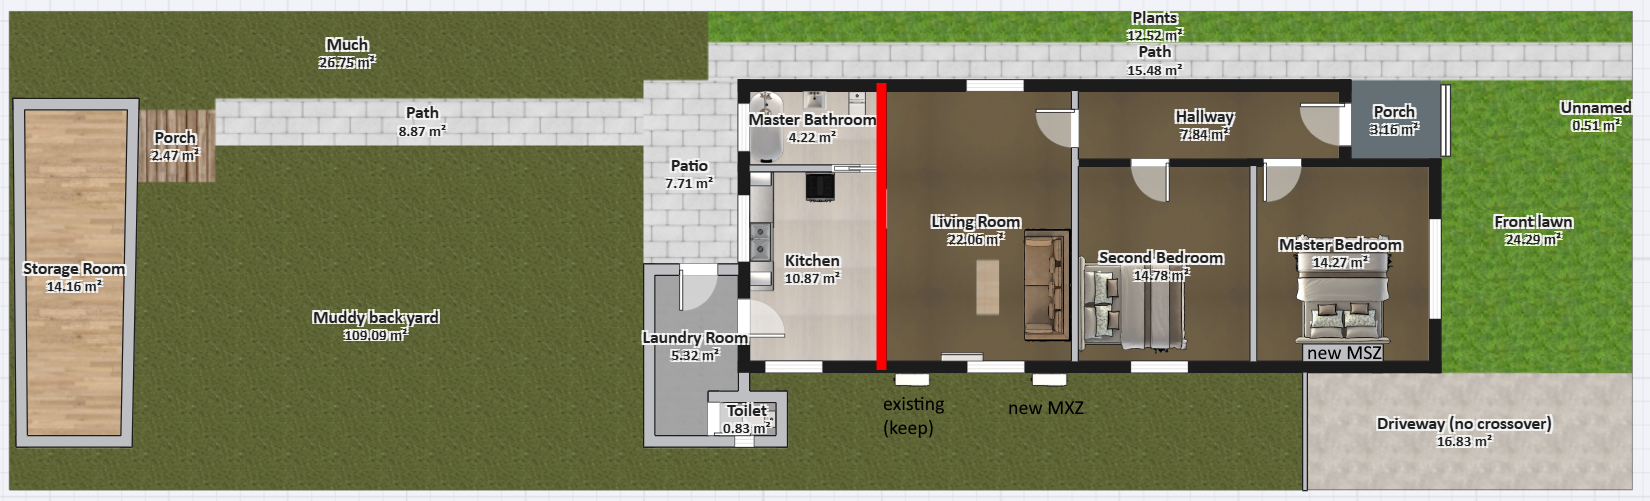
This is the big ticket item. When we first inspected the house, I knew I didn’t like the wall between the kitchen and the lounge. Not only because this is not a very modern approach to house layouts, but also because it means you have an awkward toilet access next to the stove in the kitchen.

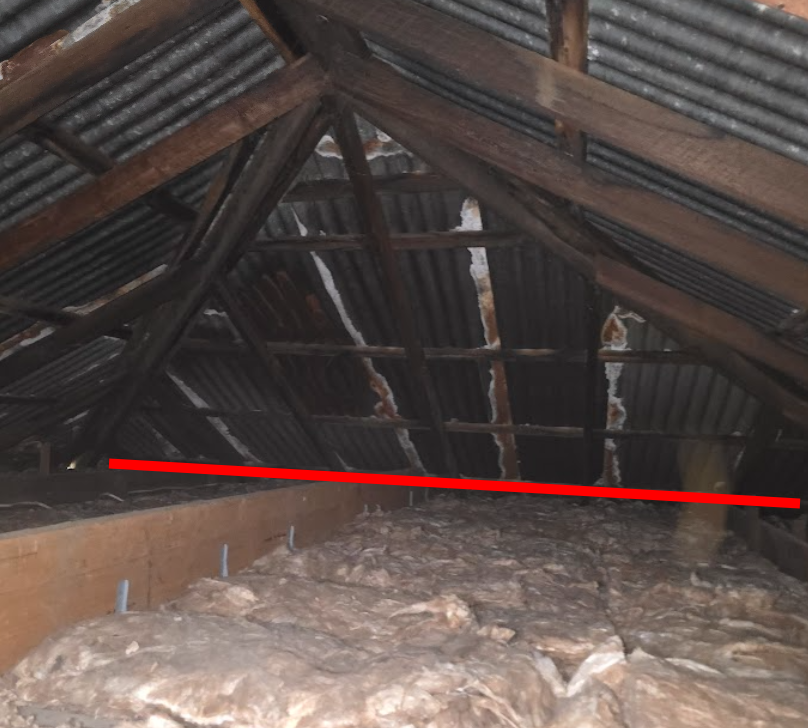
From a floor plan perspective, we just wanted to get rid of the wall entirely, maybe move the bathroom somewhere else in time, but regardless of the long term plan, that wall in red has to go.

We weren’t sure, but looking in the roof cavity, it kind of felt like that wall was structural. See that wooden beam on the left of the image, that’s holding up the ceiling in the lounge, and it’s resting on the kitchen wall.

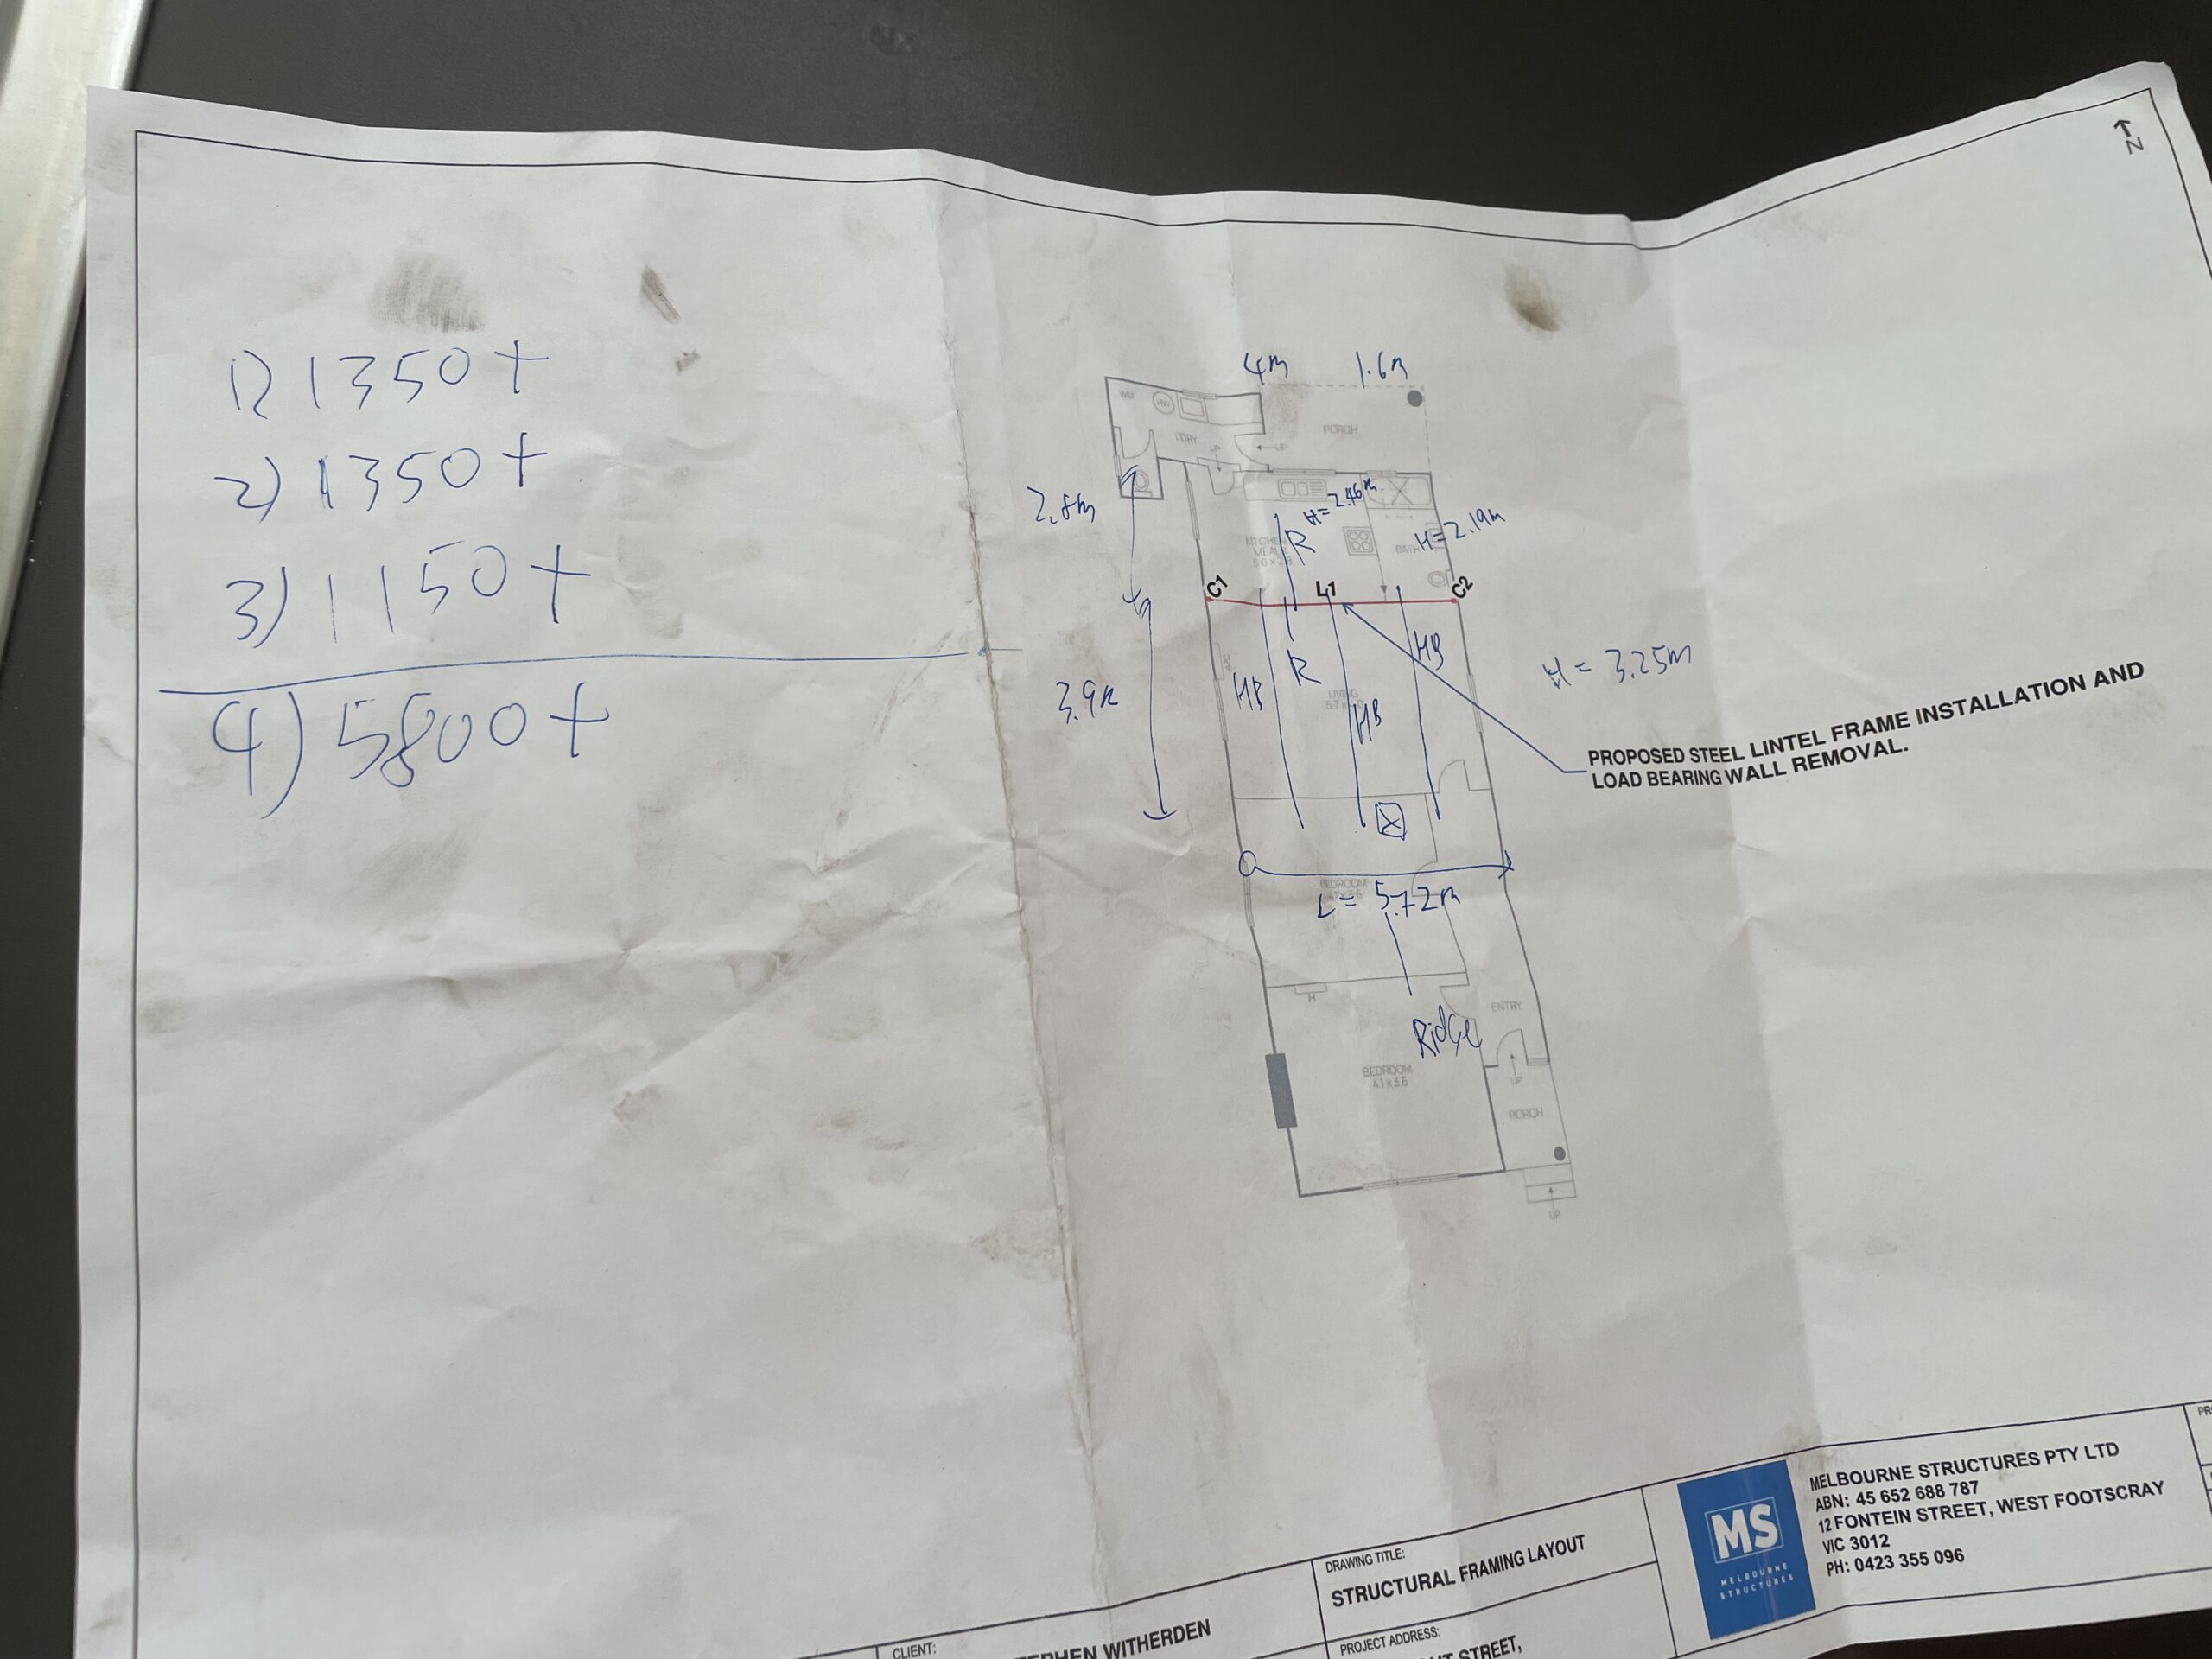
This was soon confirmed by a structural engineer who agreed it was structural. He quotes us about $10k all up to remove the wall. About $5k for the design and permitting, and then $5k in a single day to put the steel in. I agreed!

The catch was we had to remove all the plaster, and get rid of the asbestos in the kitchen ceiling. Oh, did I forget to mention that? Yeah, we discovered asbestos in the kitchen ceiling. Goodie.

This kind of asbestos is generally safe if you don’t disturb it and in Australia you can remove 10 square metres by yourself, but we were definitely keen to get professionals in instead. The professionals removed the ceiling and asbestos and that left us with what I thought was a much nicer looking kitchen already!

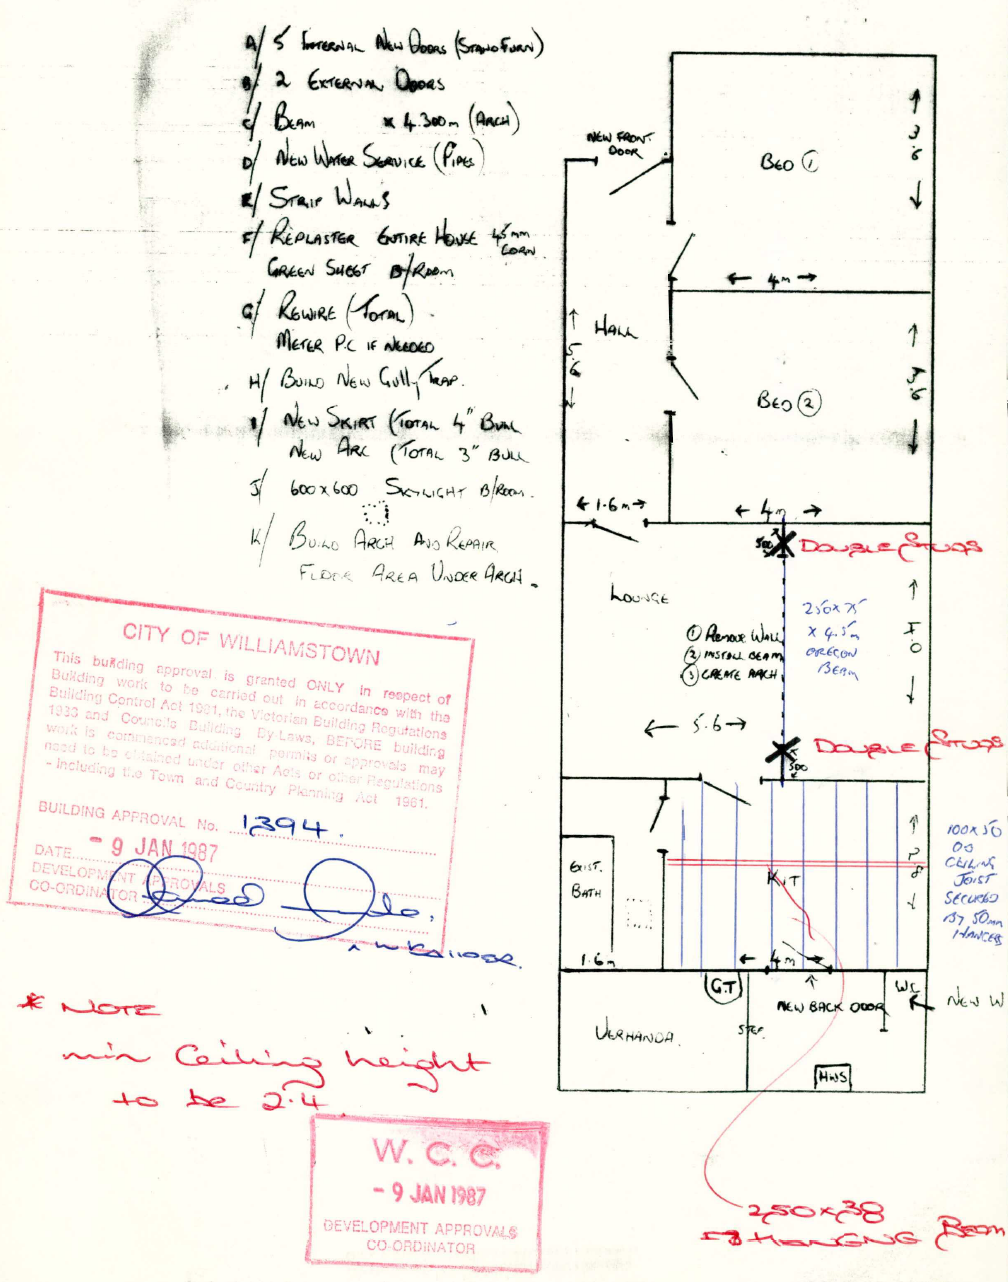
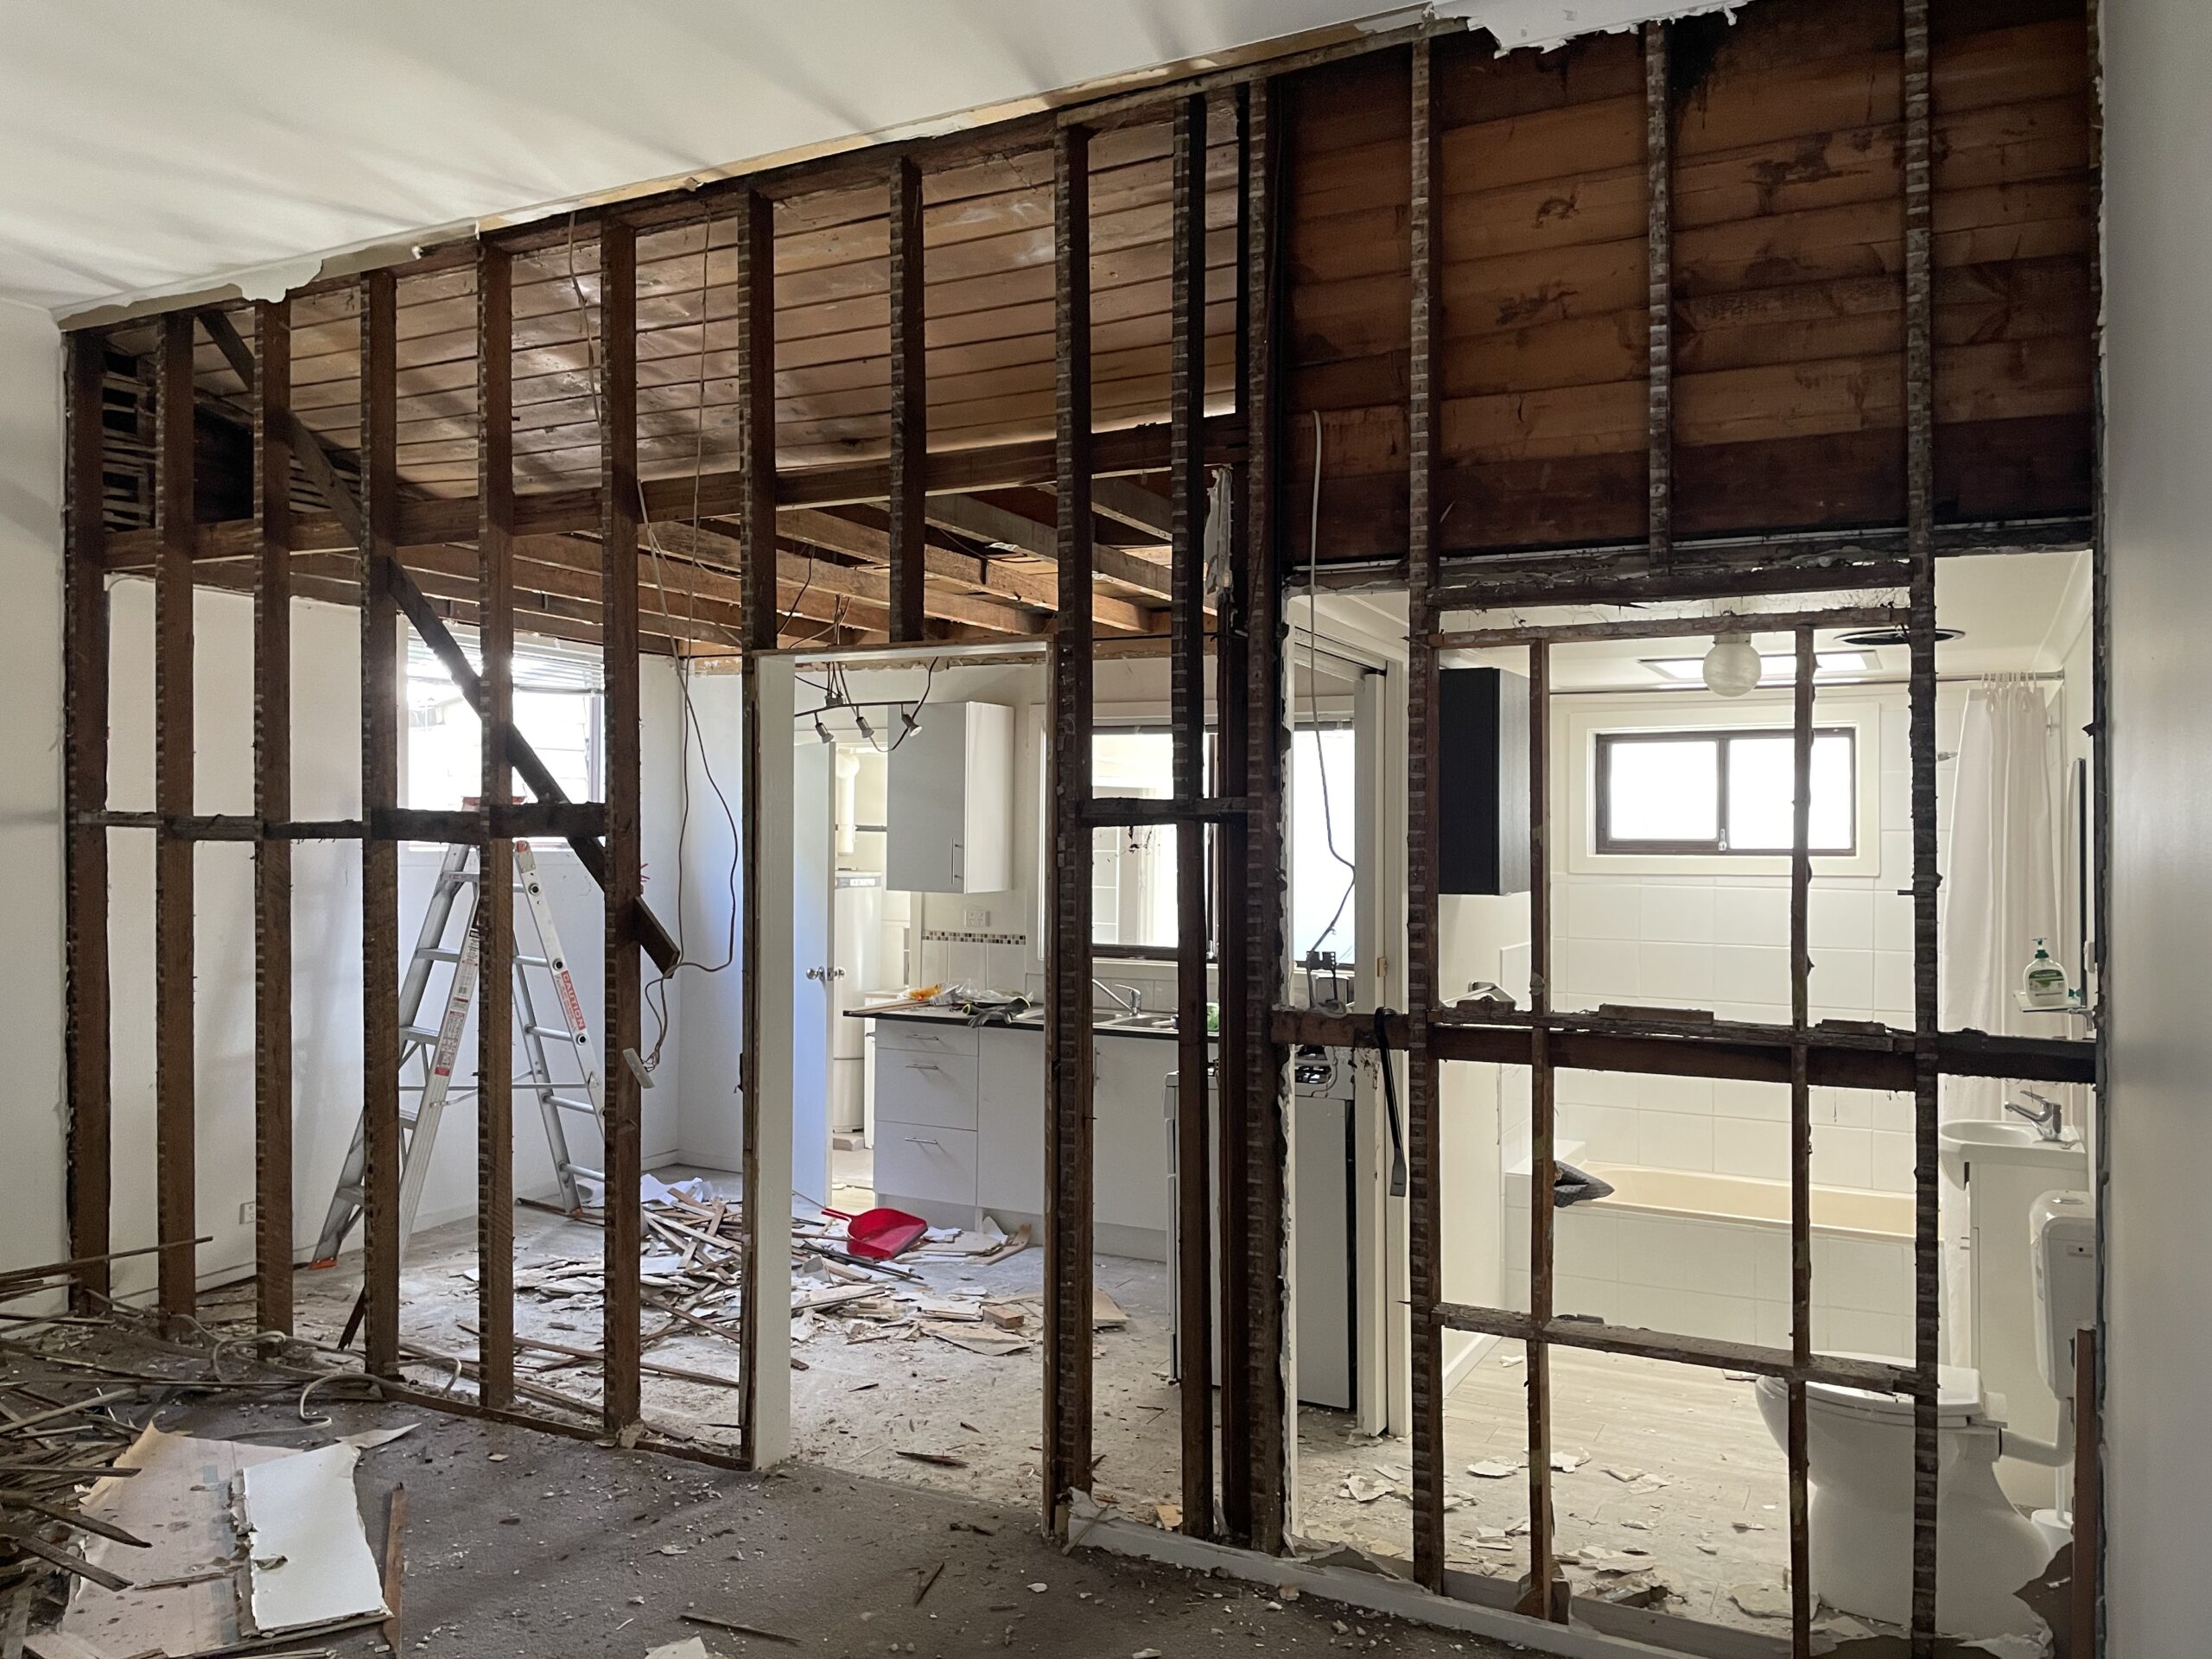
The eagle eyed amongst you will notice some weird thin strips of wood on the walls behind the plaster board. When we spoke to the structural engineer, he said he wouldn’t be surprised if the kitchen had been an add-on, and certainly when we paid the council for plans from 1987, it certainly looked like the kitchen has been created as an add-on just then.

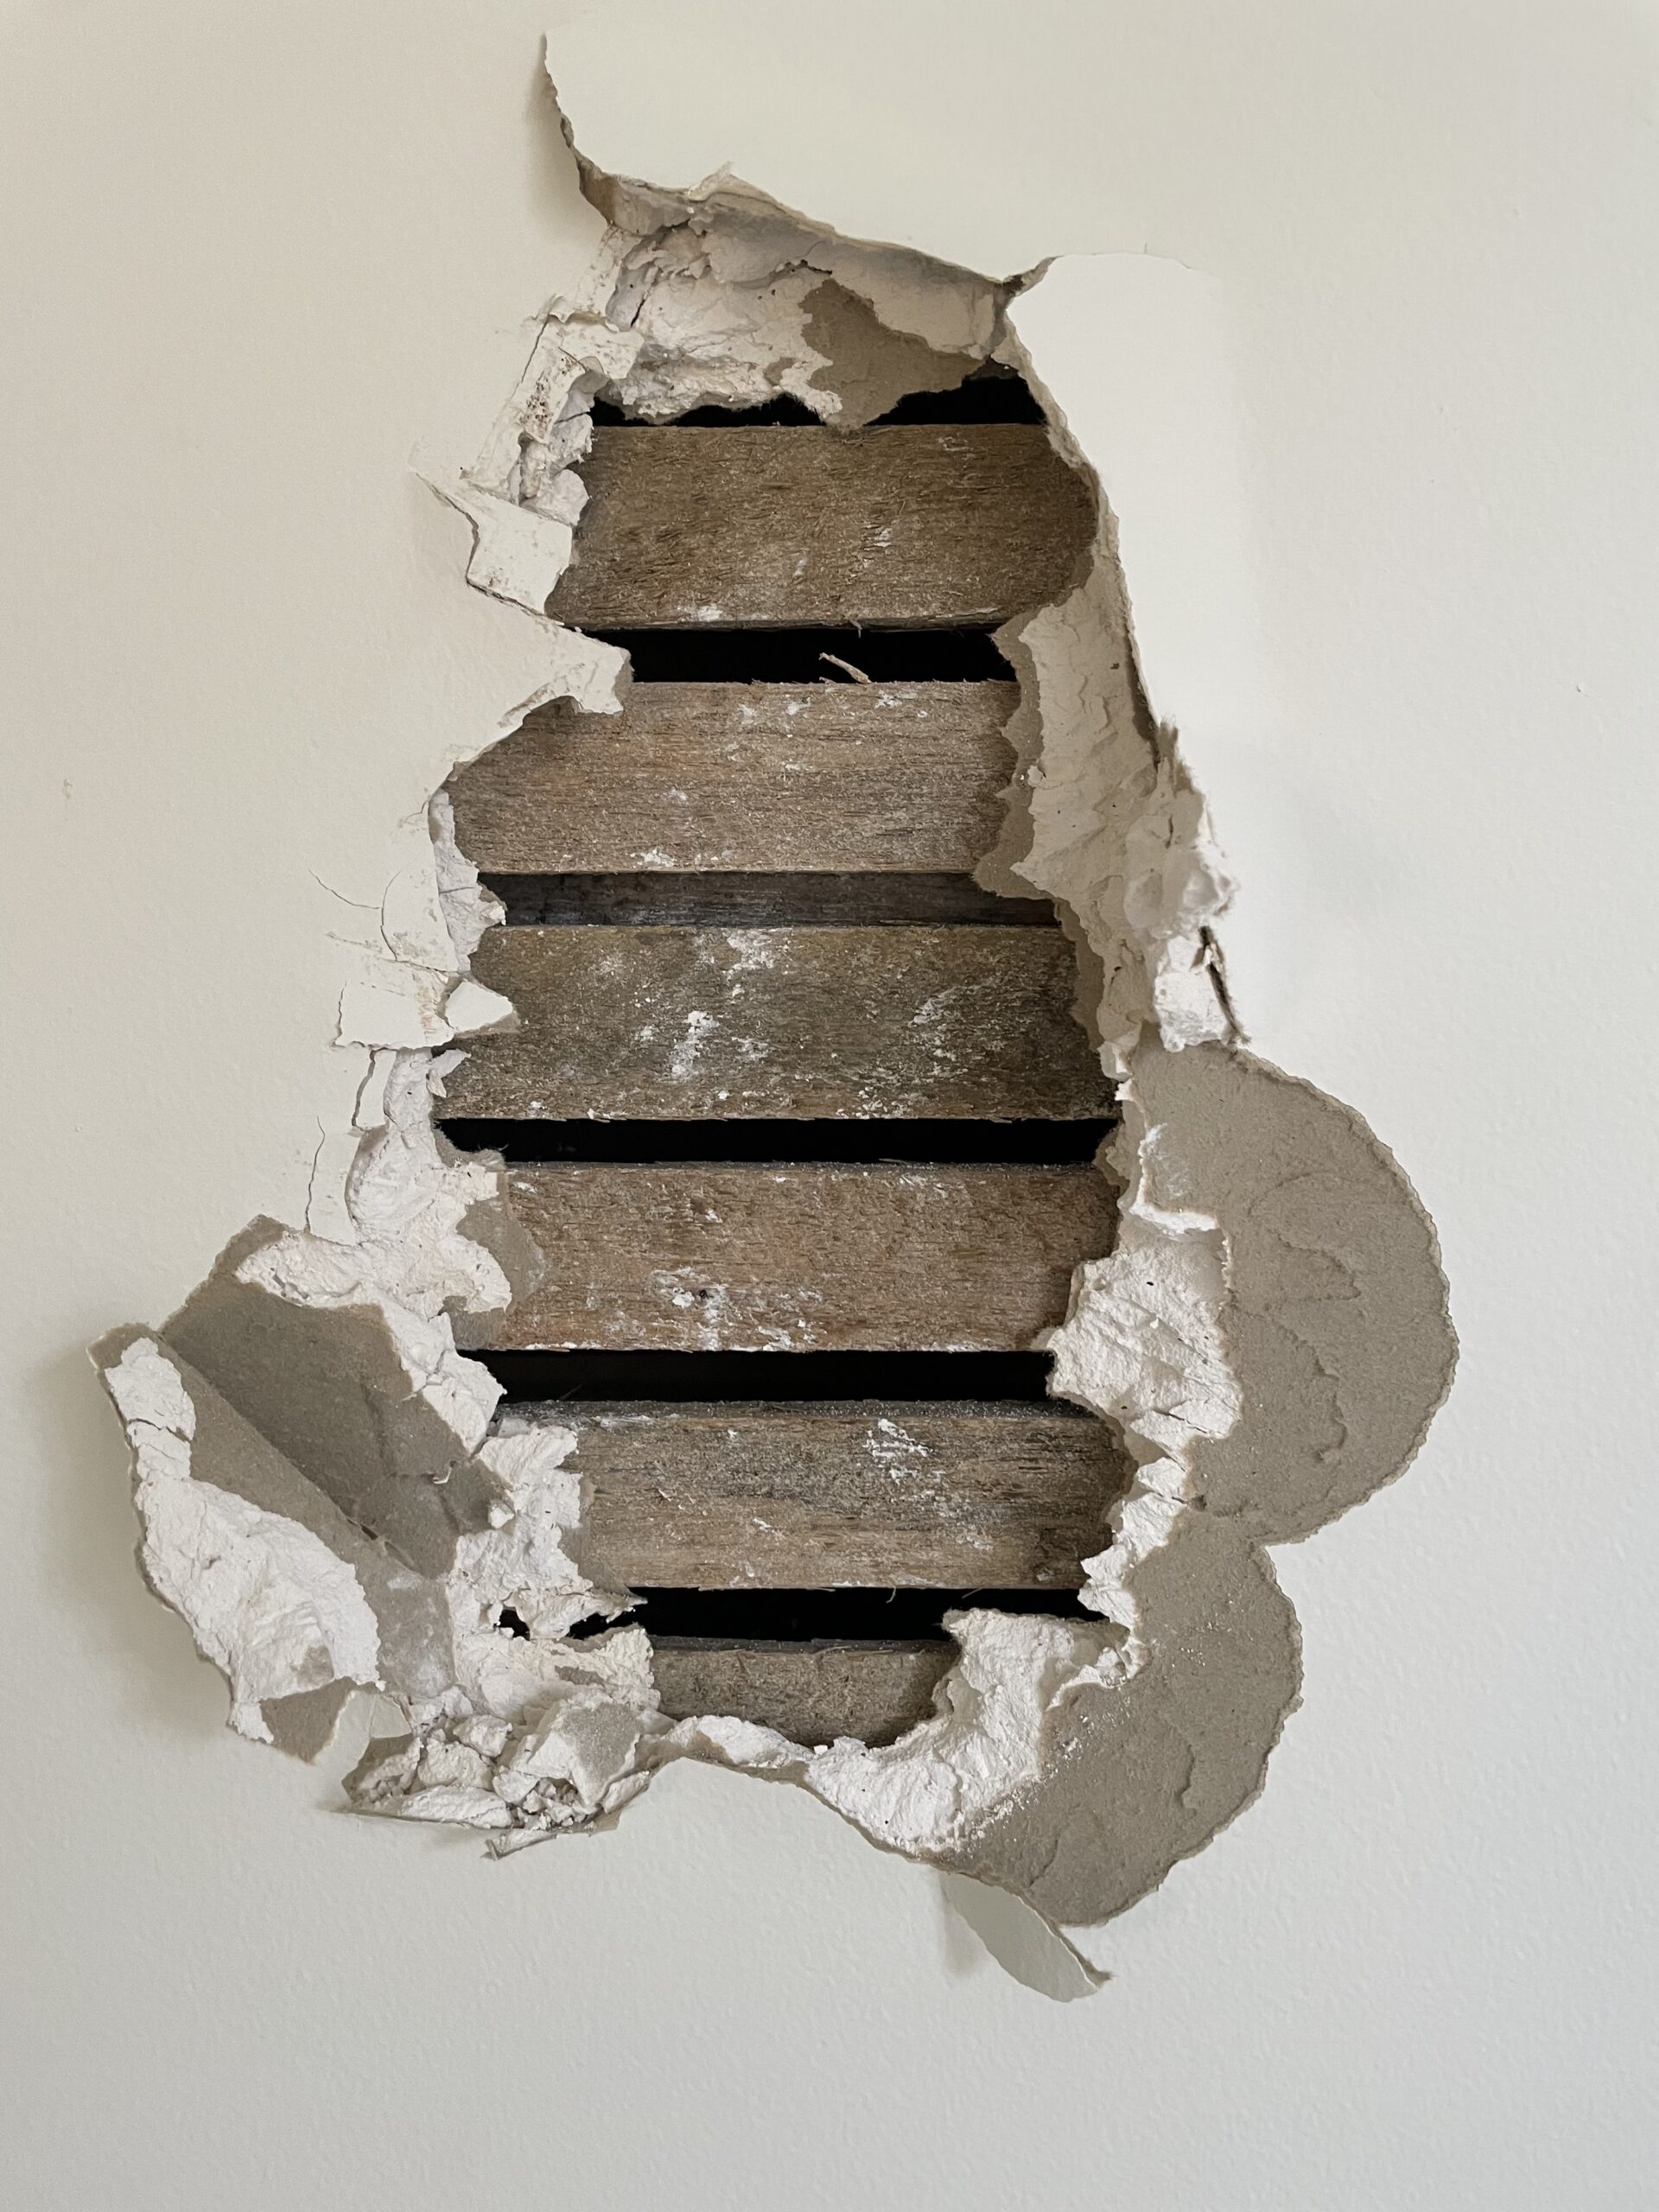
So we kind of expected to see weatherboard when we broke into the plaster for the first time. But this is not weatherboard, this is lathe.

What they would do is put these thin strips of wood down and then plaster over them. Of course nowadays we use gyprock board, and it looks like the previous owners hadn’t bothered to remove the lathe, they had removed the plaster and just left the lathe in place.

Well, all that plaster had to go.

So we started demolishing

And demolishing

And demolishing

And demolishing

Notice that on the top right there? Yes, that’s weatherboard! Proving effectively that at least the bathroom used to be the outside of the house. Also notice that dodgy looking door cavity? I reckon that was once the original back door!

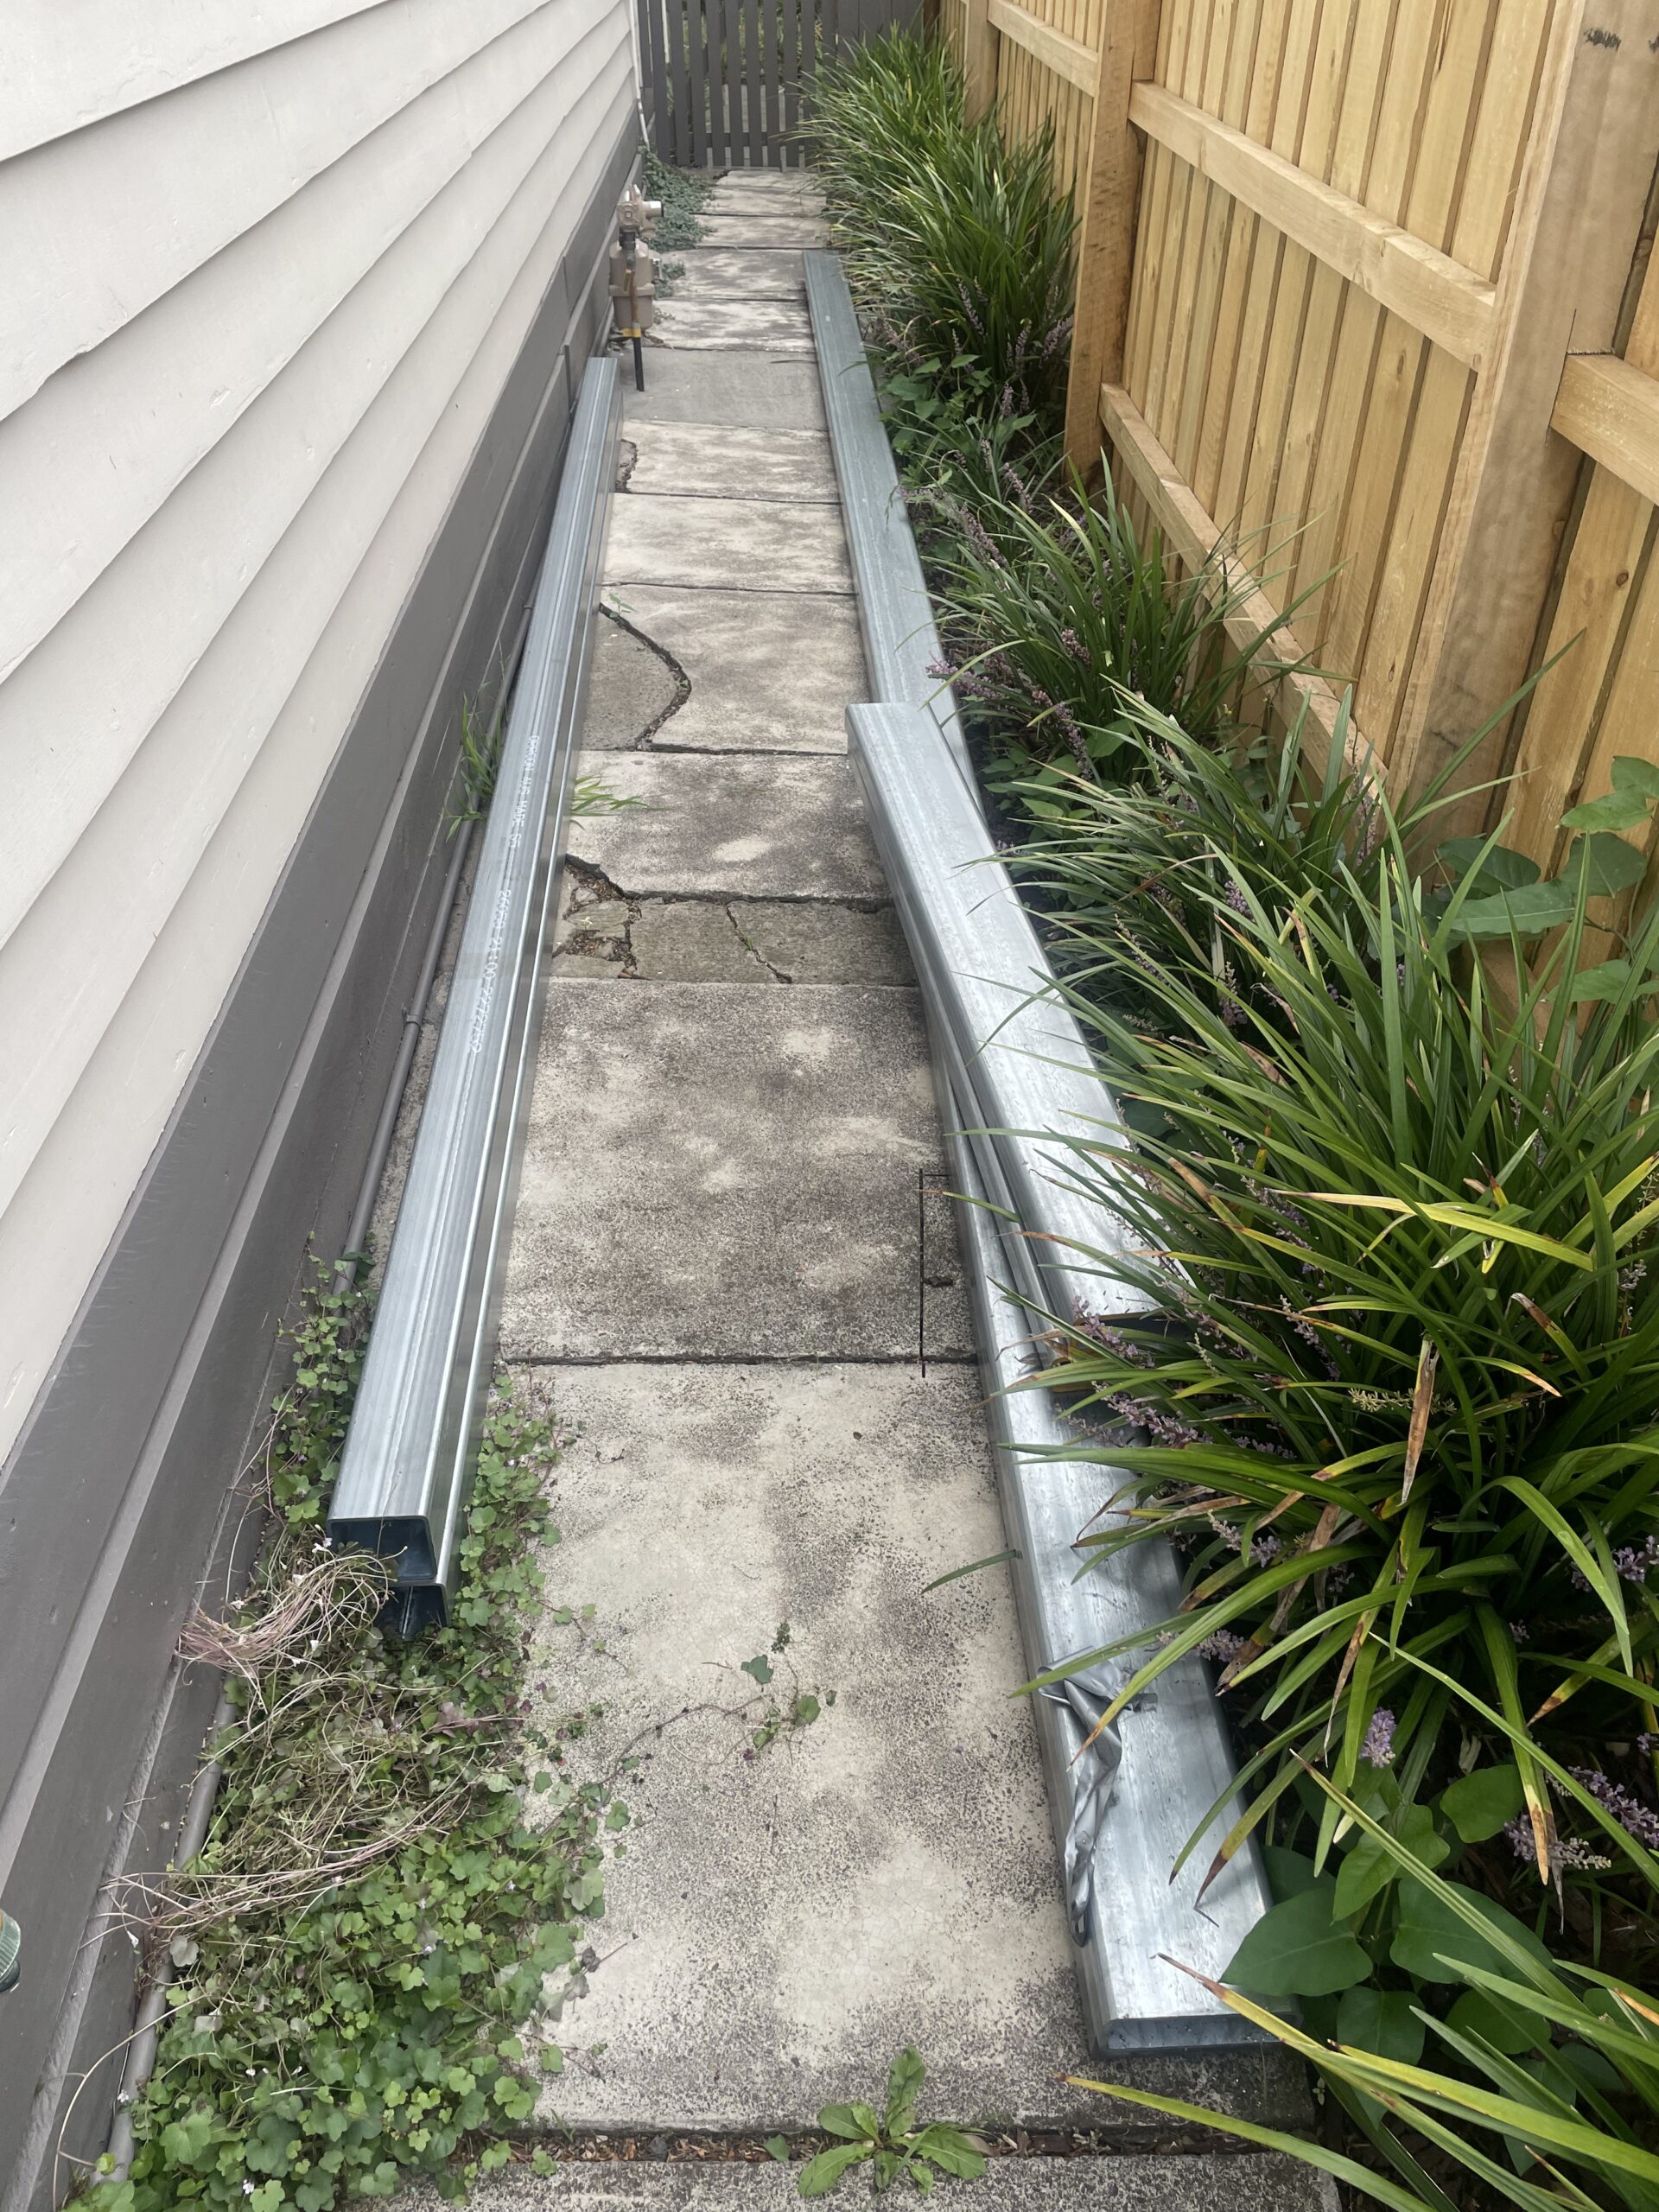
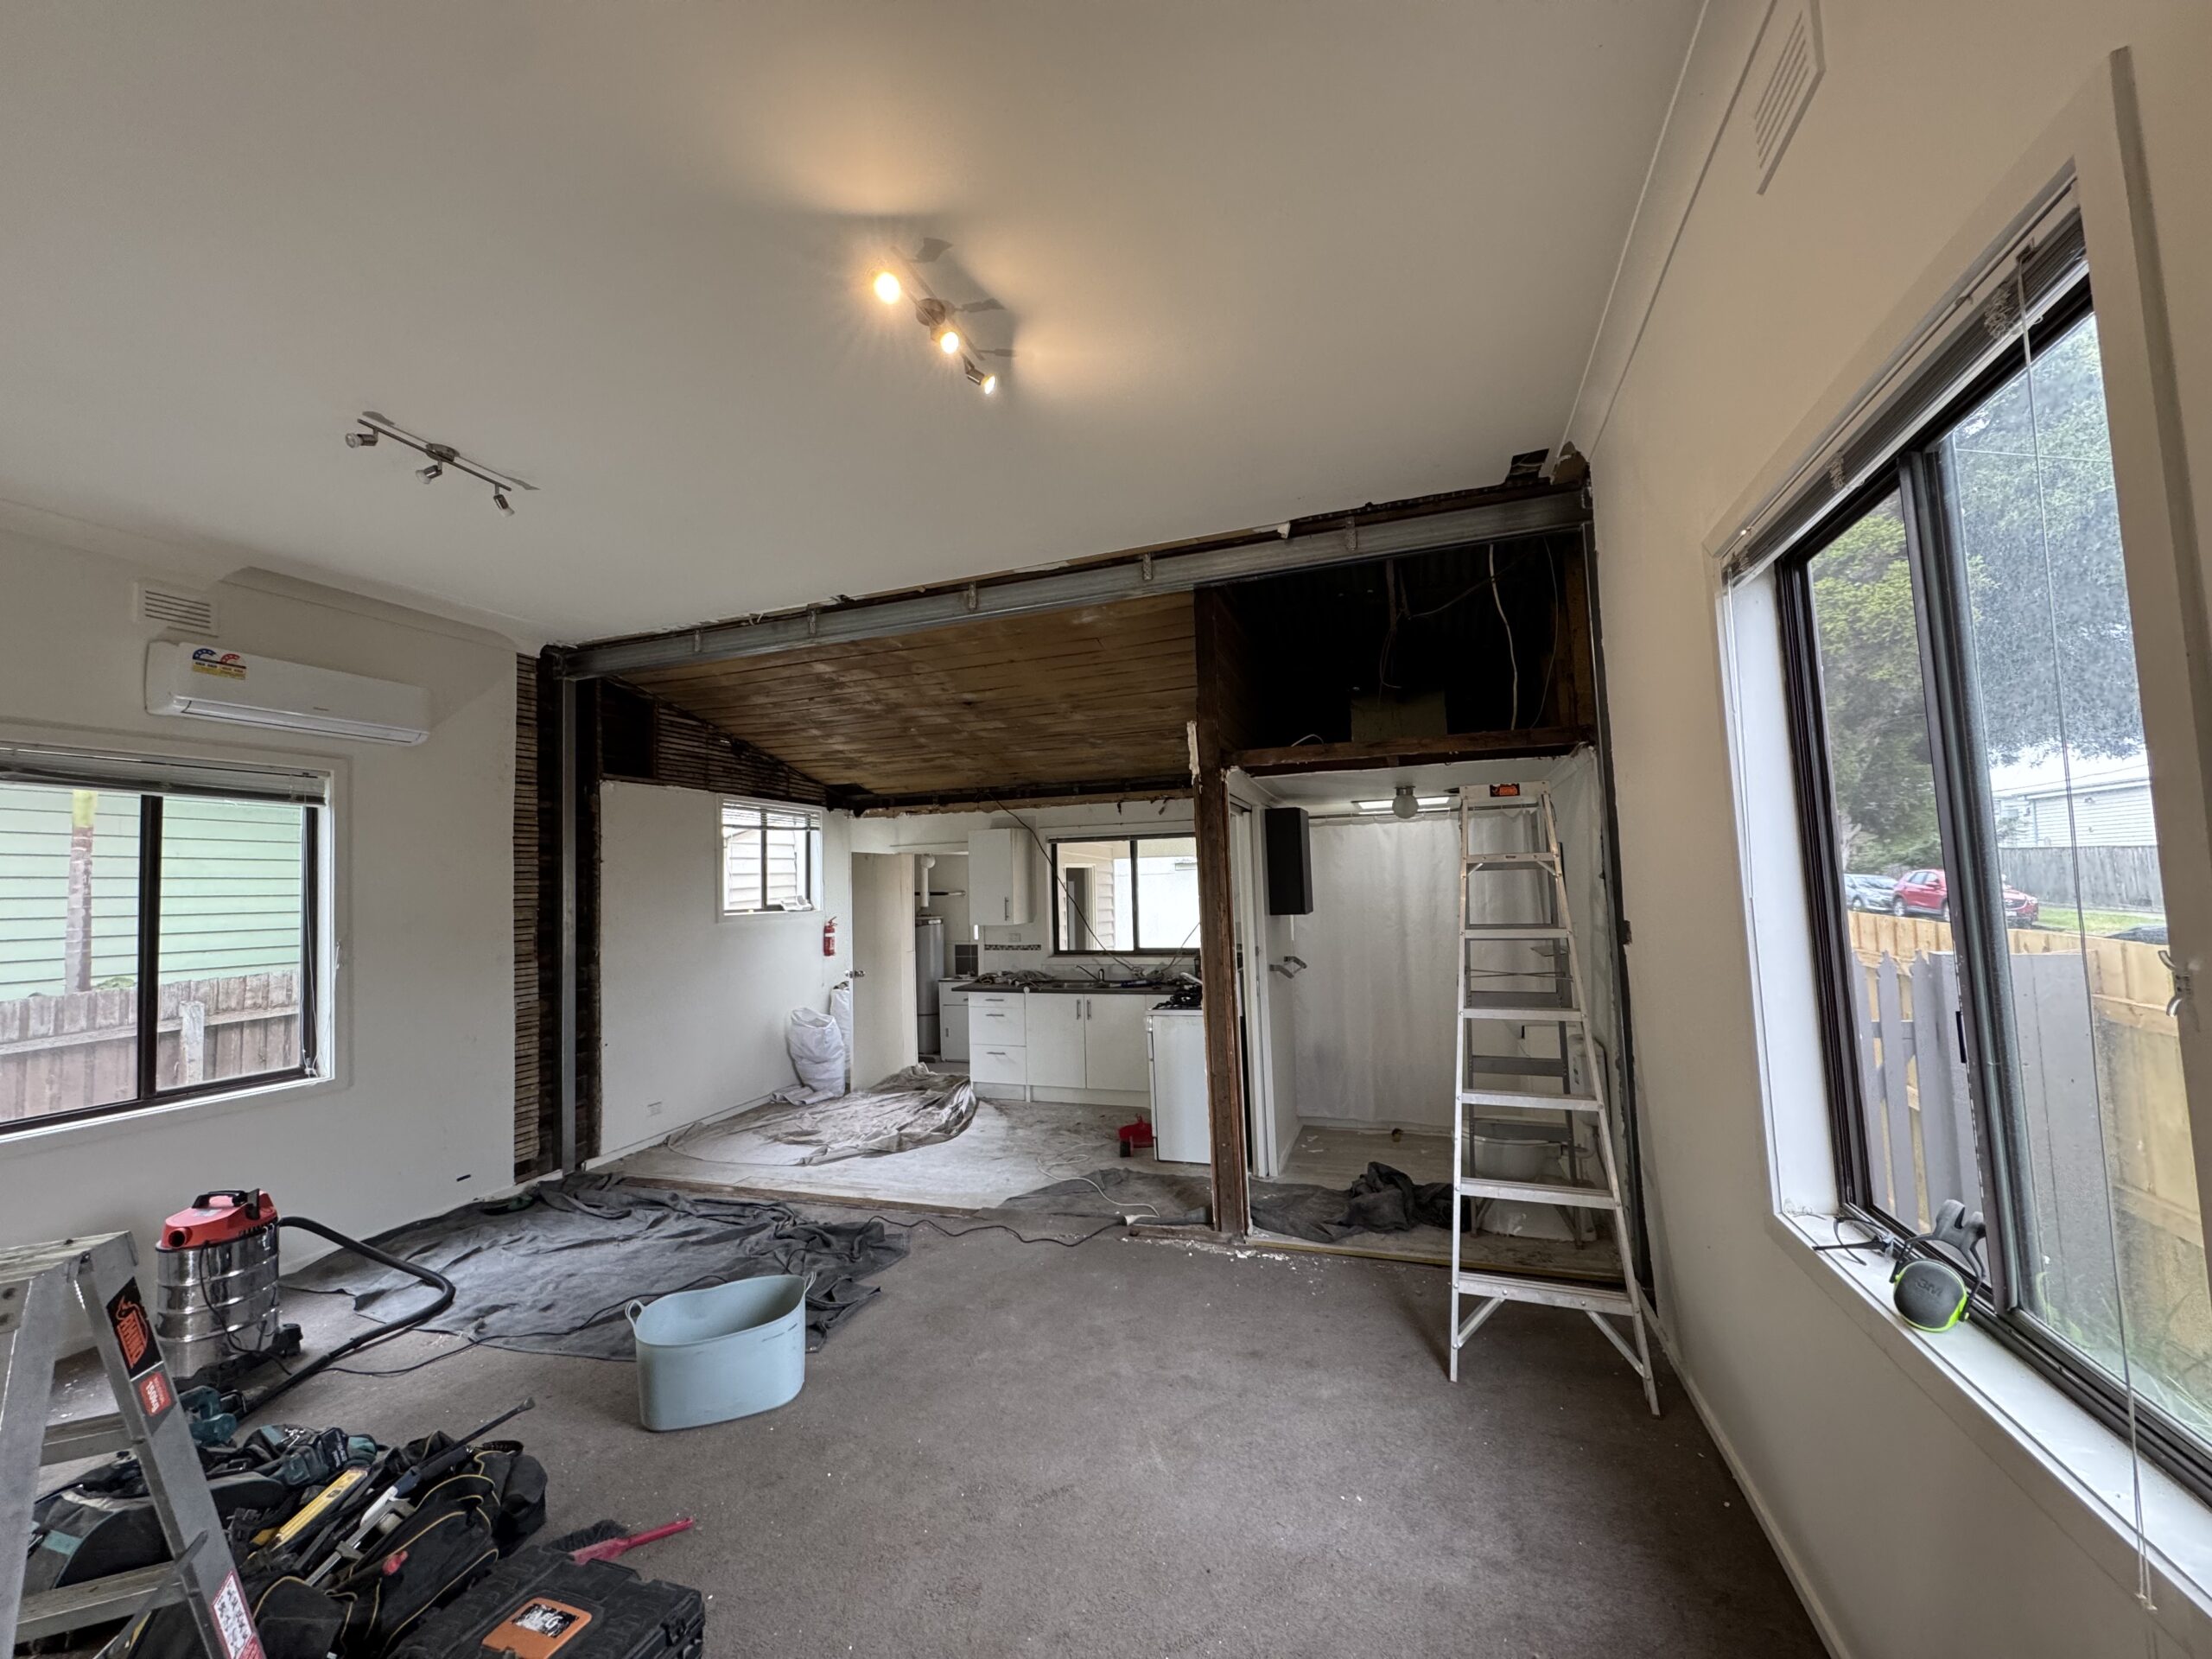
The fun part out of the way it was time to let the professionals in to do their magic. The steel arrived pretty quickly and we had to arrange an electrician to remove all the power from the wall.

Please enjoy this video of the professionals at work.

And I have to say, I really like this so much more already.

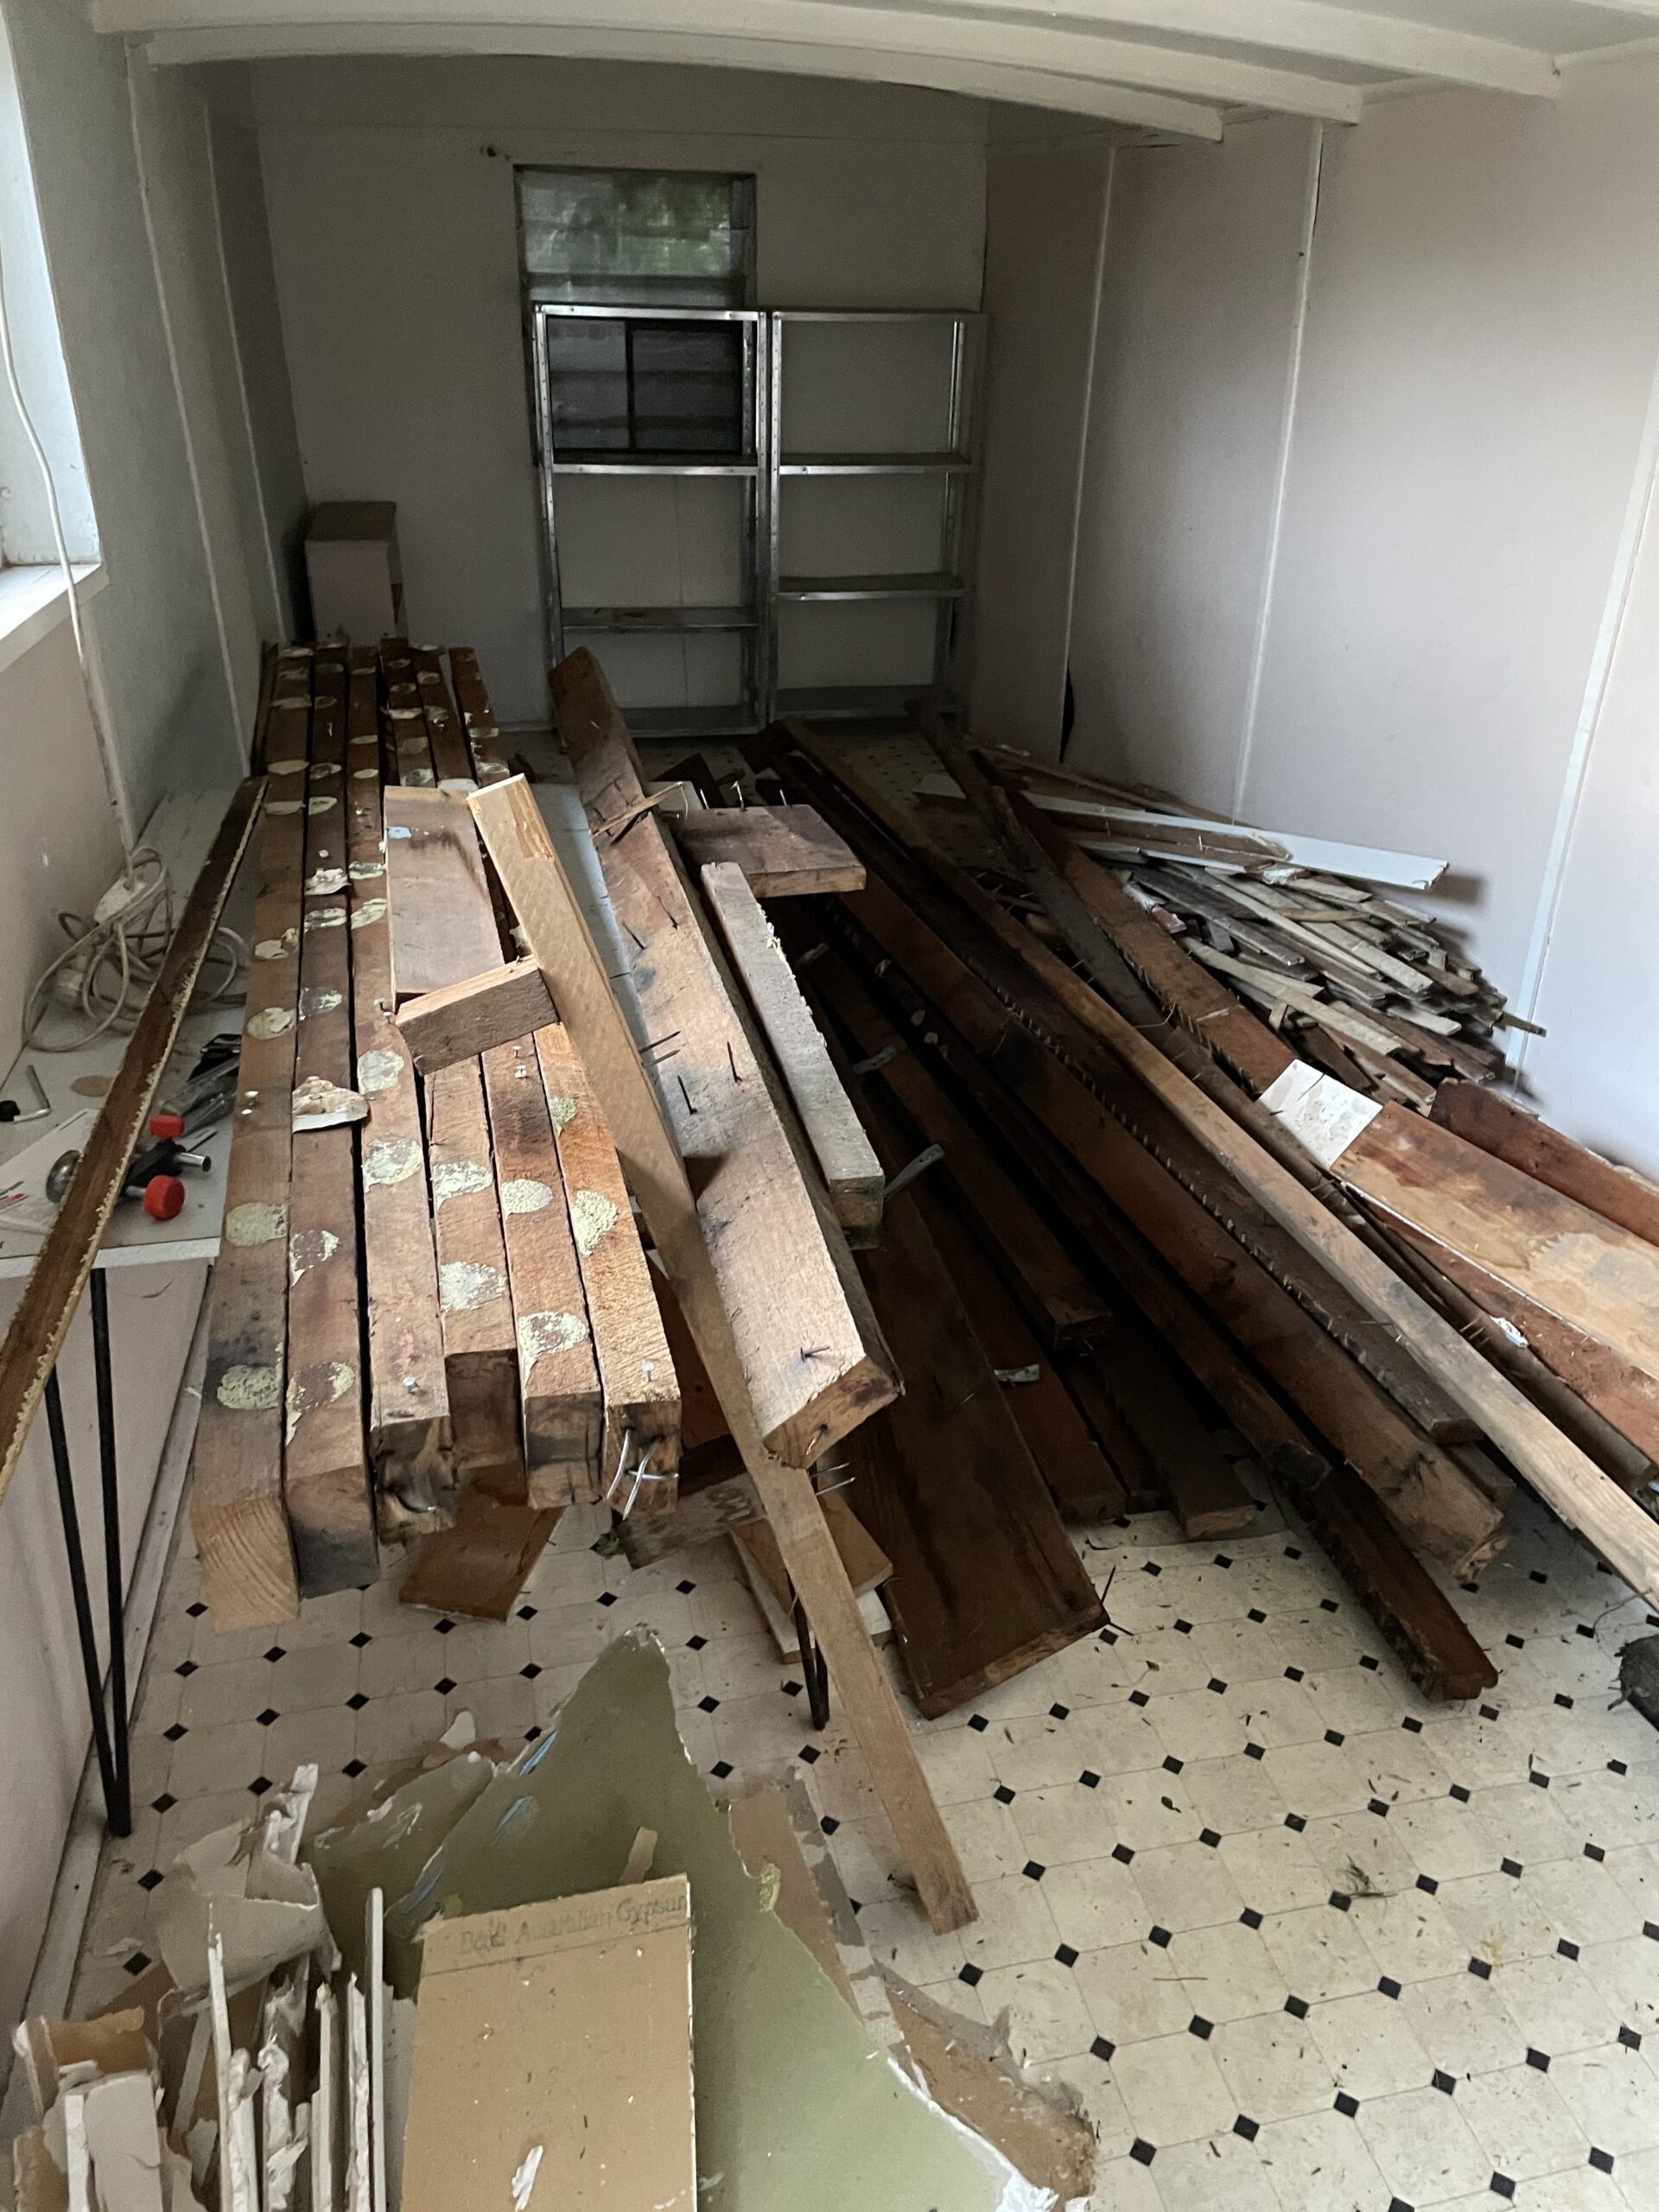
We also now have a stockpile of beautiful old wood to do… something with.

Subfloor access

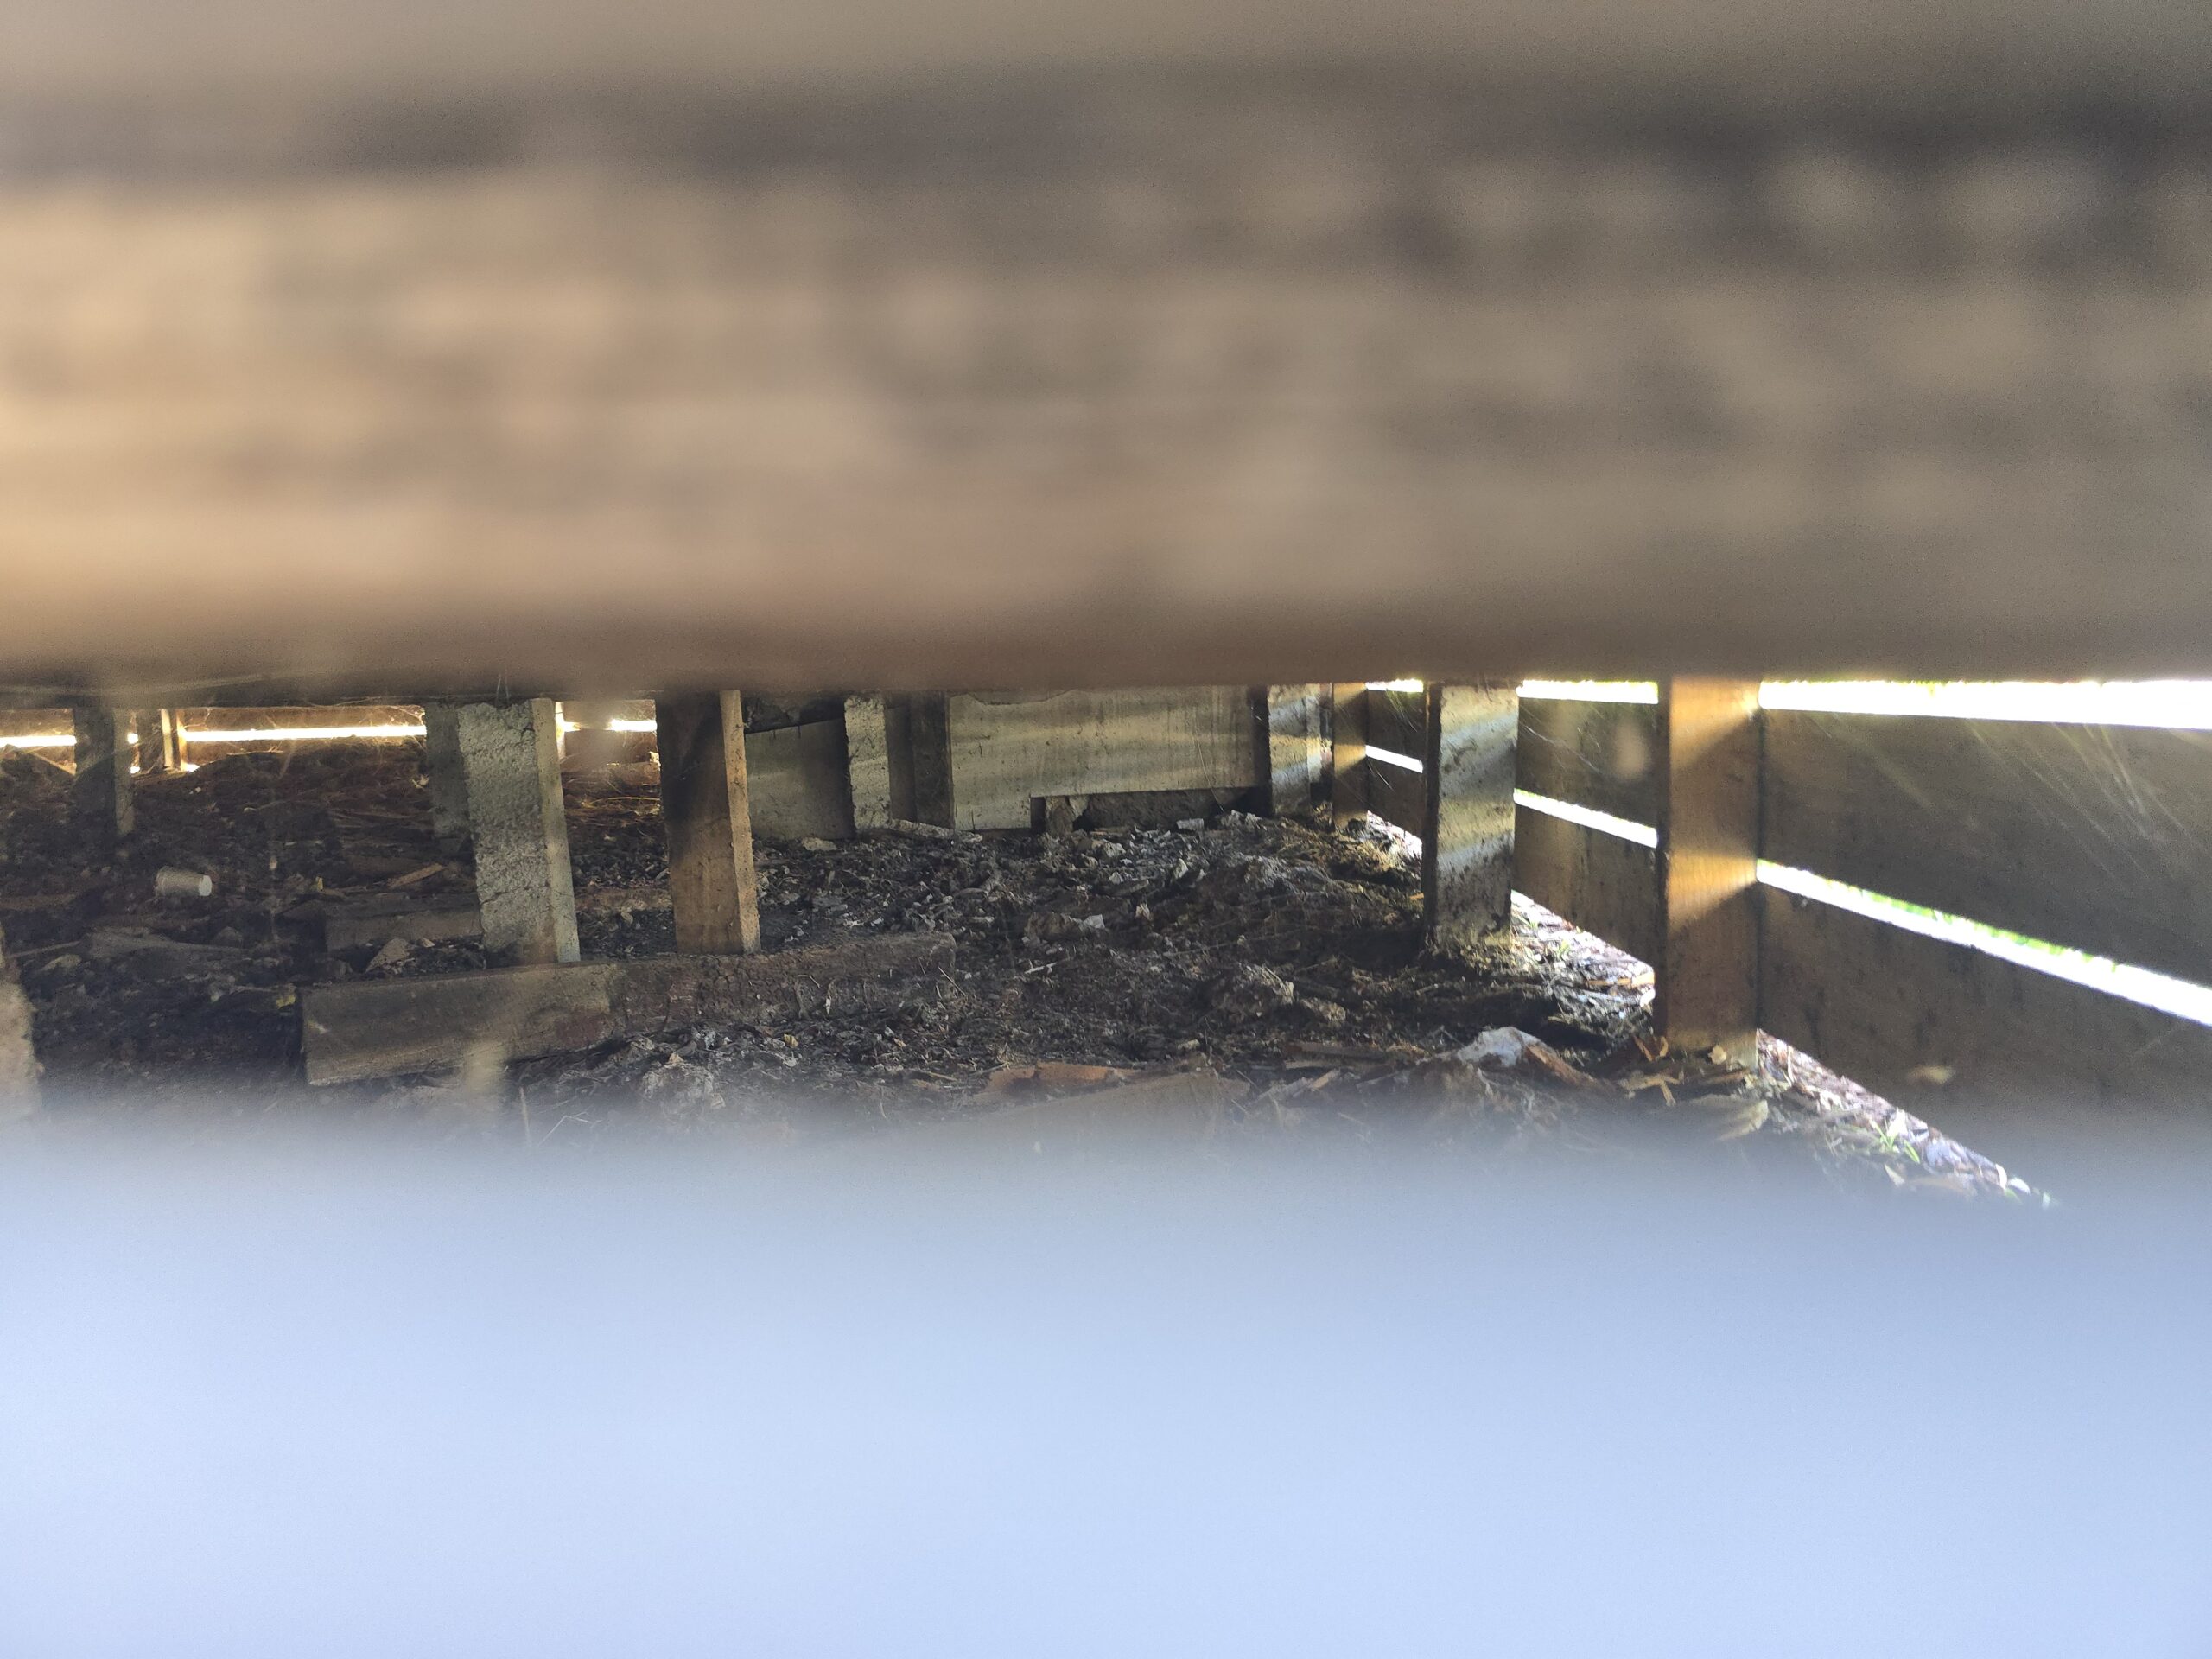
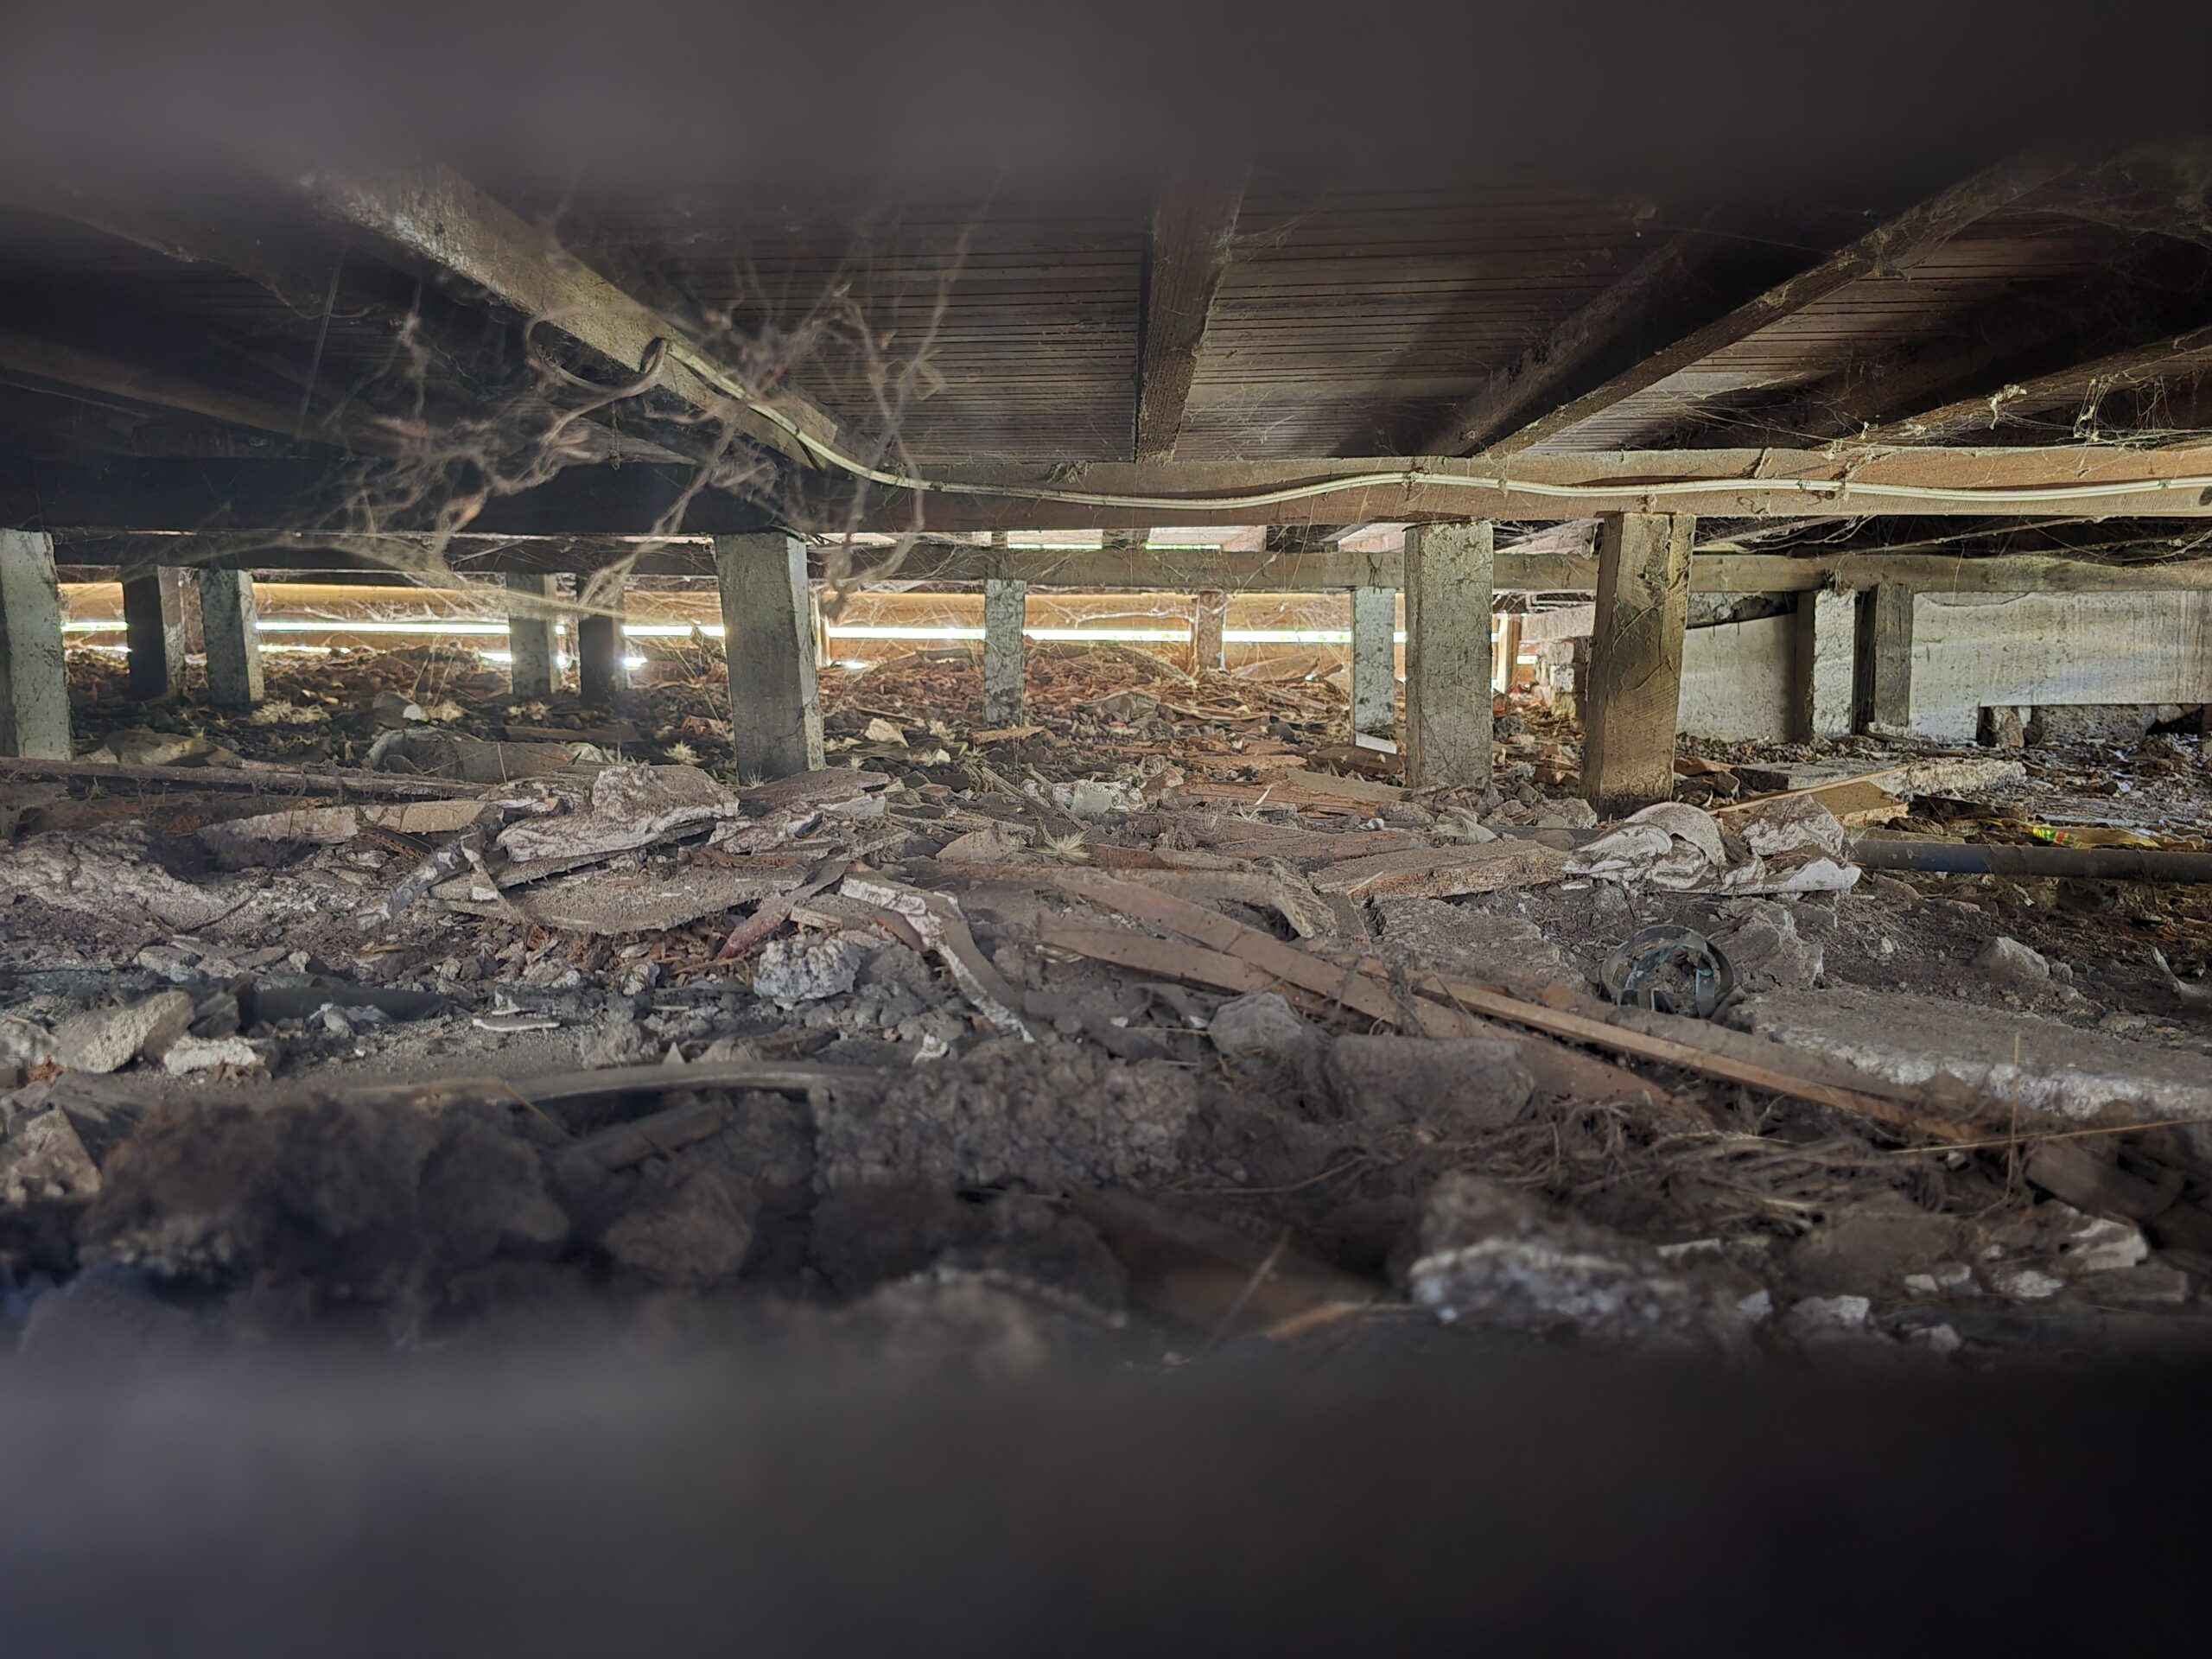
The subfloor is the part of the house under the house. In older wood constructions, the idea is to have airflow under the house to keep the timber dry and free from nasty things like fungus and rot.

This means the houses are raised up on timber or concrete “stumps”. This seems to have worked fine for my house for the last 100 years or so, but over time the “stumps” can become damaged or out of alignment.

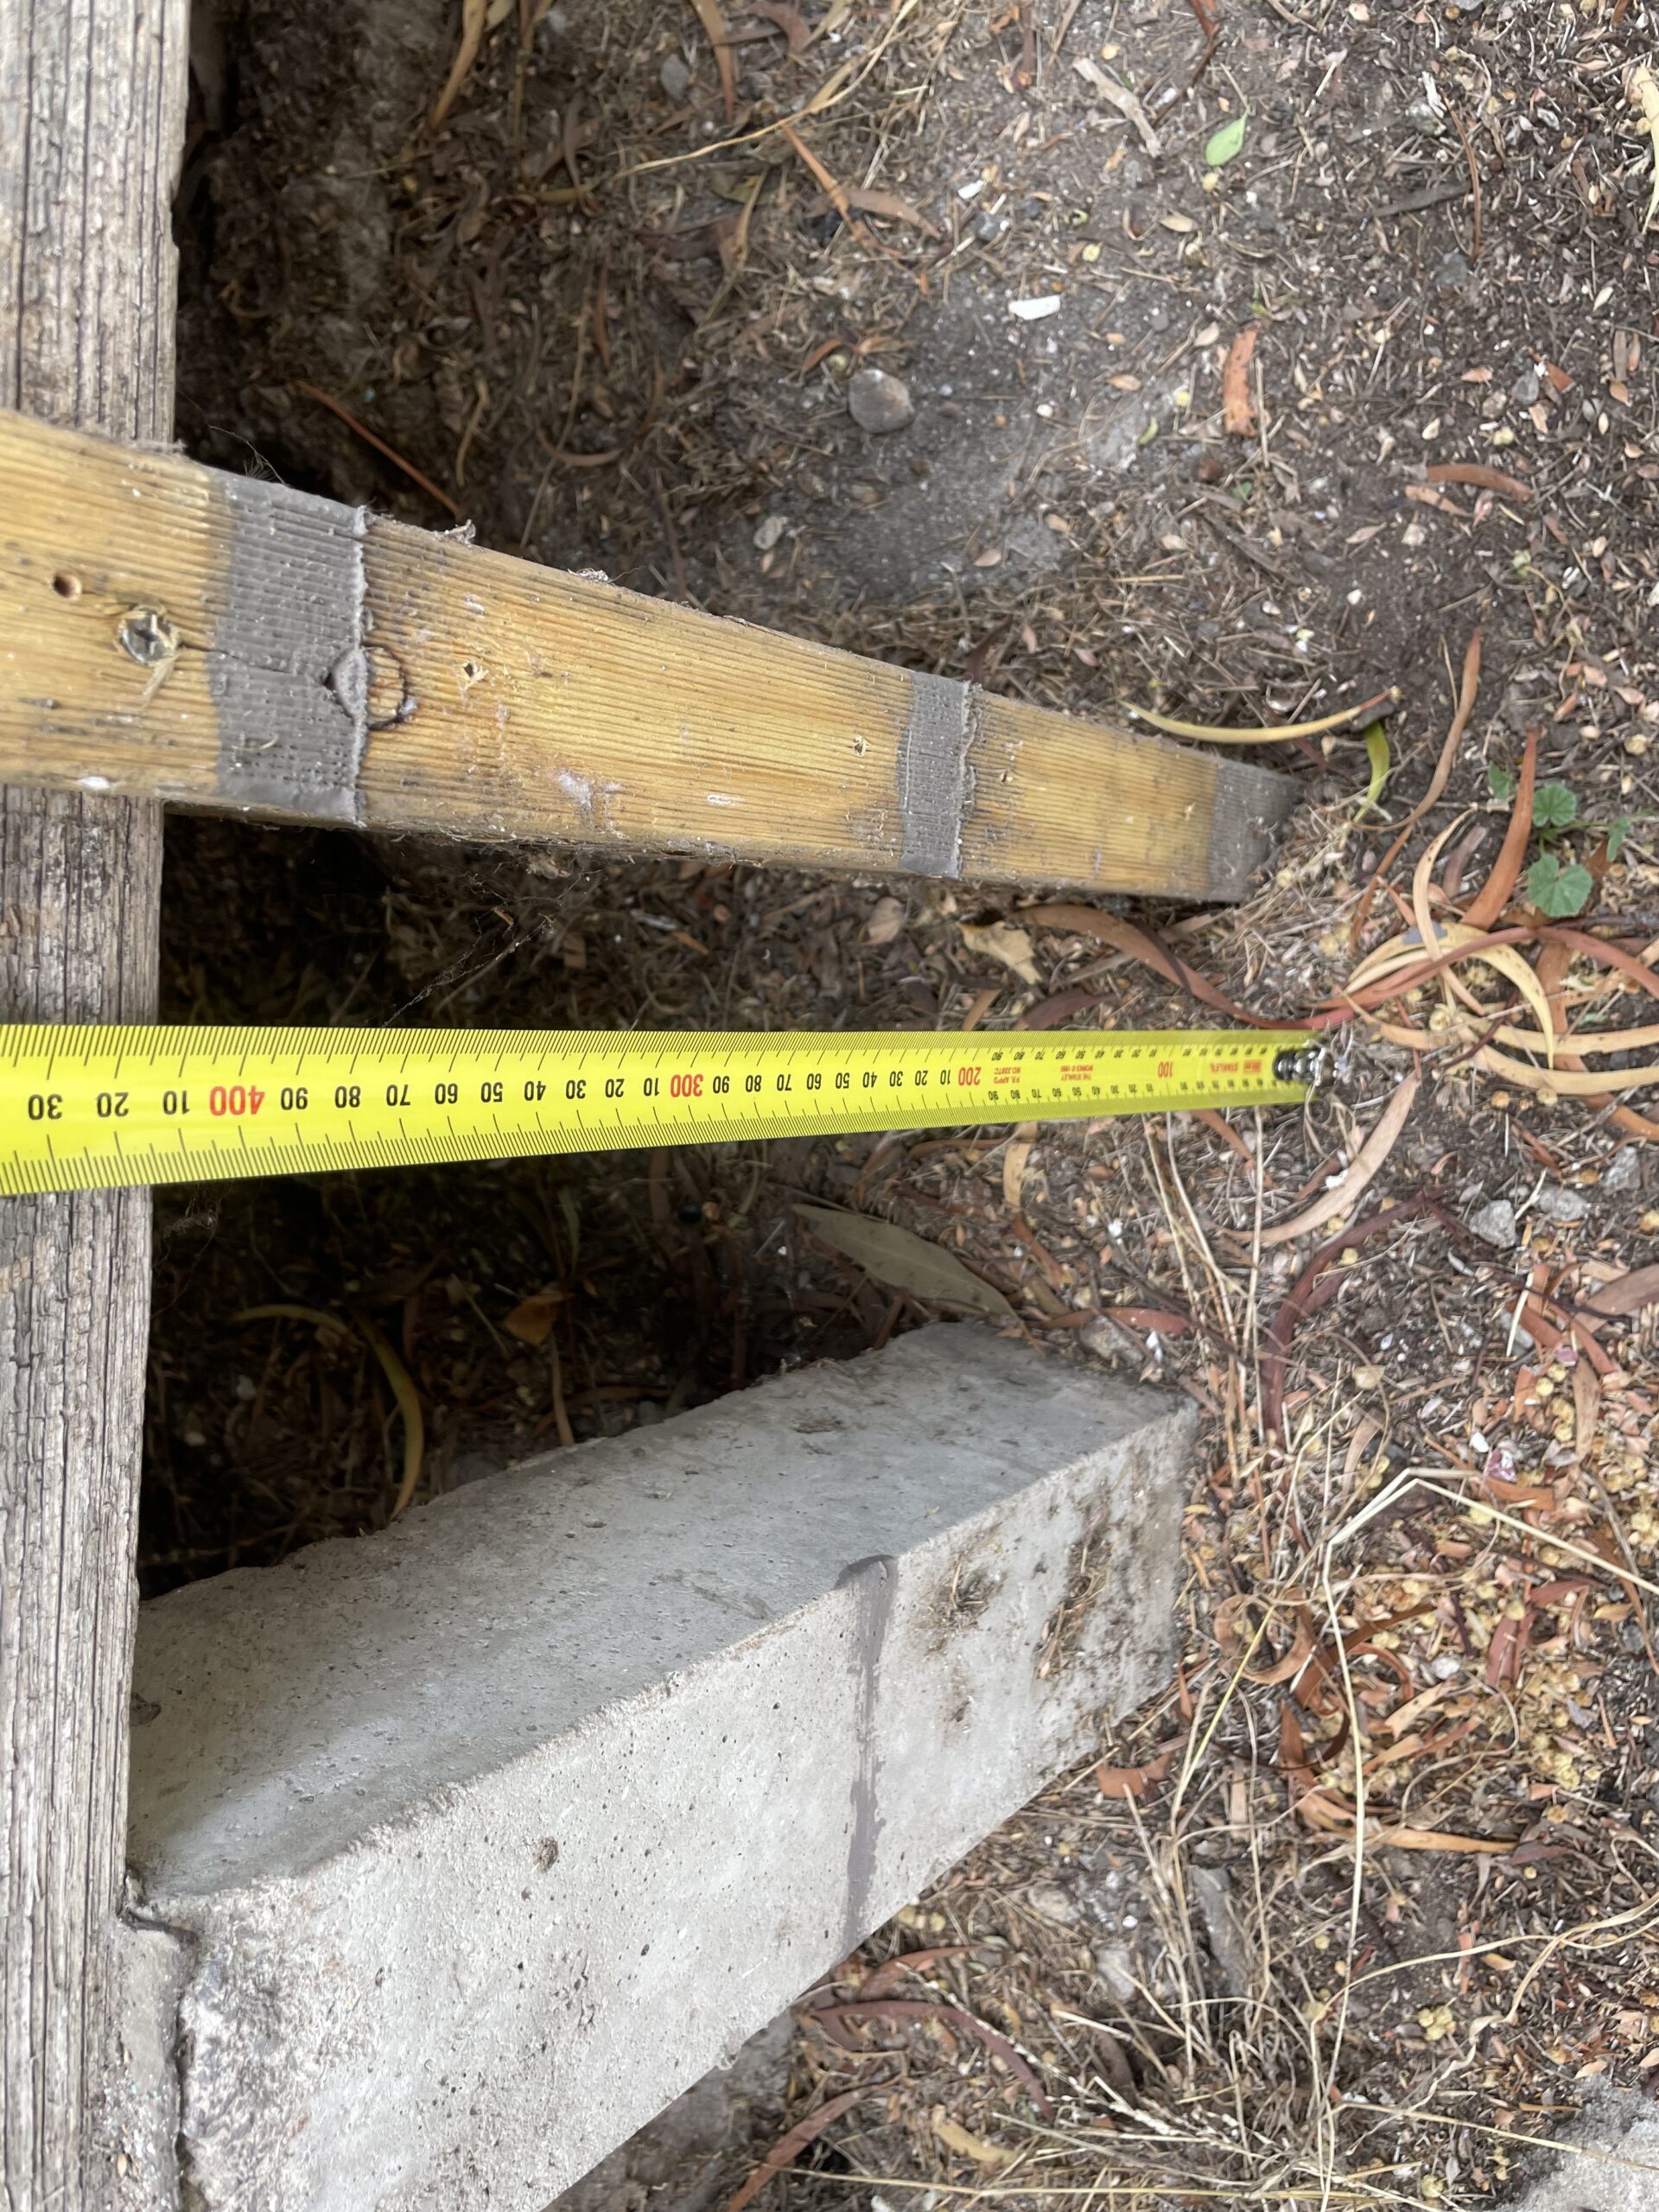
Typically this is why you need “sub floor access” to get in under the house to check on the stumps or do things like fix plumbing or other such things. Think of it like a roof cavity under your feet. You can see in the images above that the house has already been “re-stumped” once before and they left the original wooden stumps in place alongside the newer concrete ones.

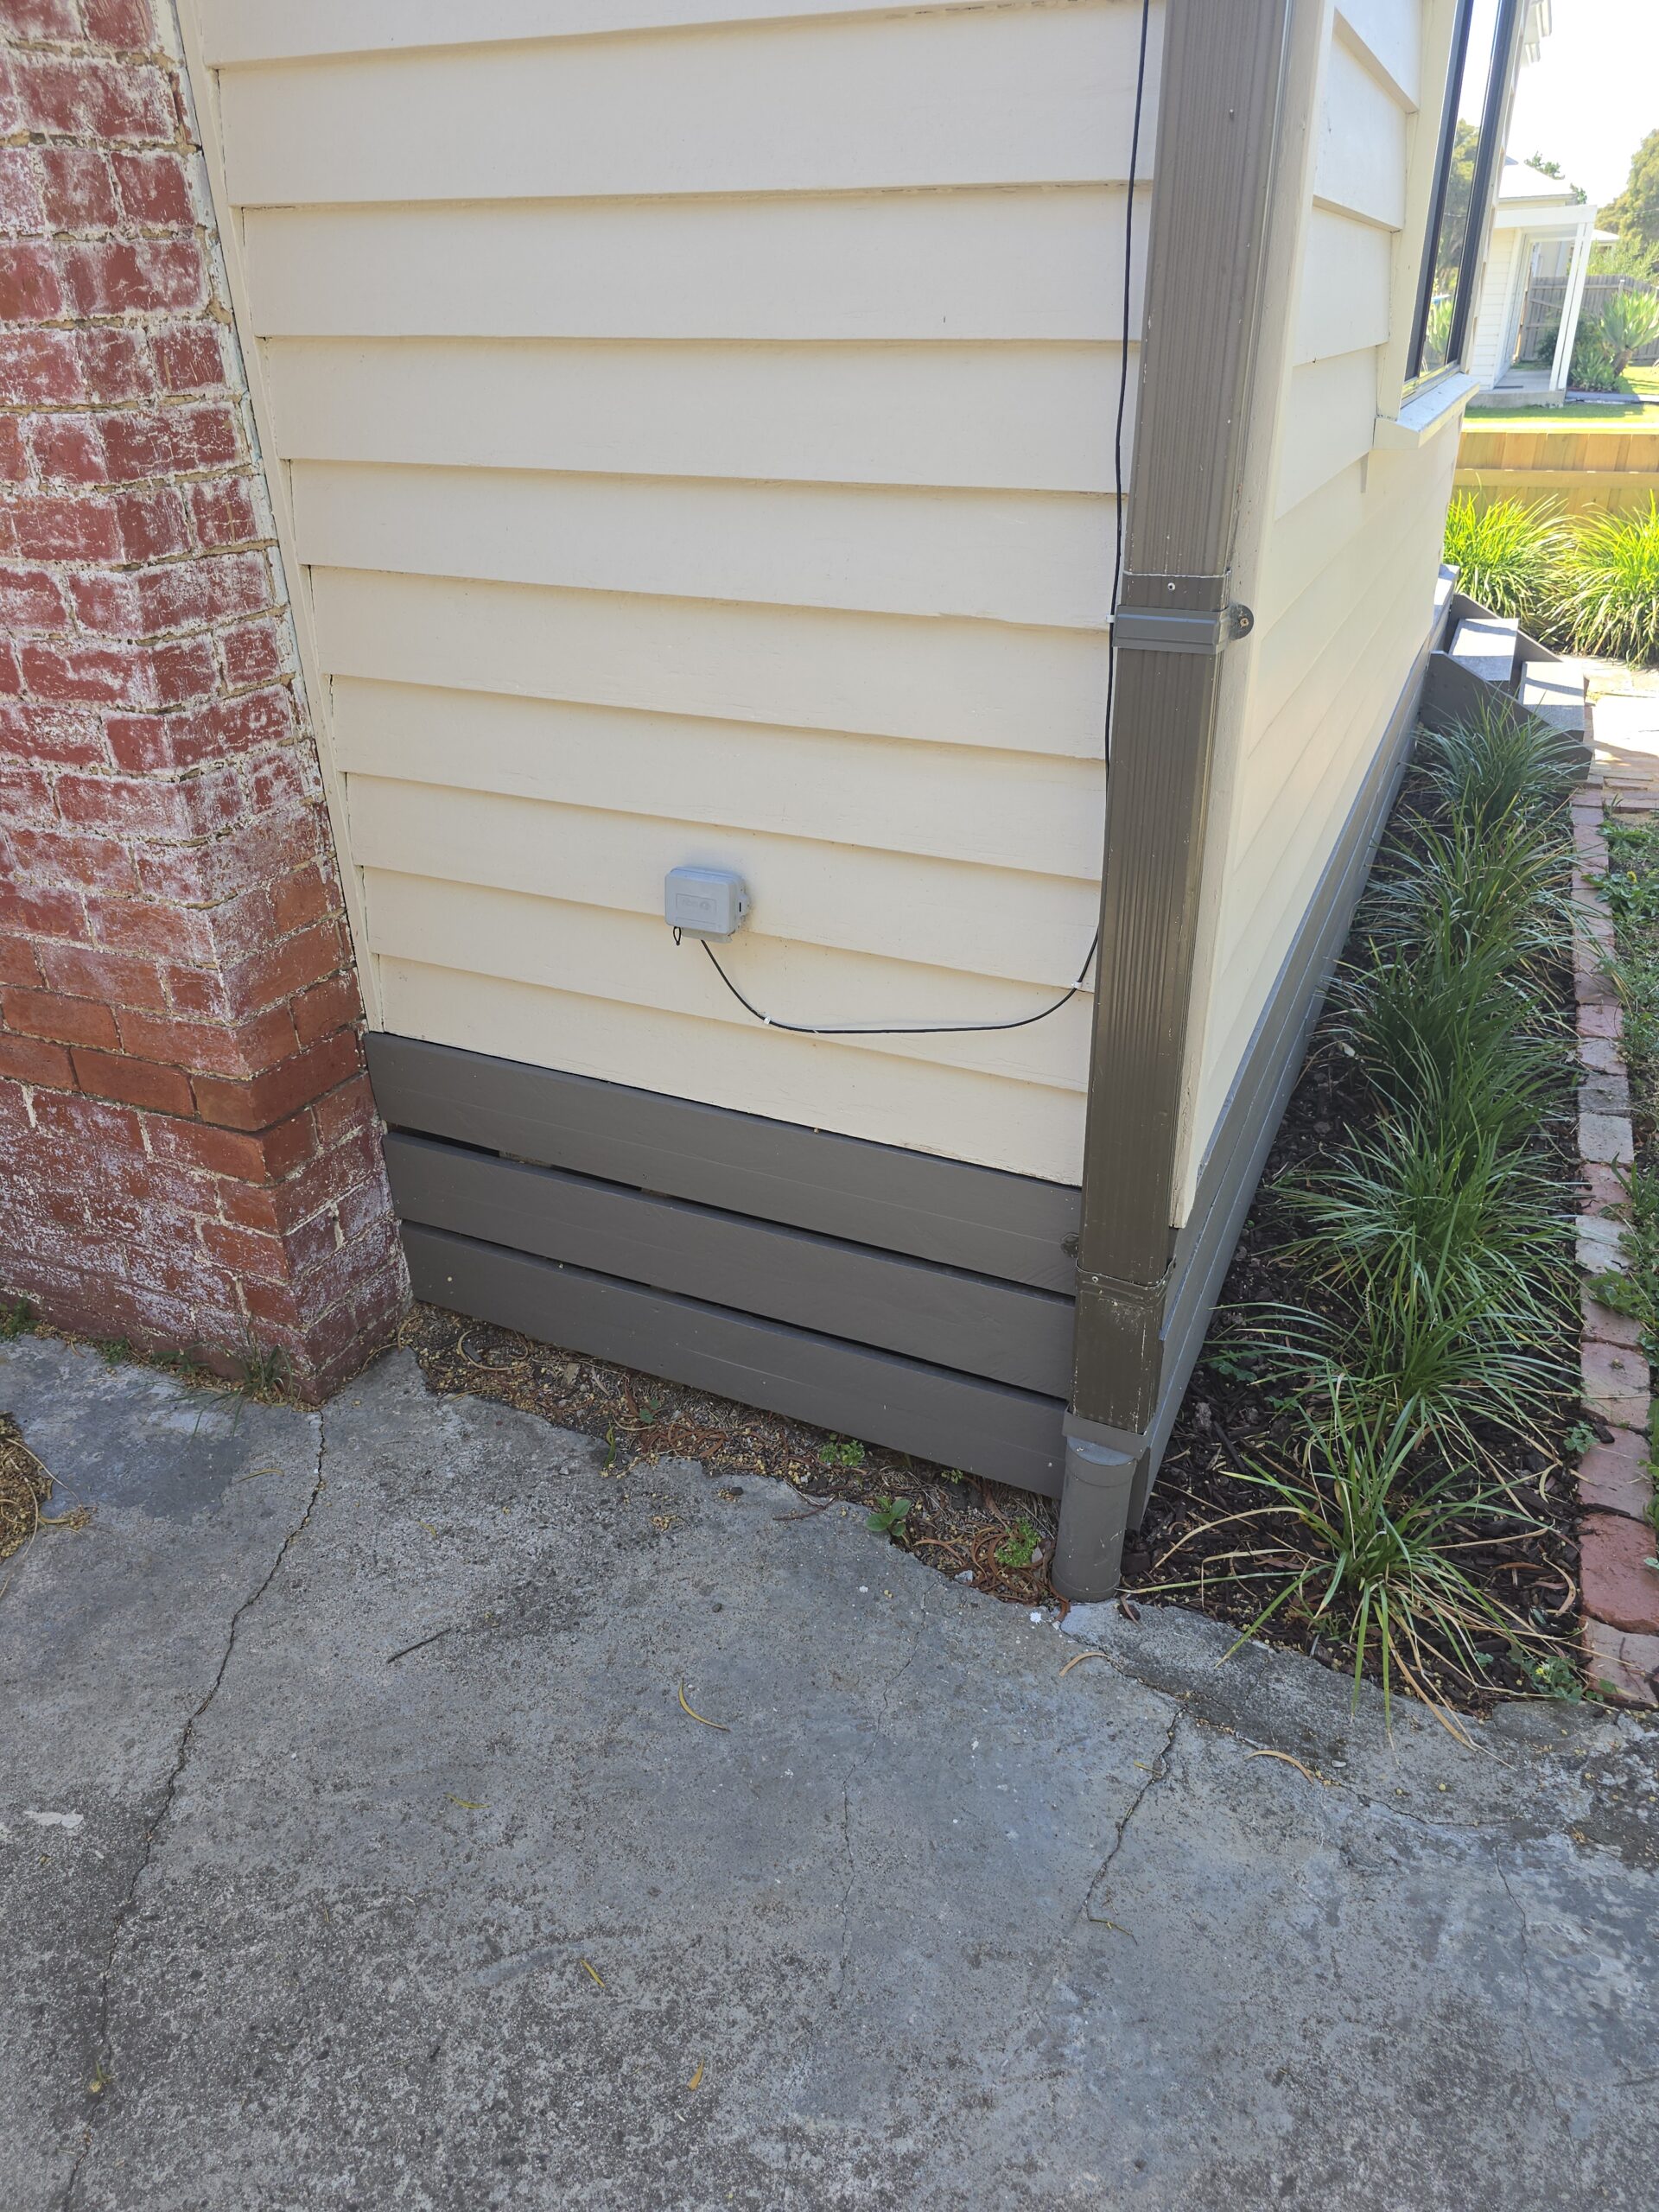
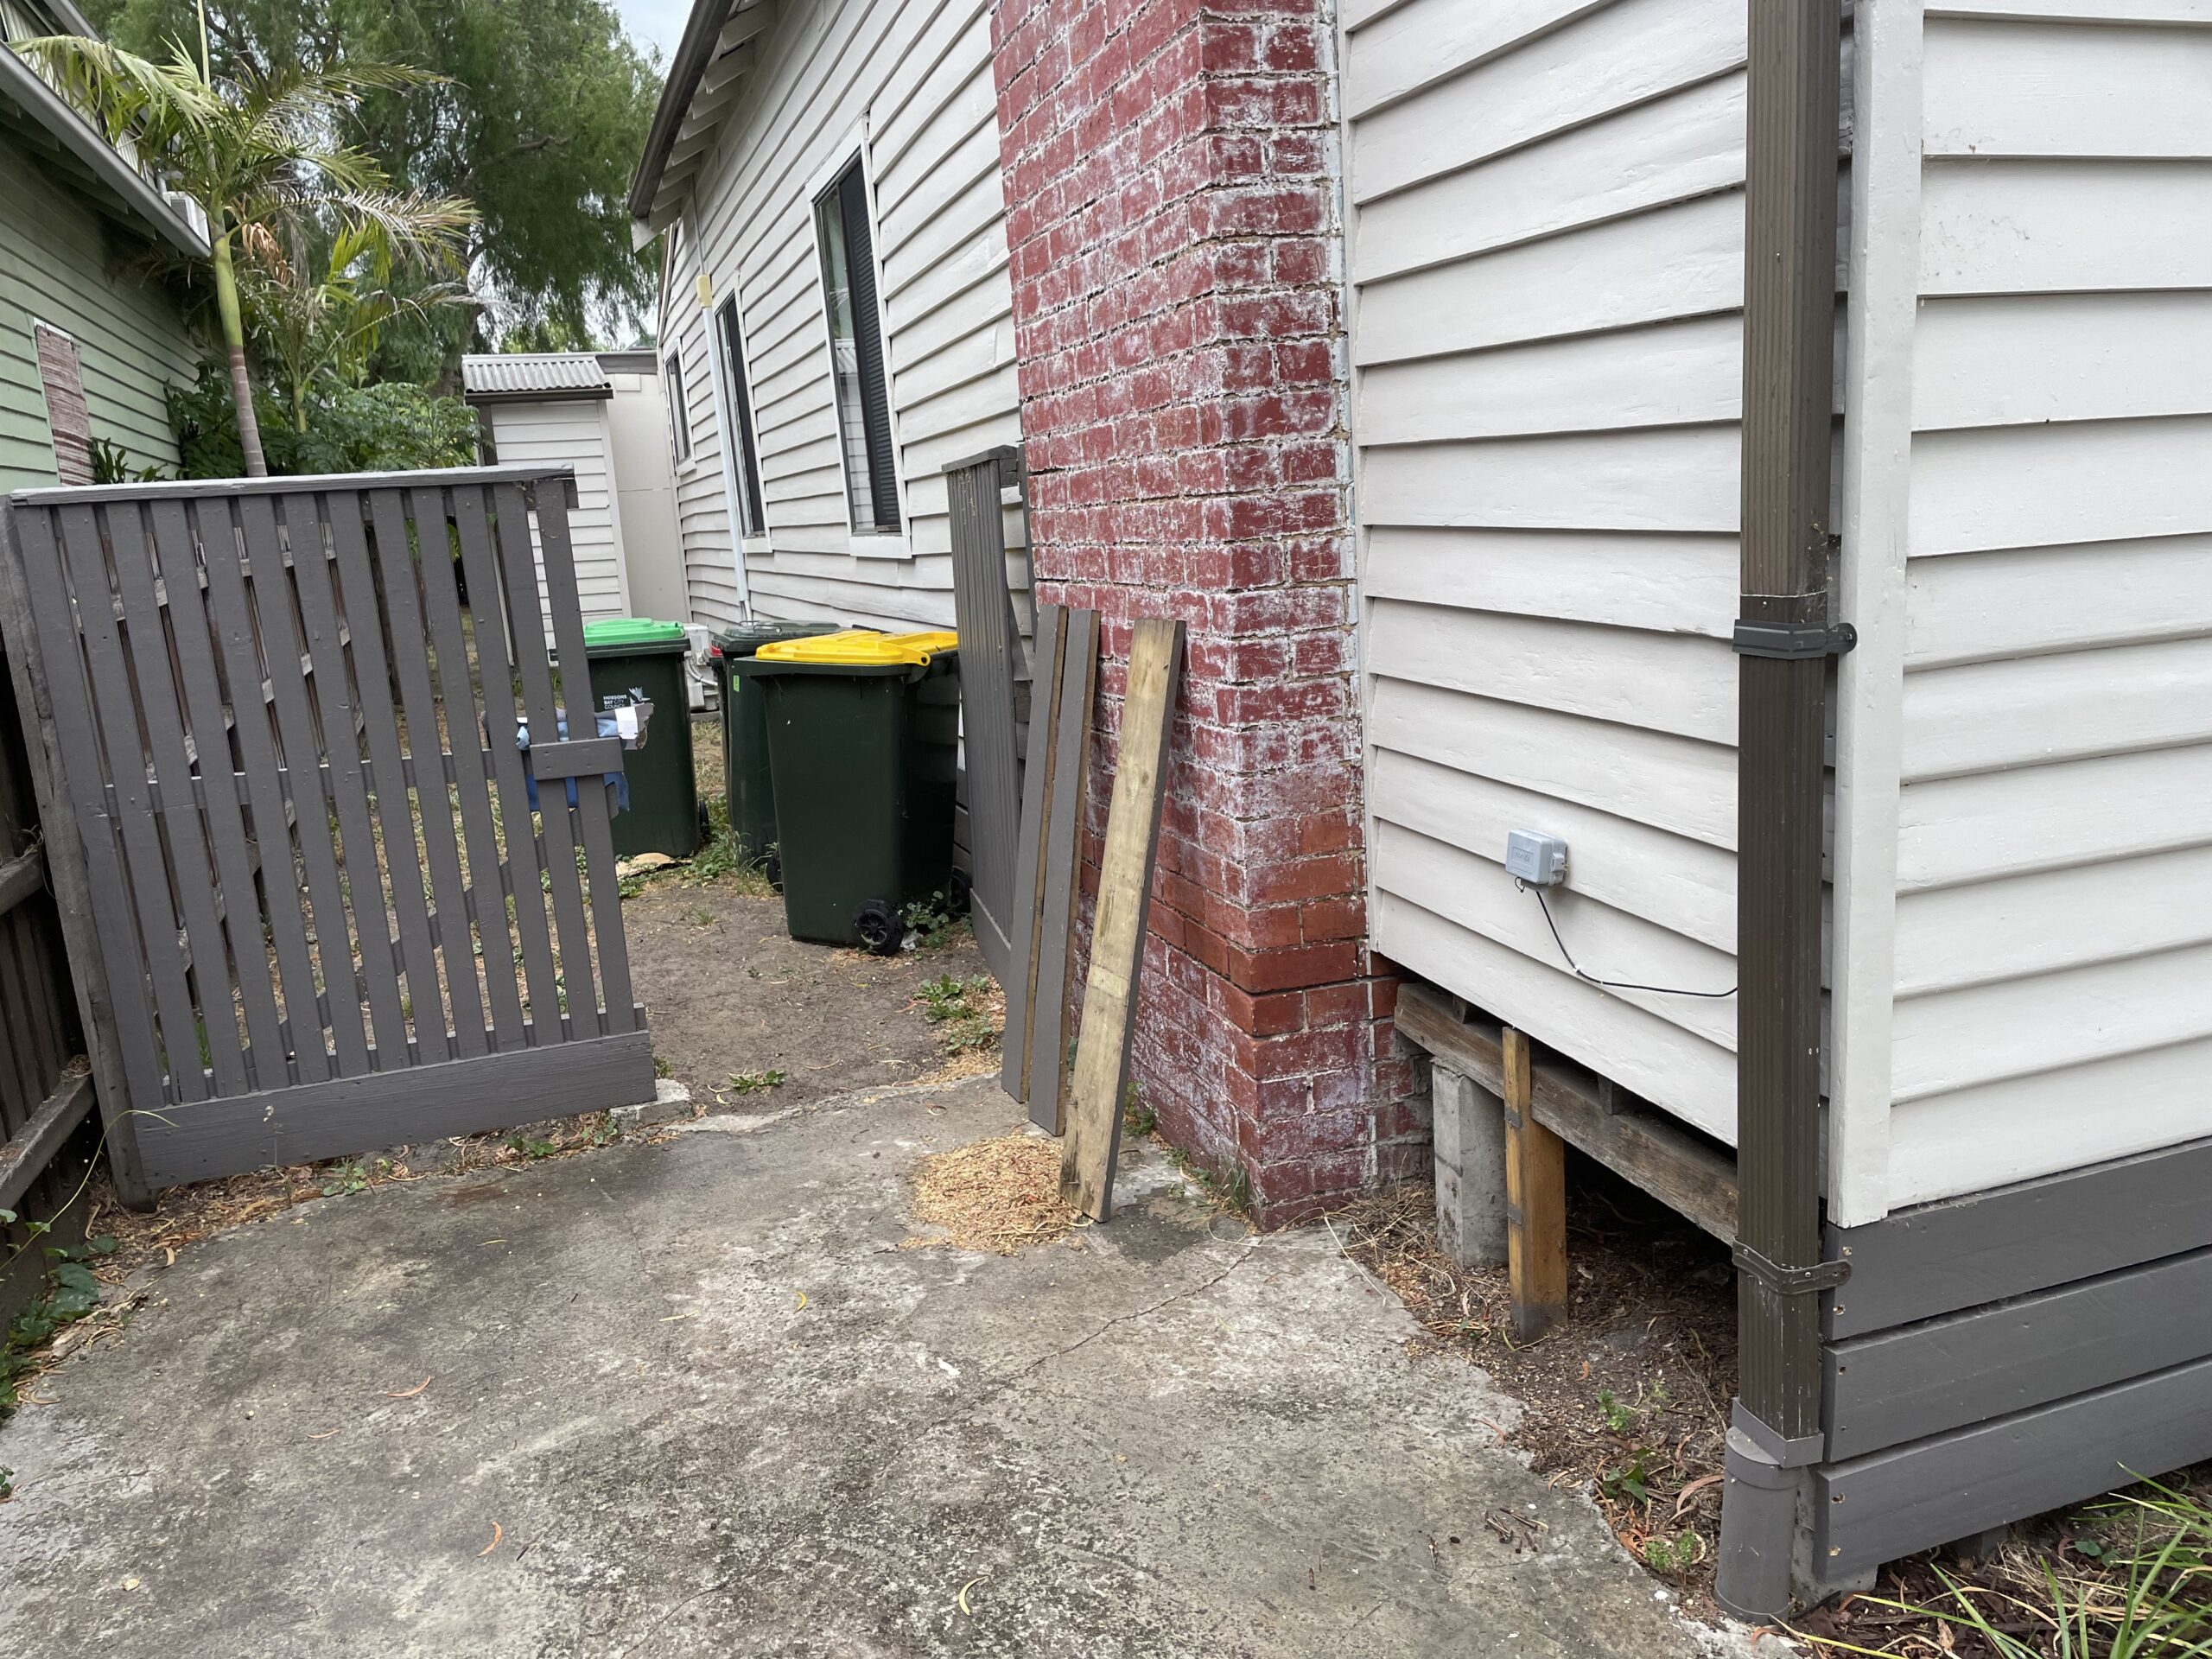
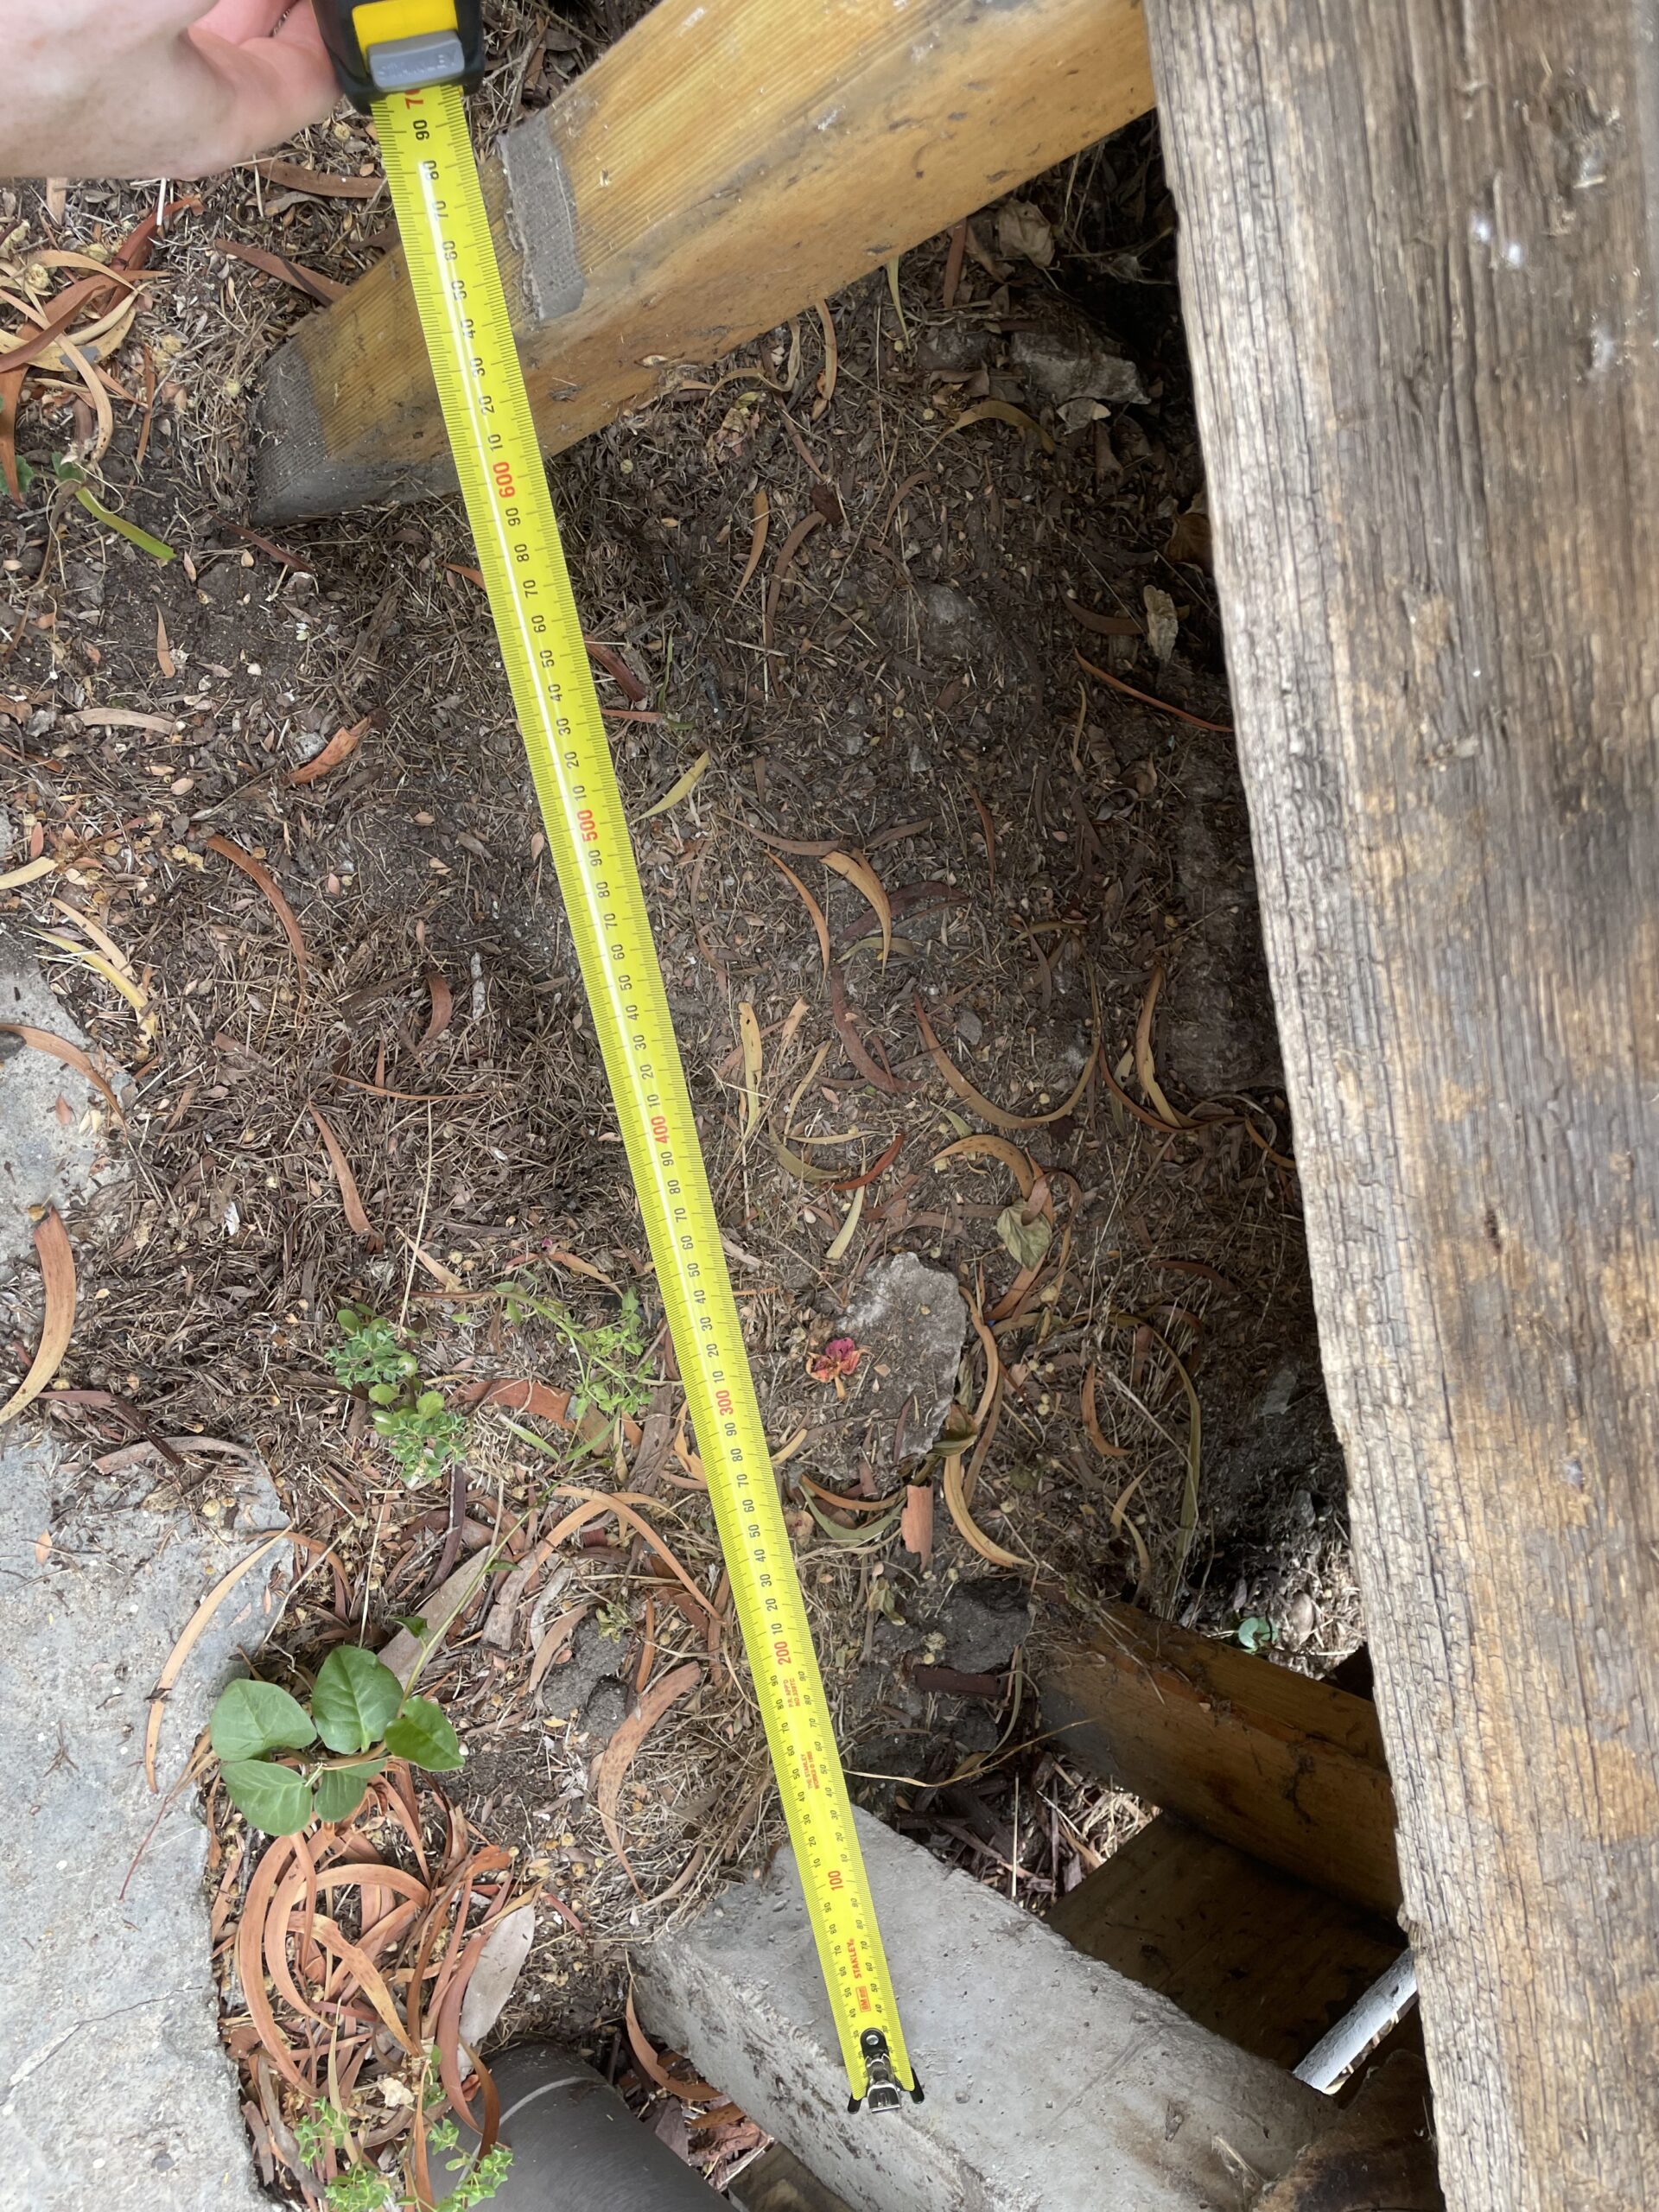
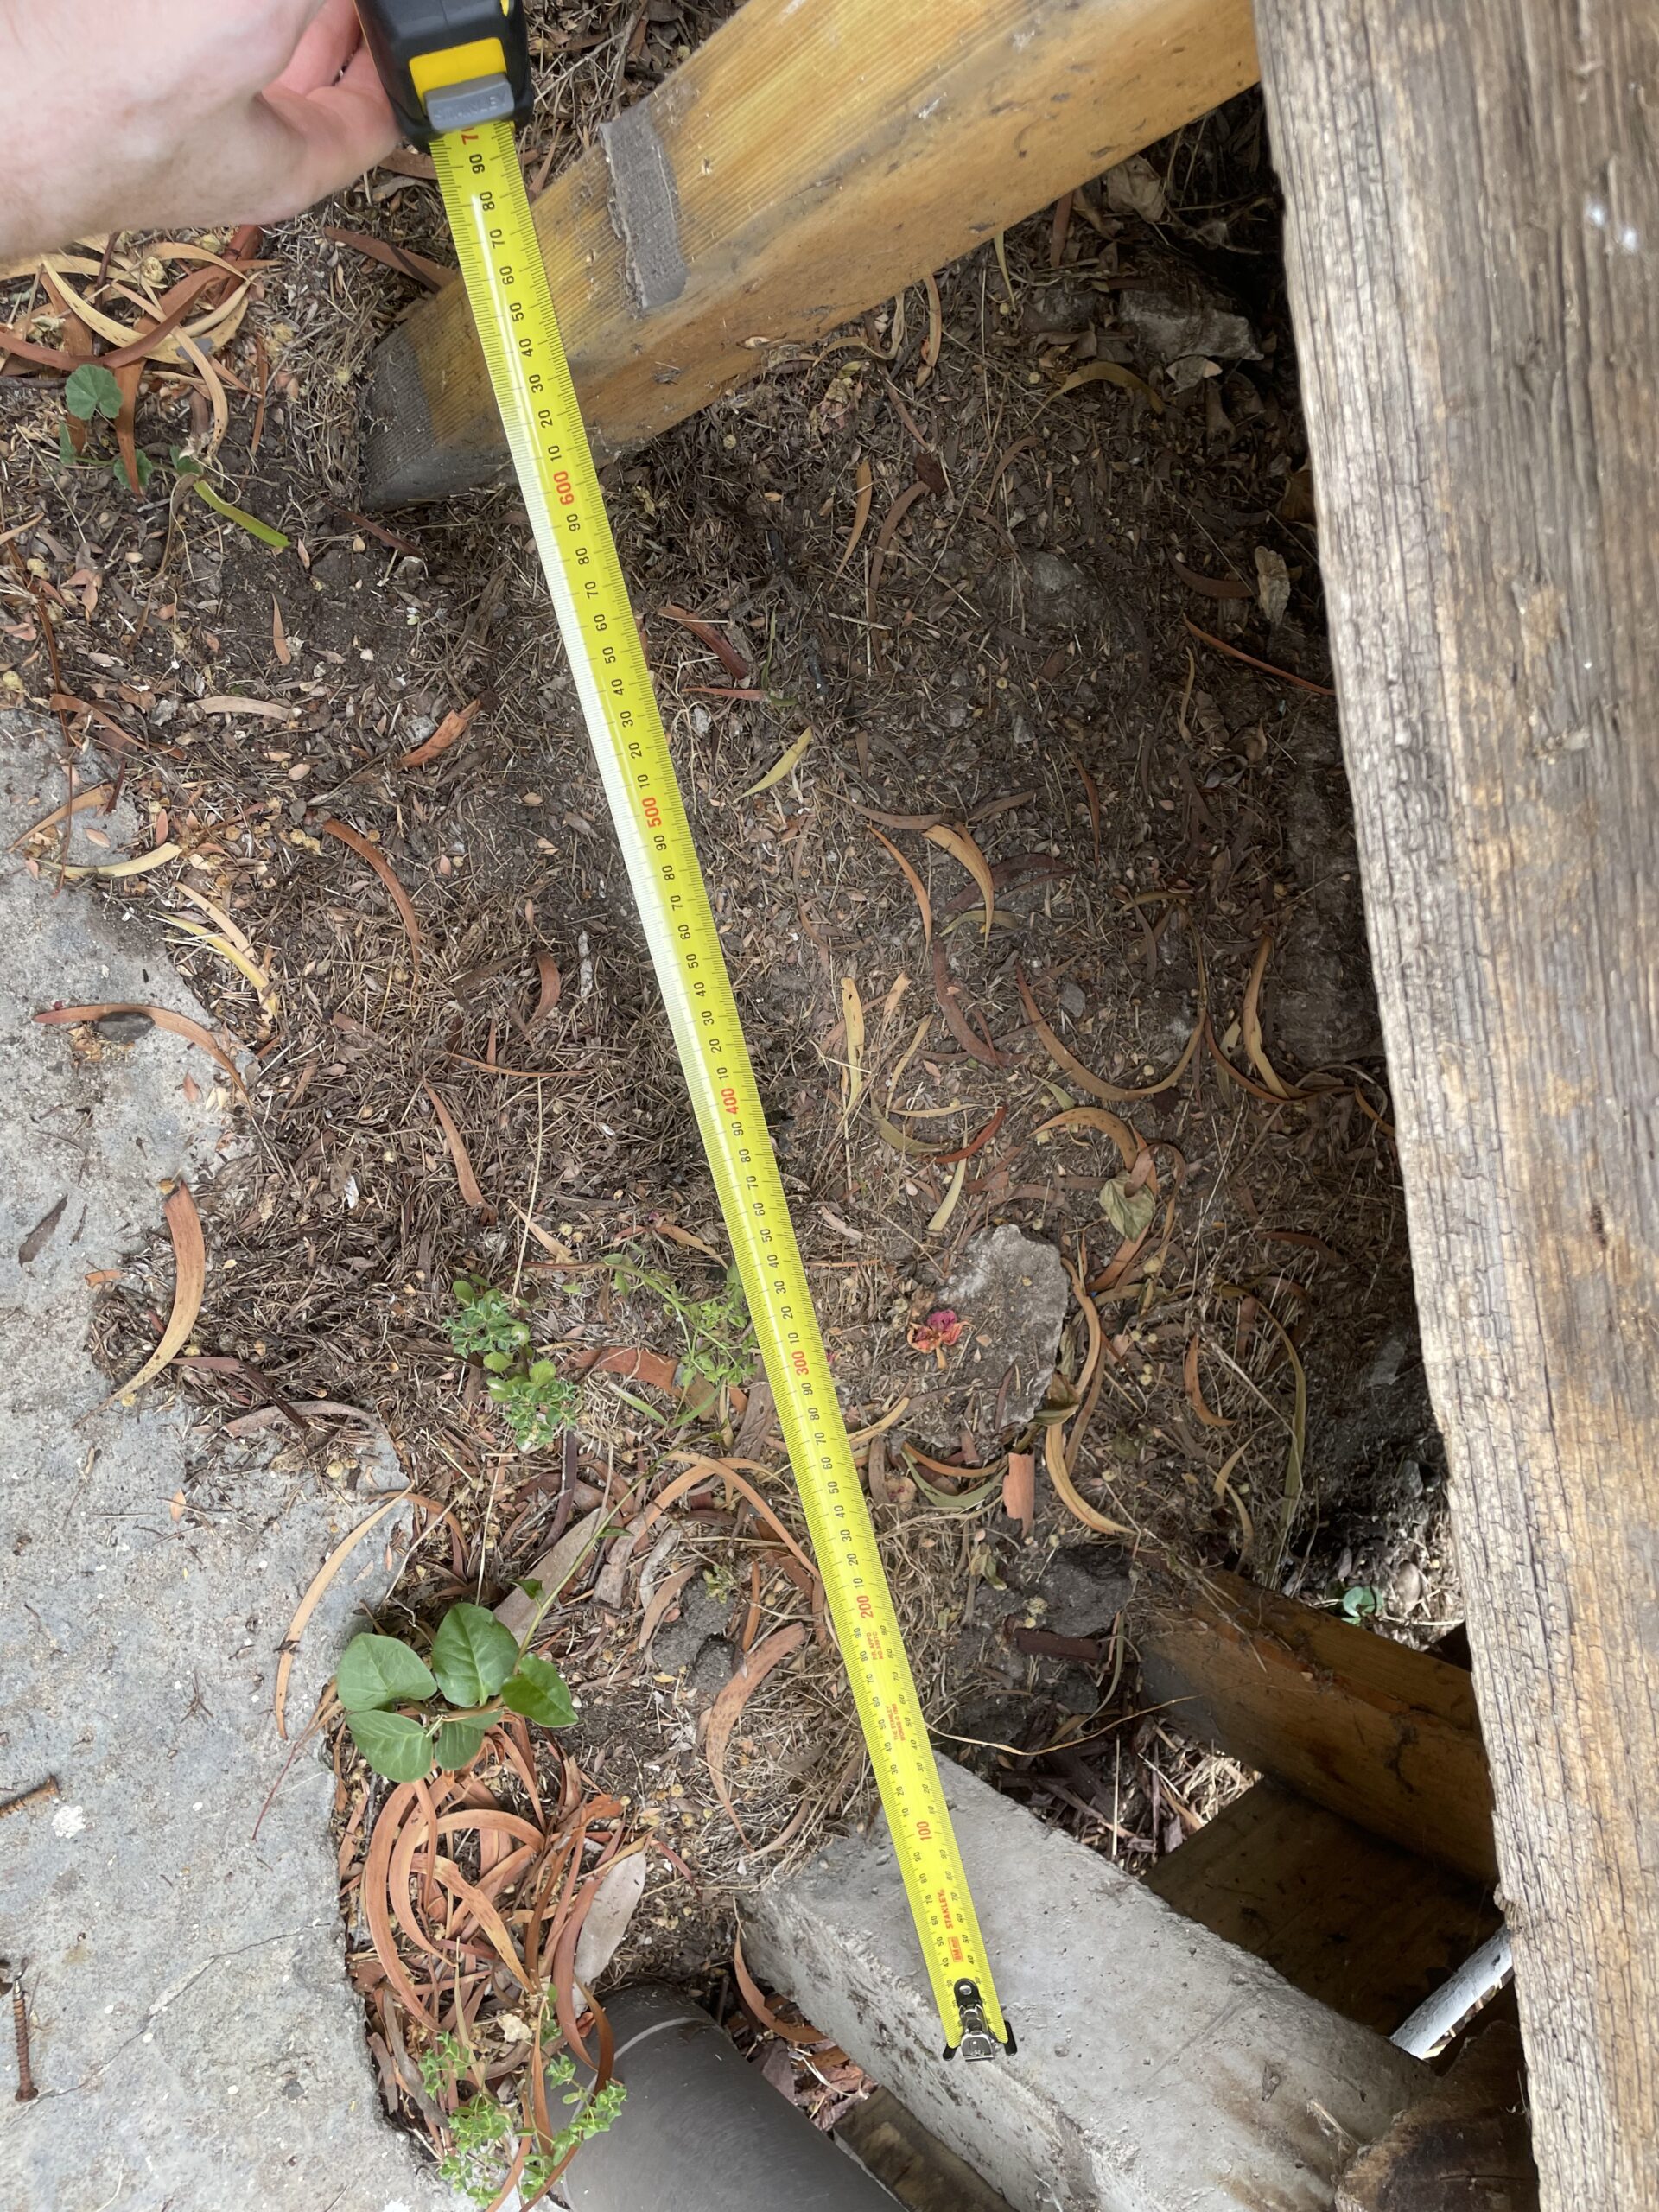
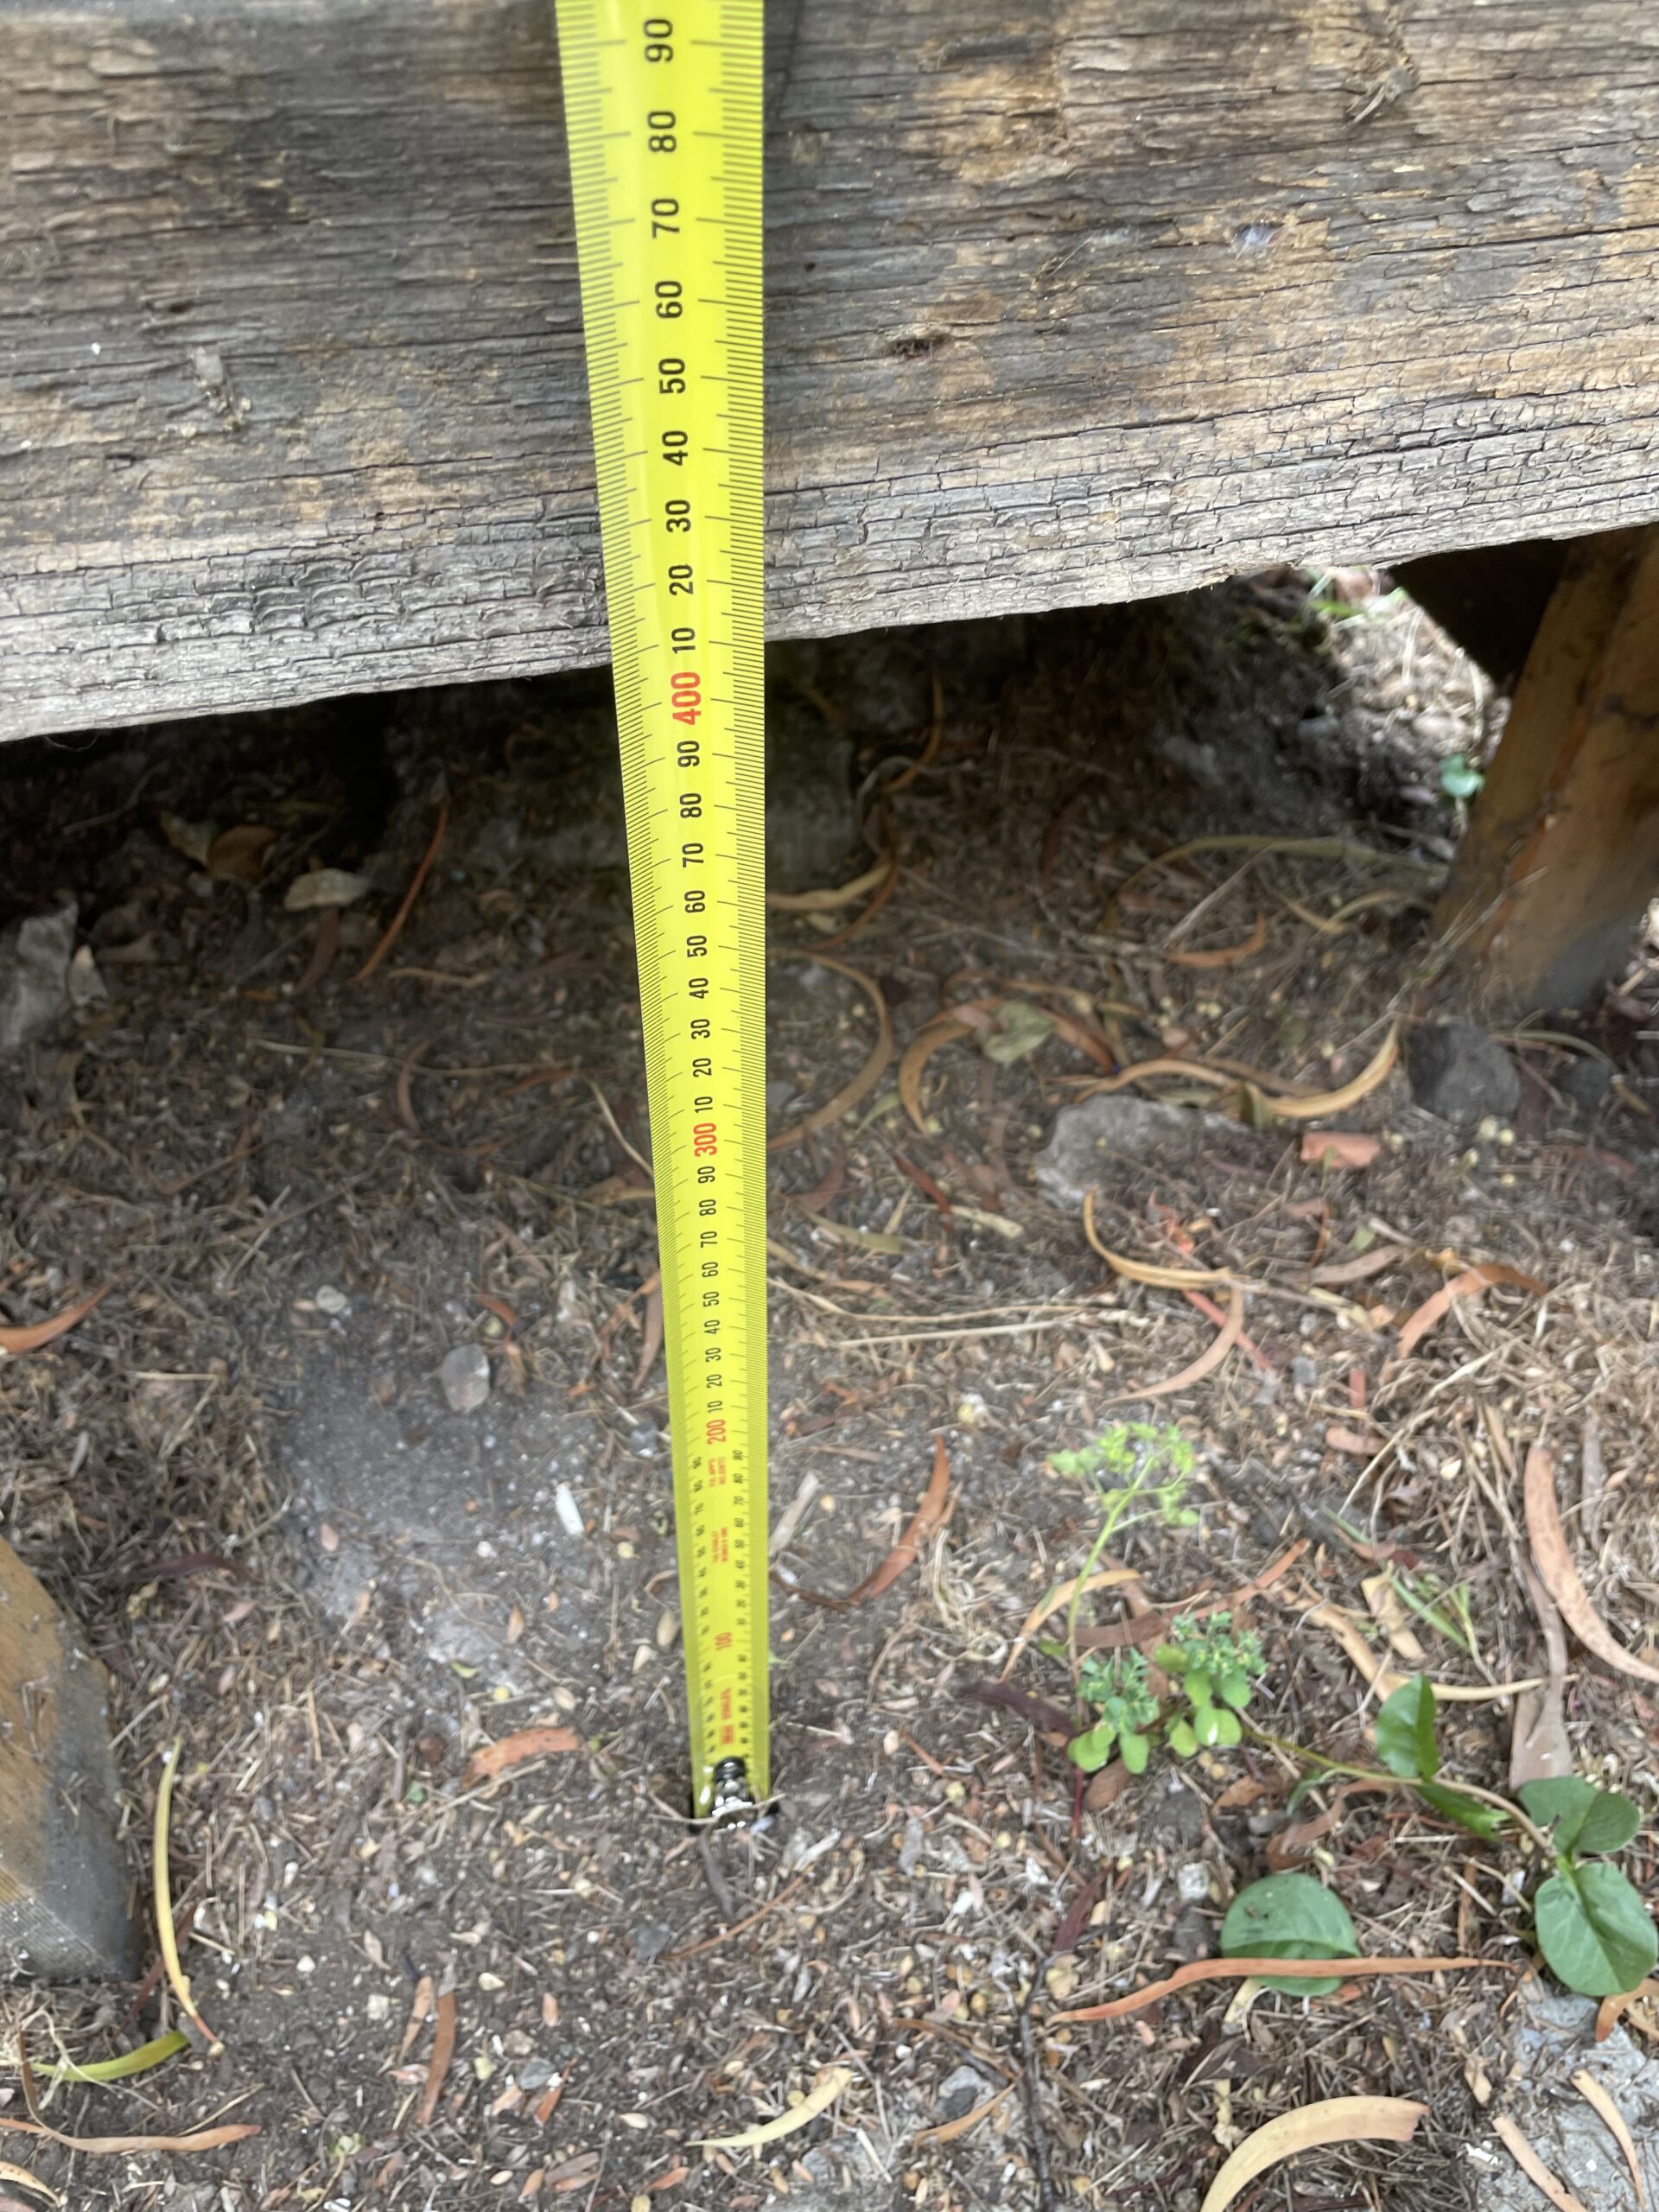
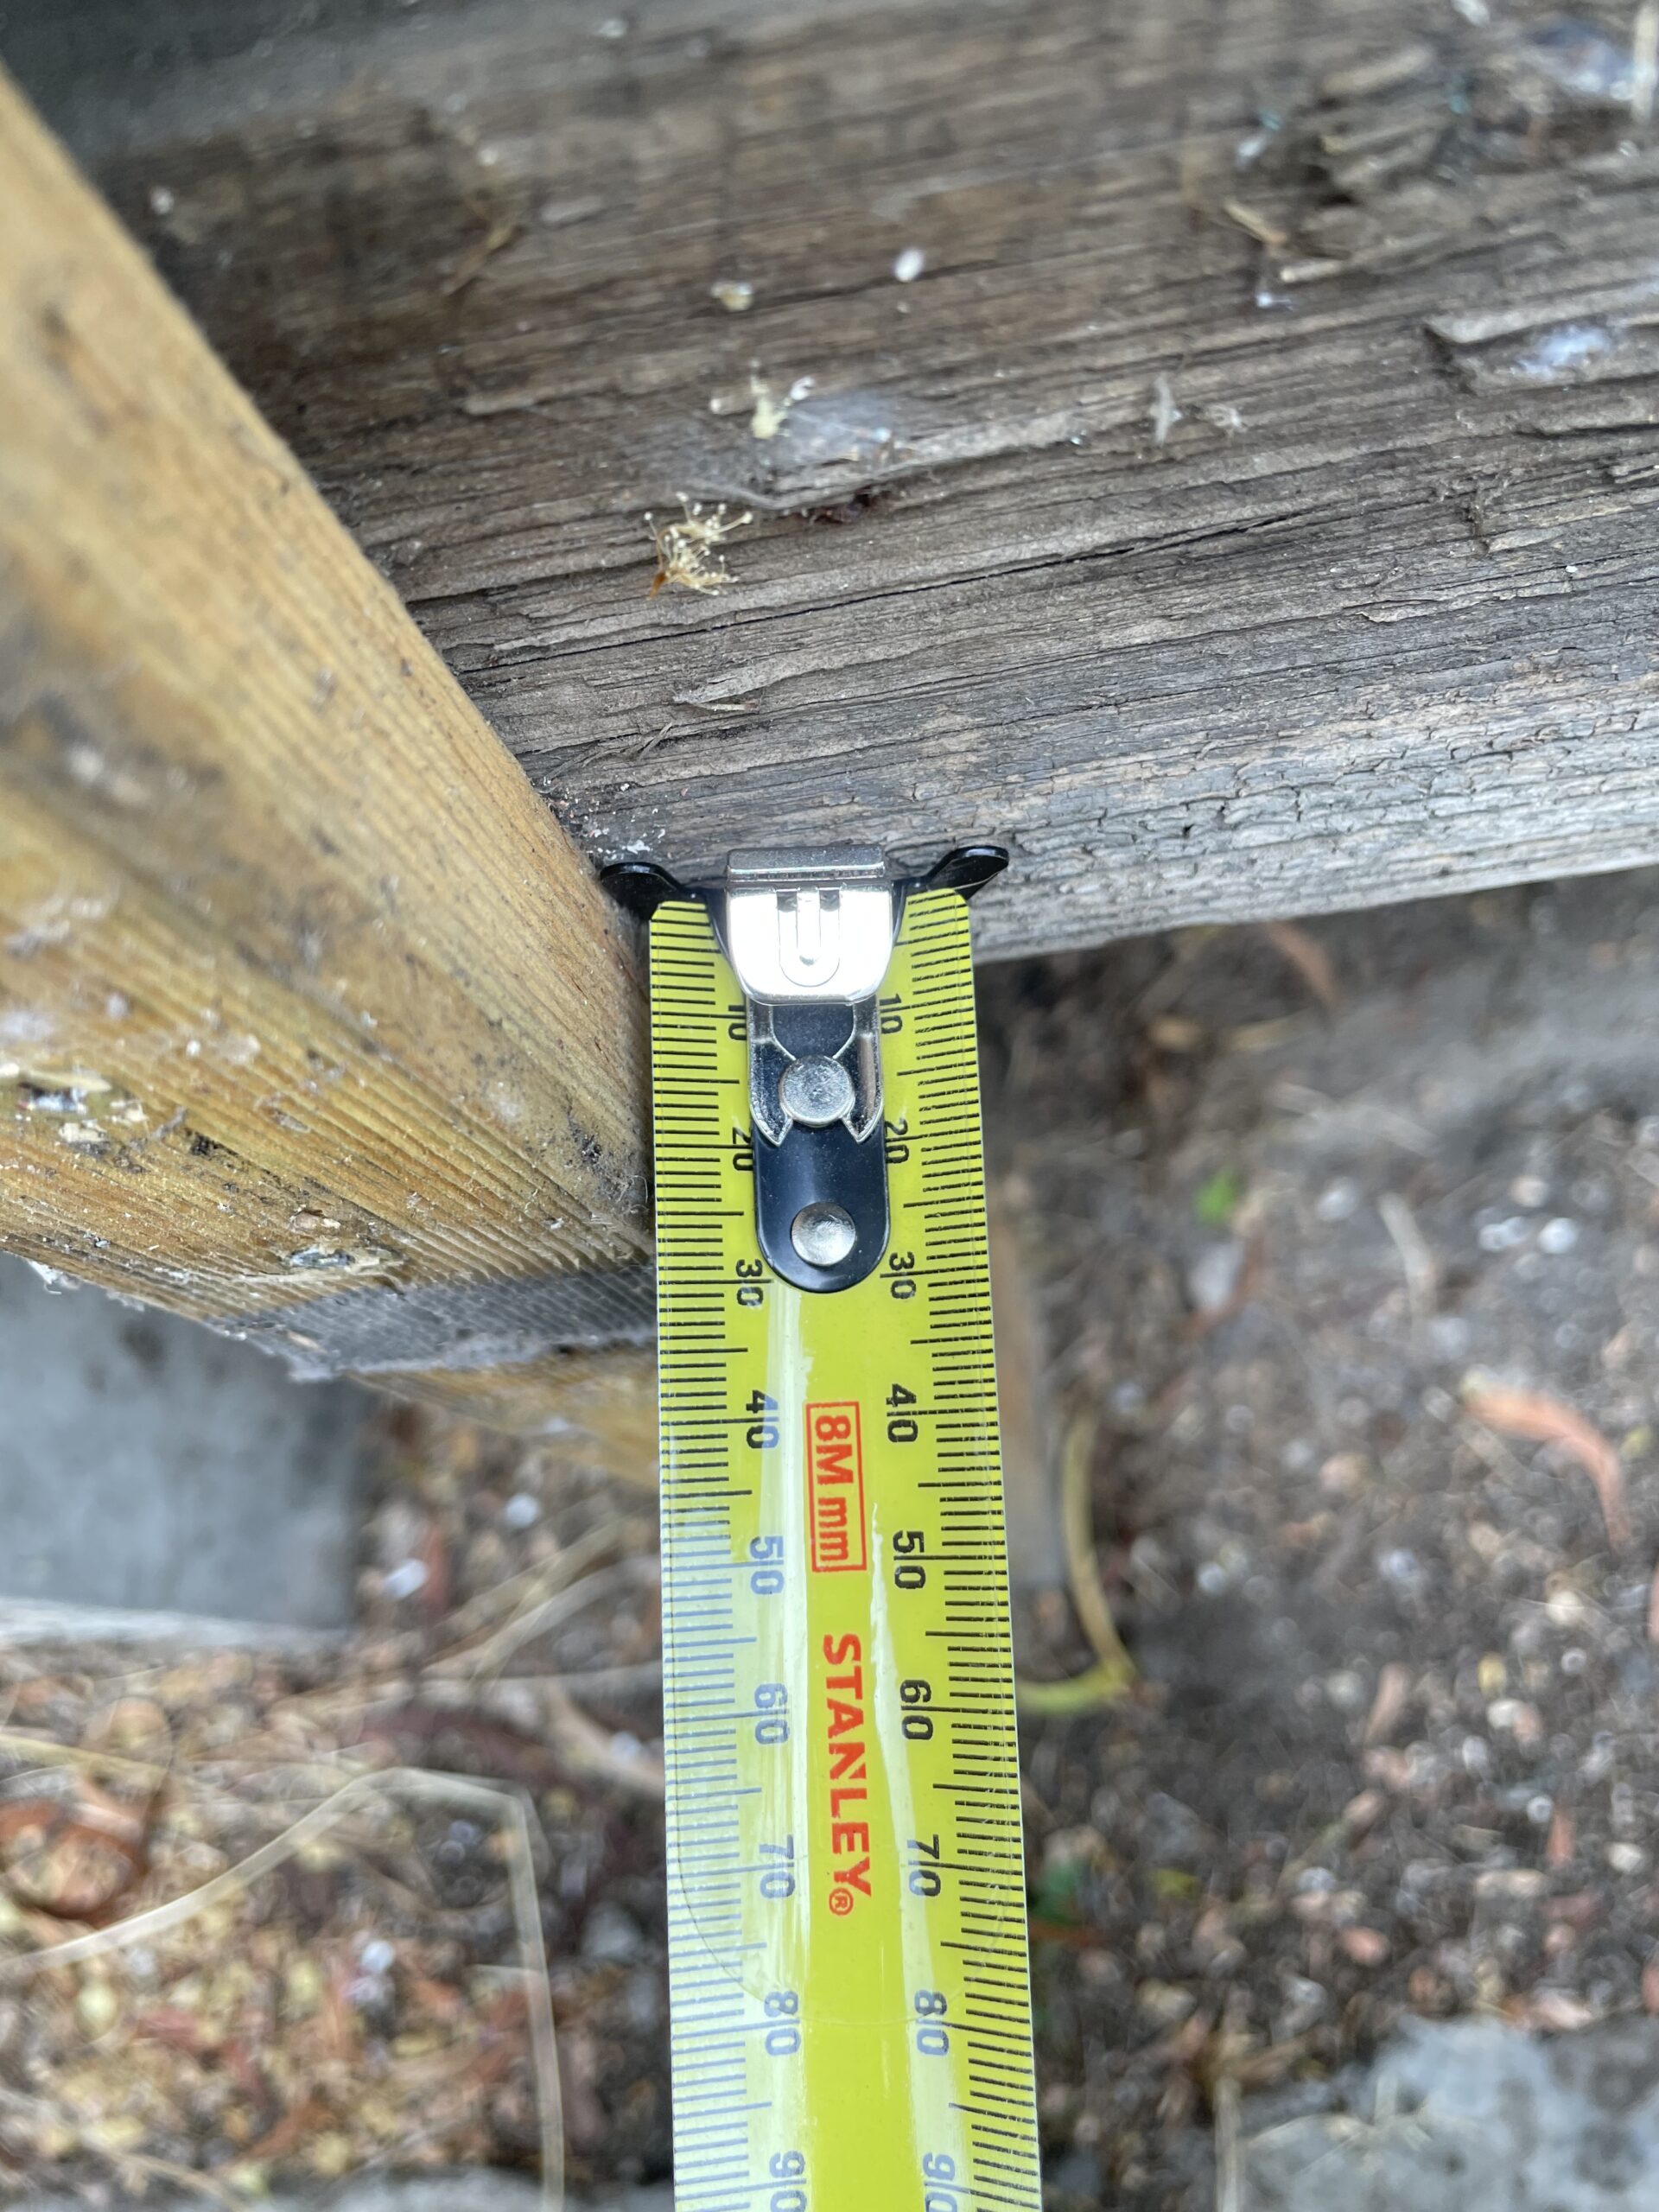
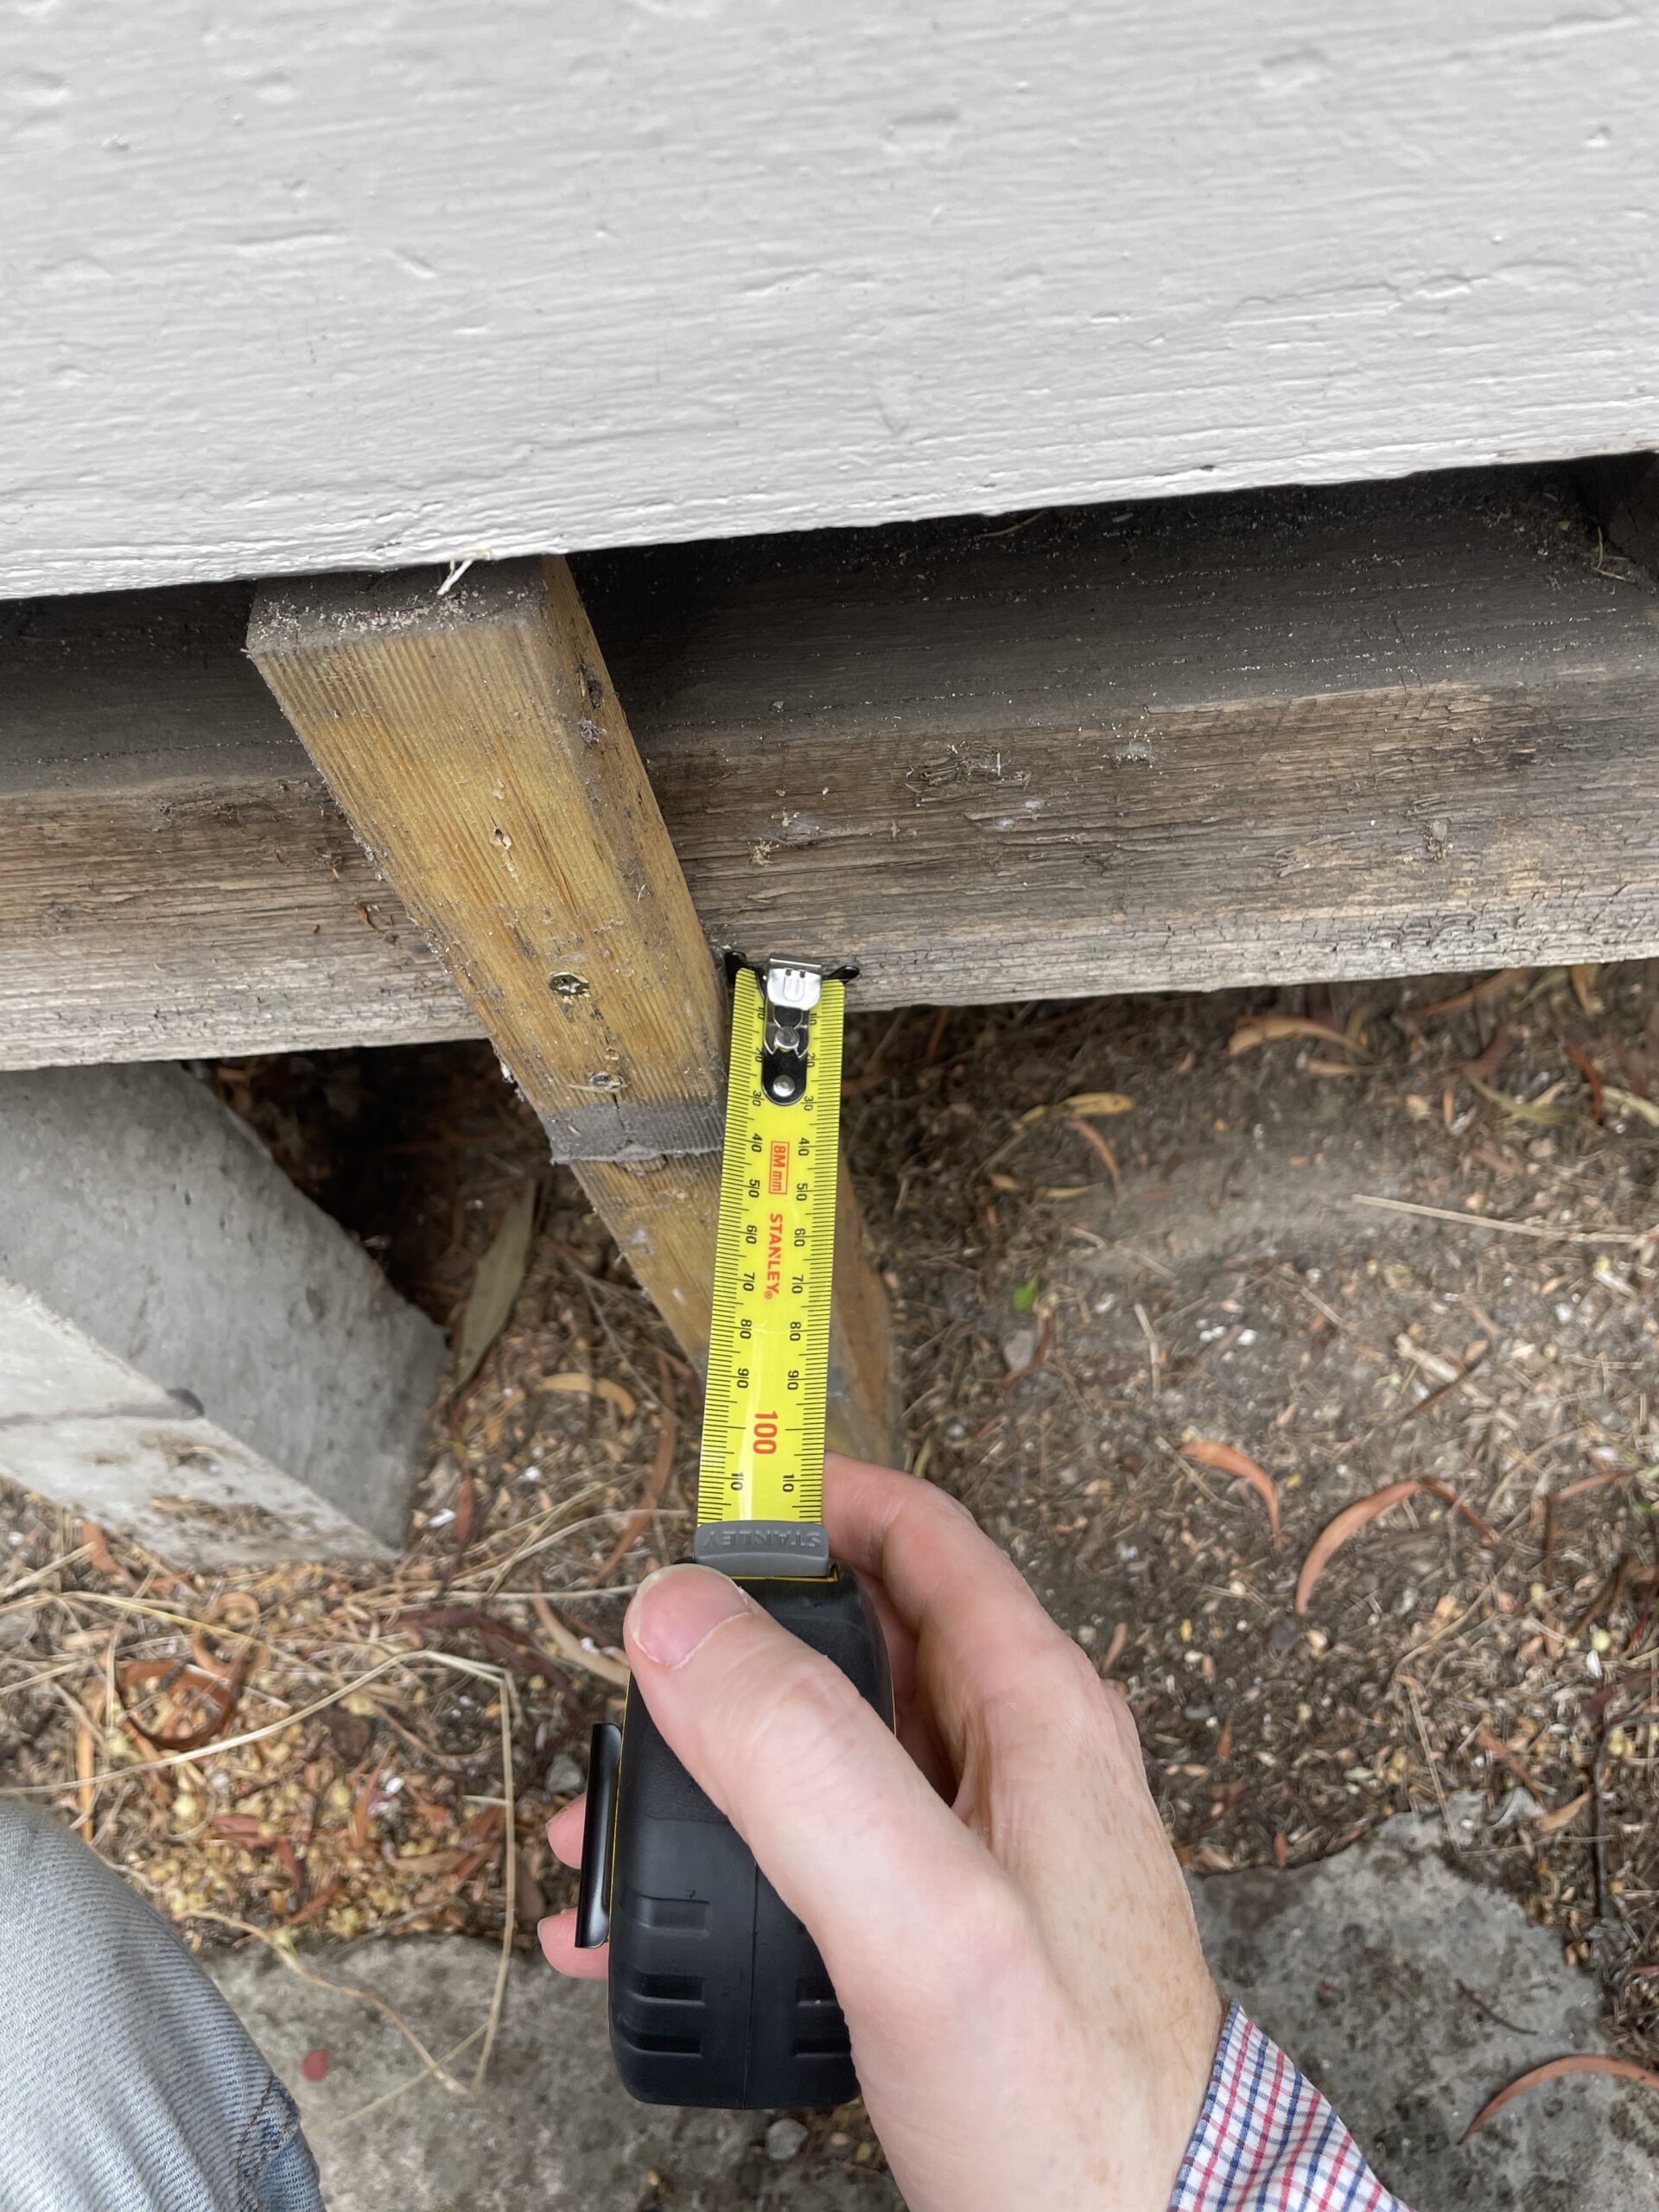
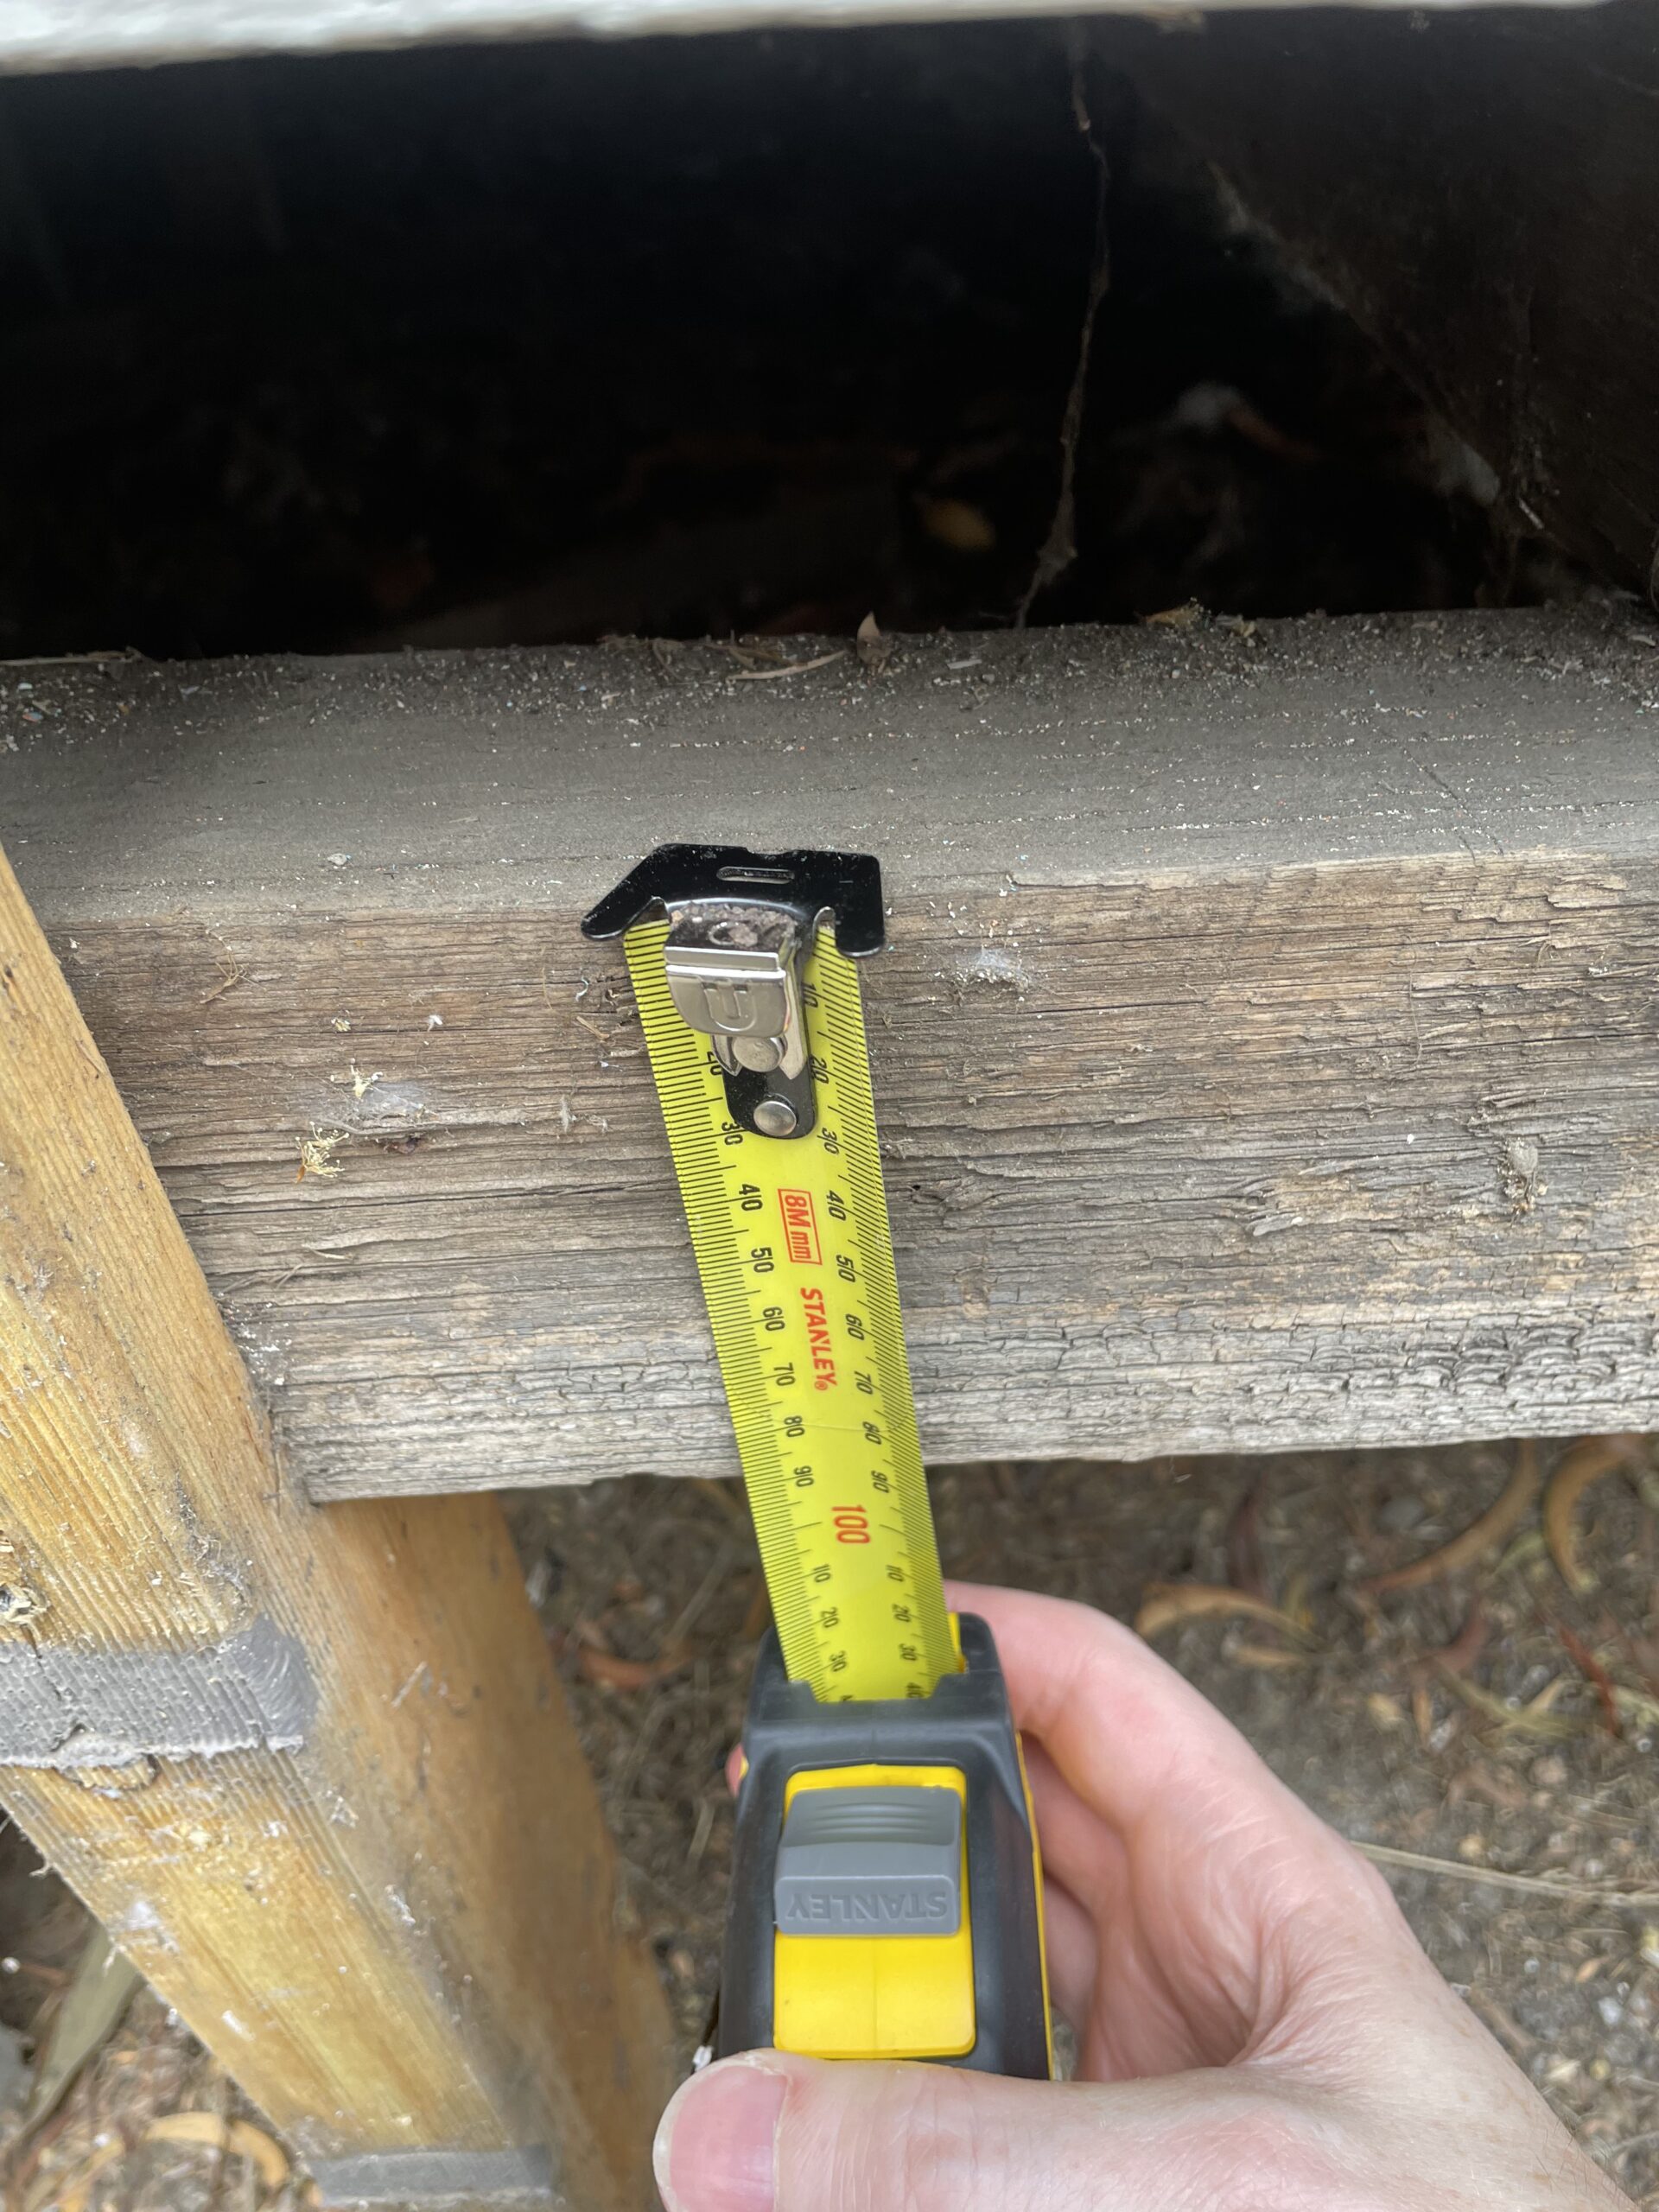
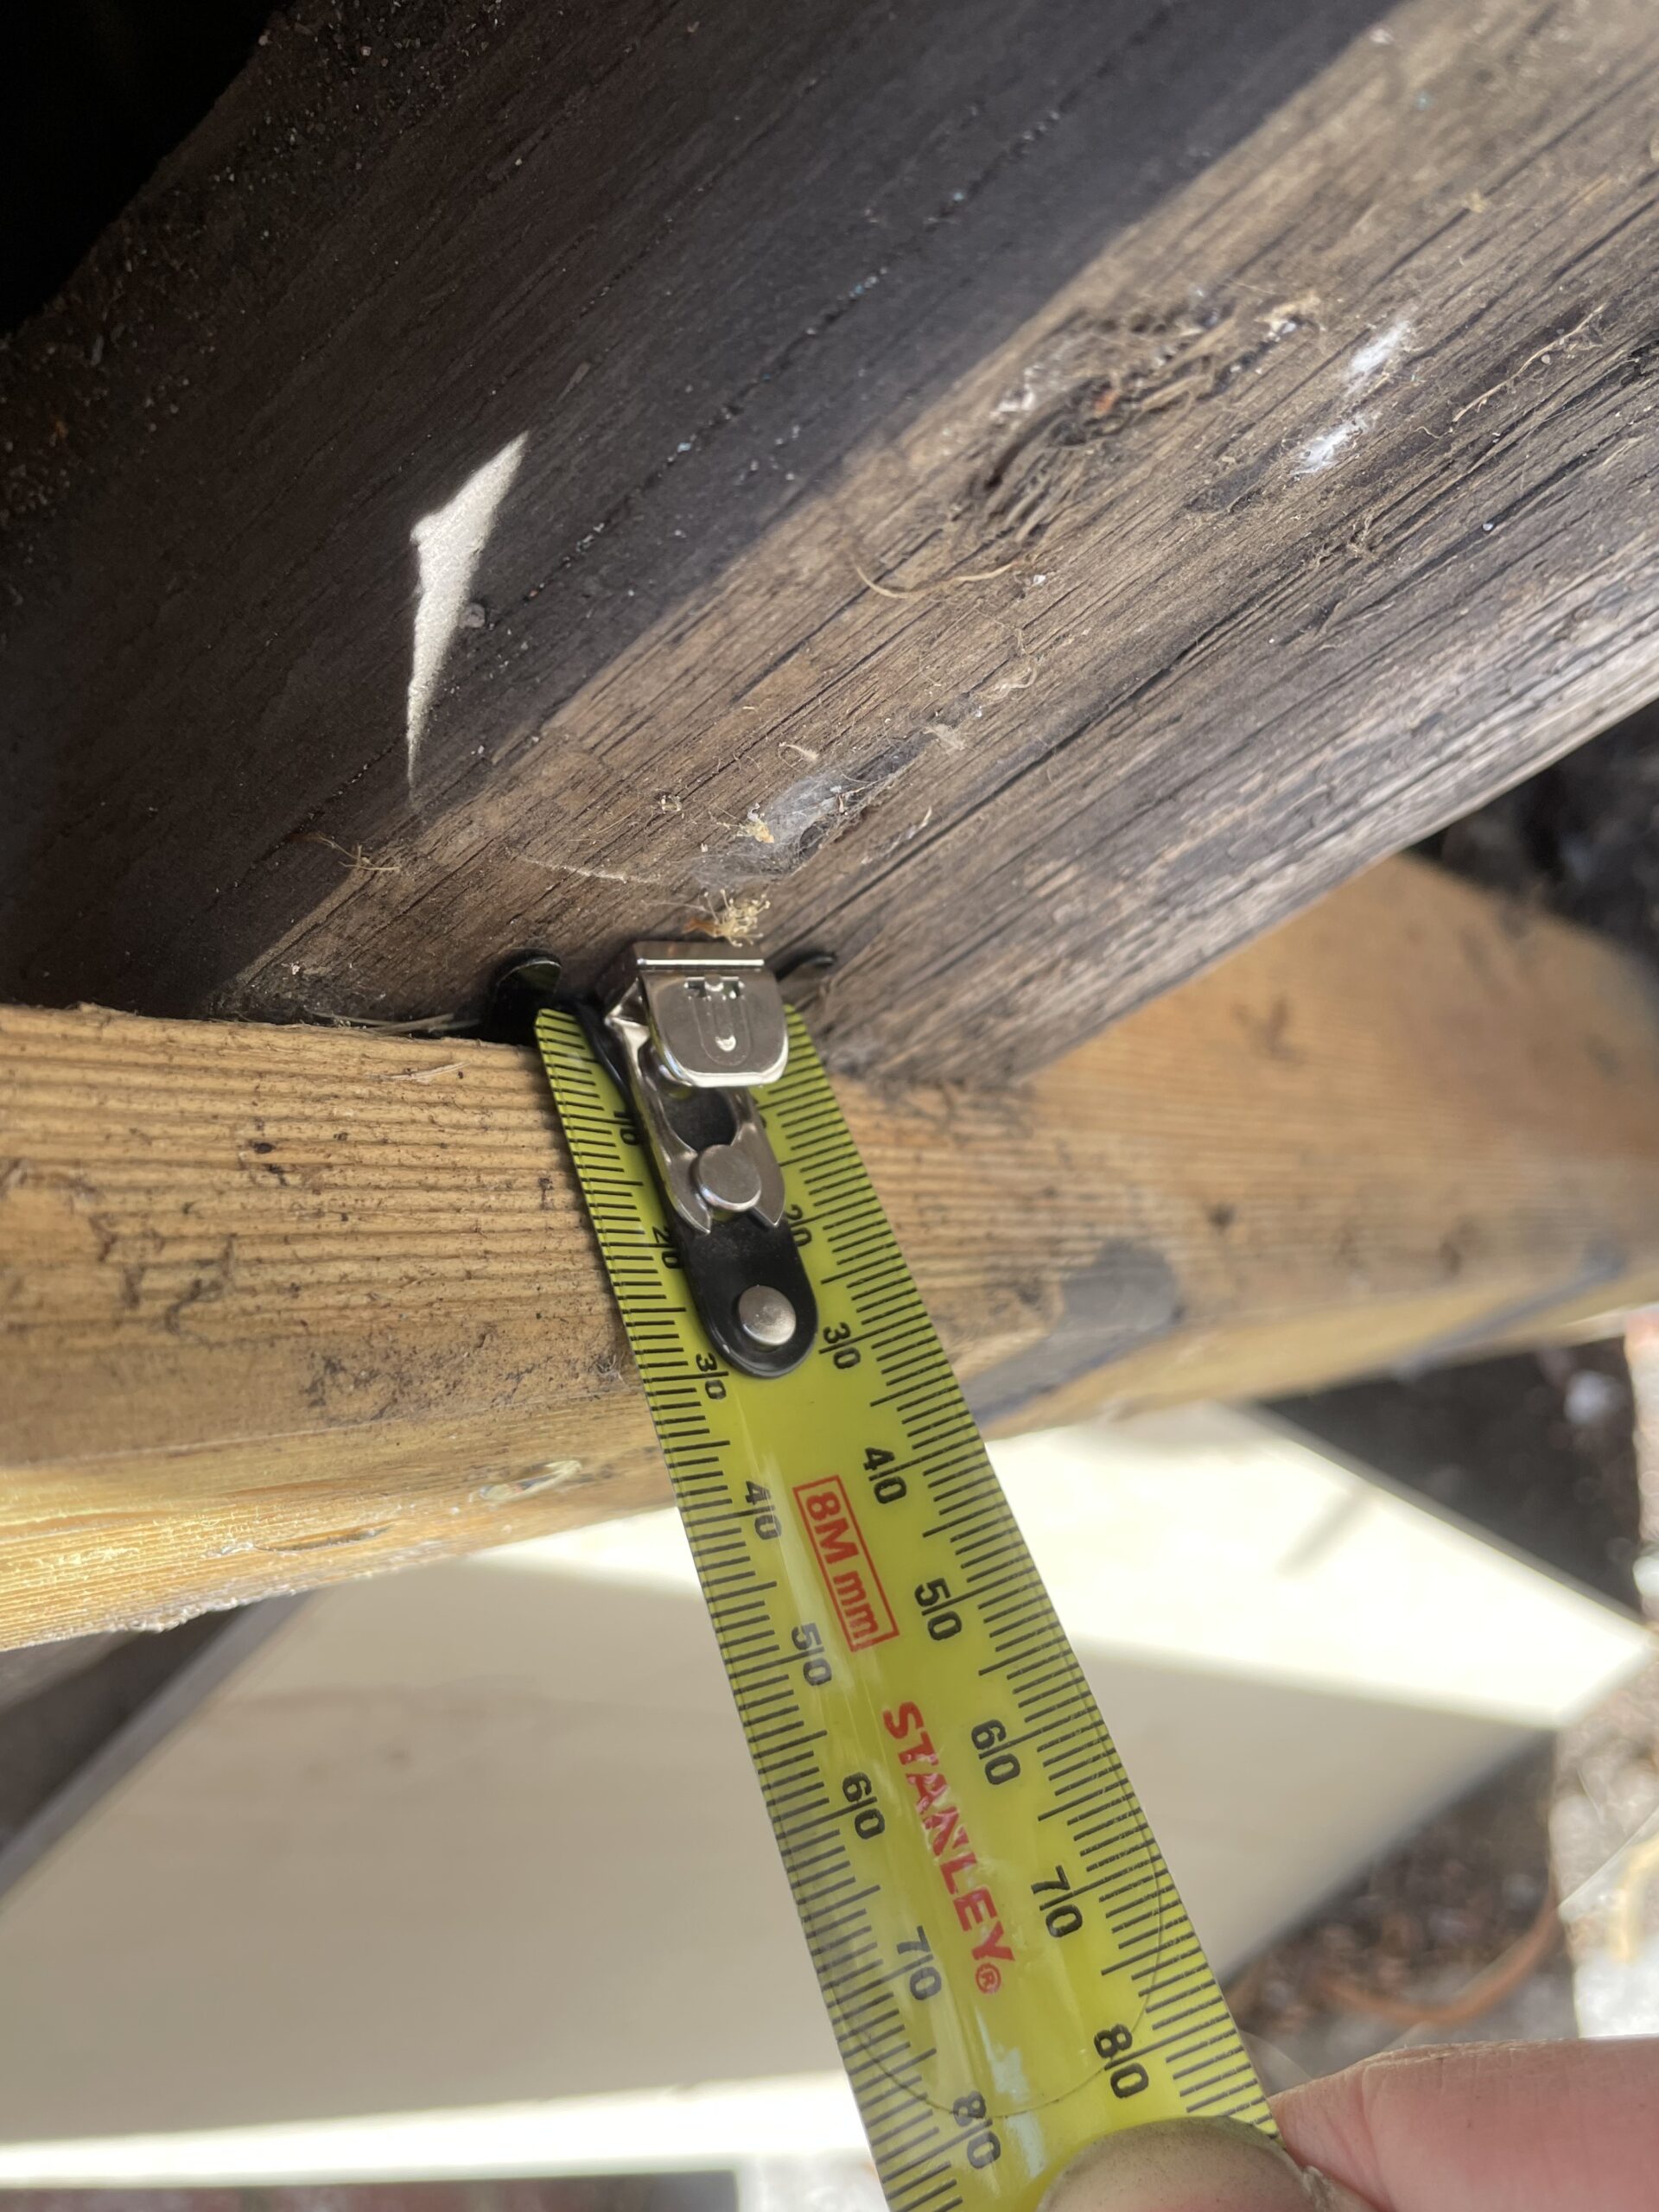
Turns out that there’s no subfloor access at the moment, so I had to create one. After much anguish, I decided I had to do it here near the front of the house because that’s where the biggest gap was (still only 400mm height to squeeze through).

My plan was to create a hinged access panel that swings “up” allowing me to crawl in underneath. I would need to find a way to make it invisible from the front, especially since the council don’t want any changes to the appearance of the heritage character of the house.

I got council to weigh in anyway, the council guy was very supportive “well, you will need subfloor access to do the restumping”.

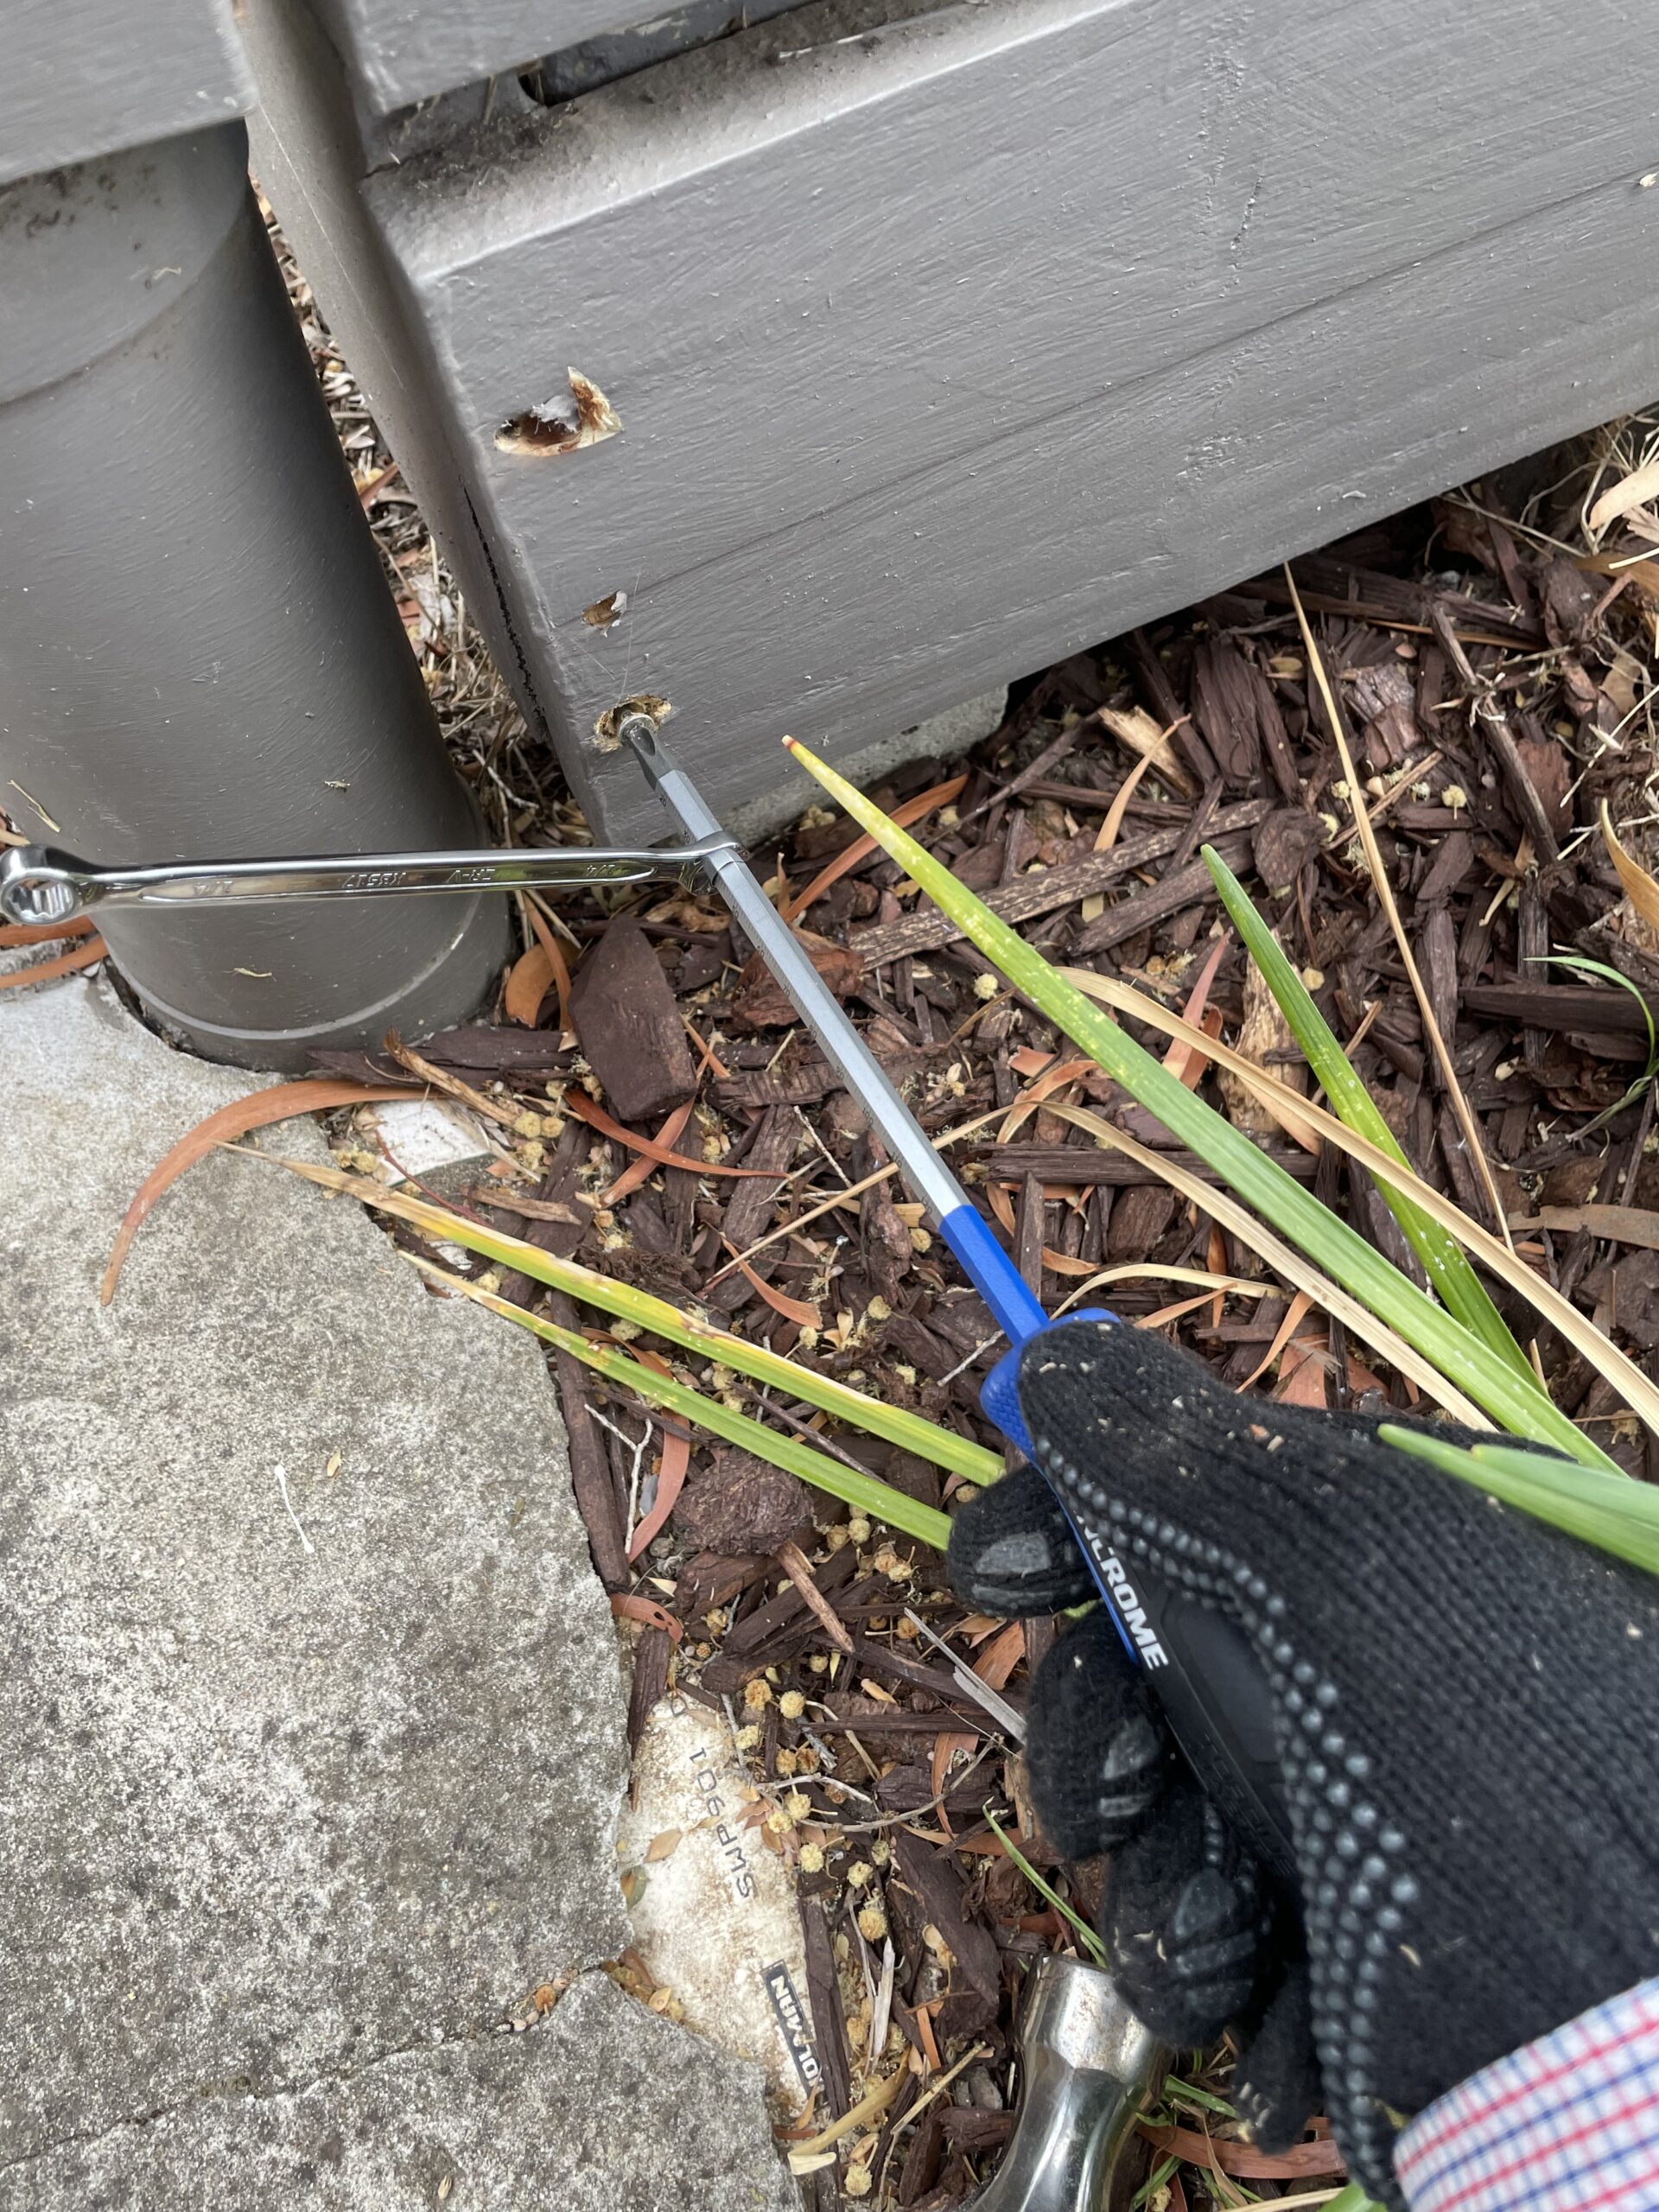
The next challenge was getting these dan screws out. They were rusted in and I didn’t want to use a power tool and strip them. many trips to bunnings resulted in this innovation.

Ah, now it’s finally starting to take shape.

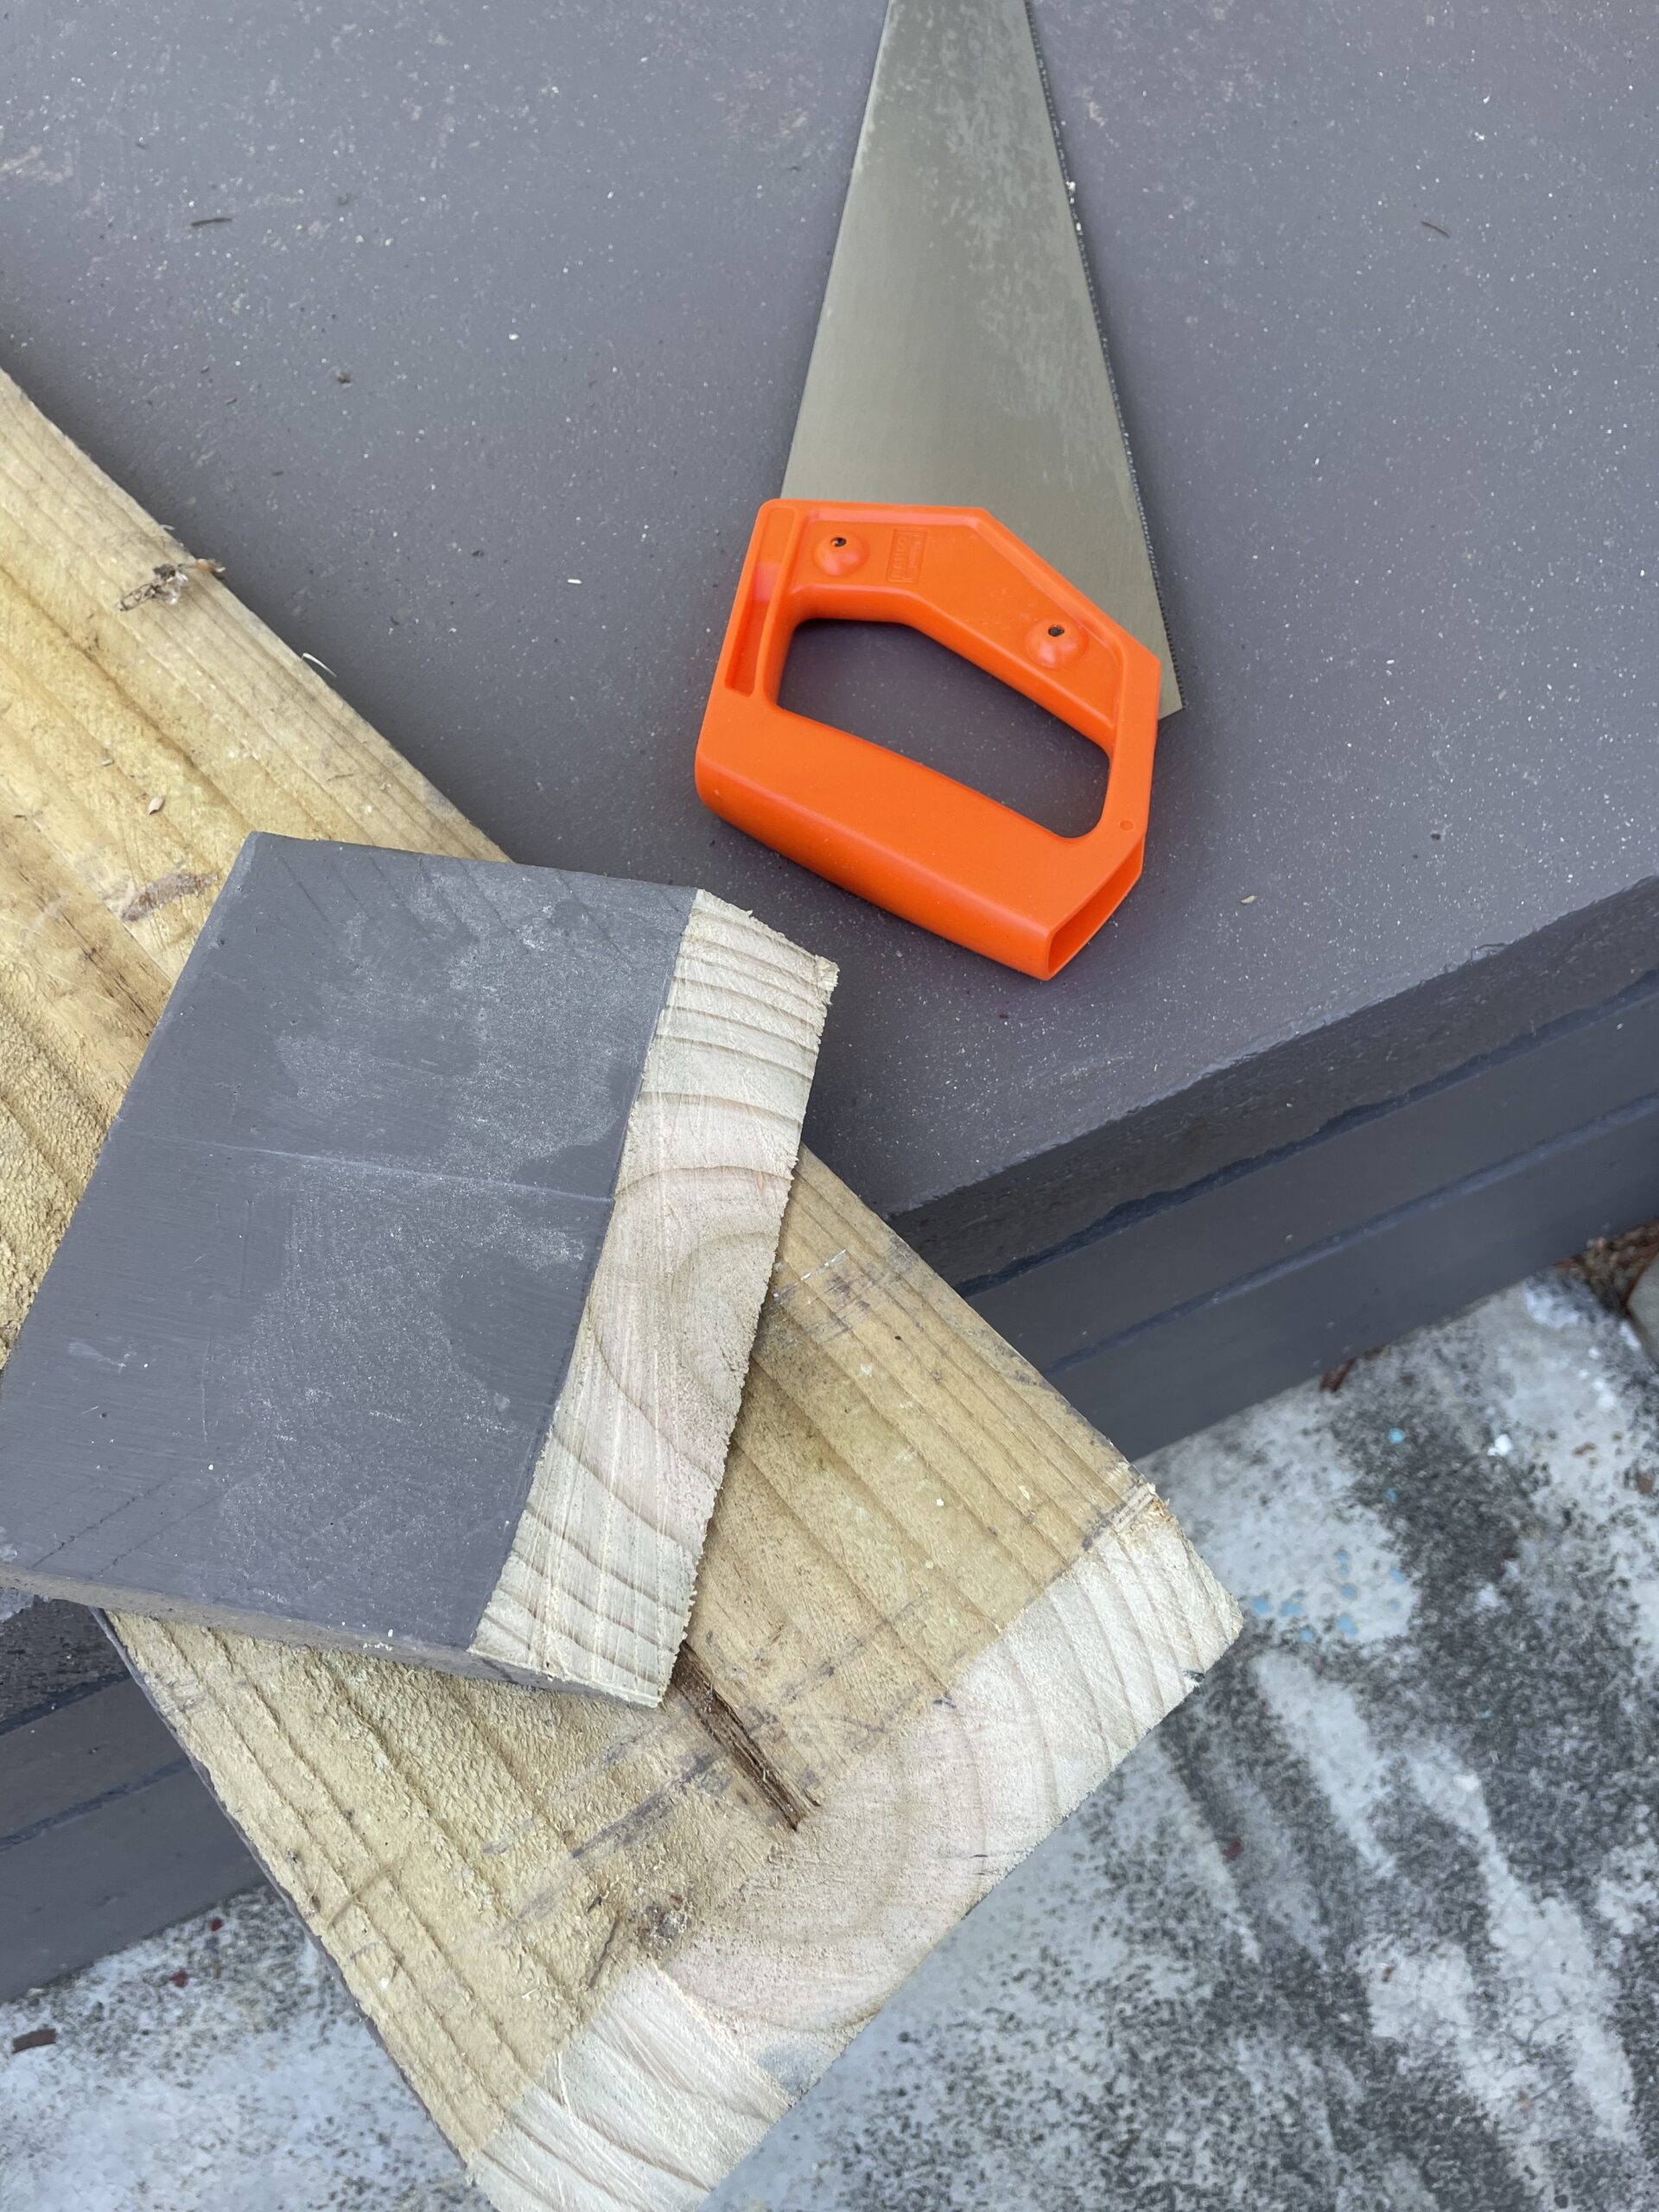
I would need to cut the wood of course, so that I could screw the right hand side to the front of the house. I decided a mitre cut would hide the cut best, but since I was doing this before we bought the mitre saw, it was very hard going.

You know how they same measure twice cut once. Well, have they ever heard about measuring incessantly for days on end?

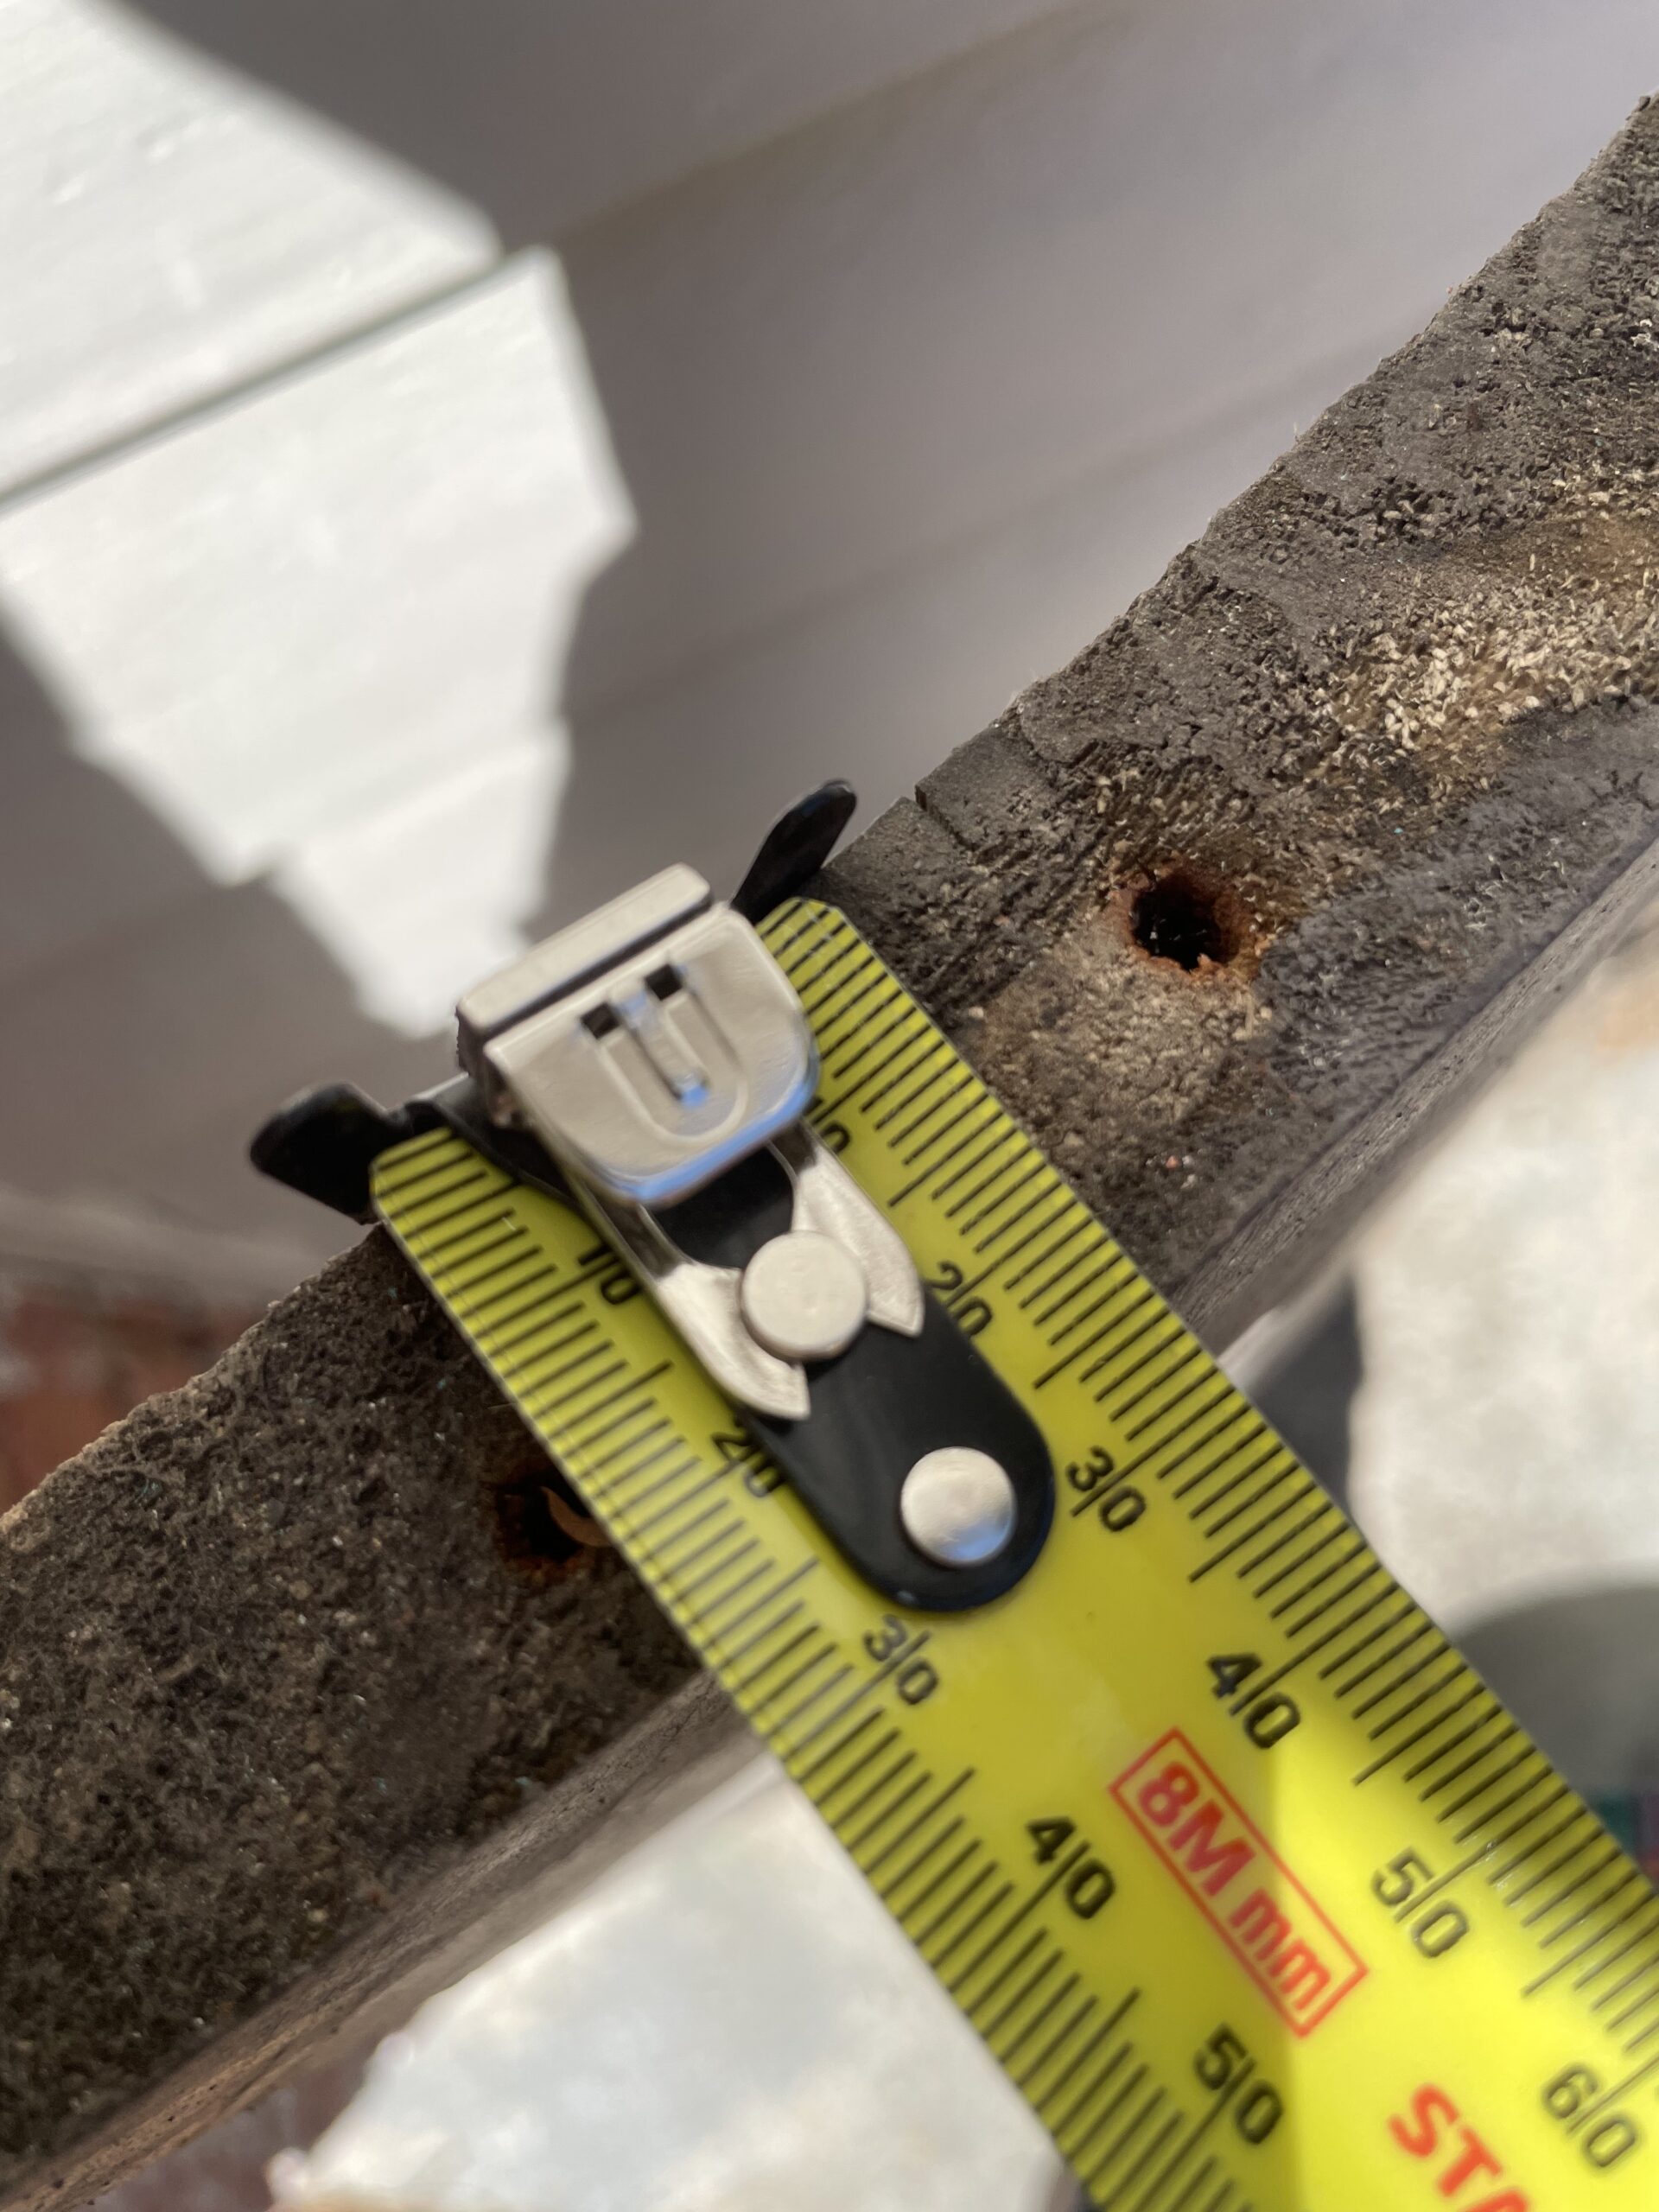
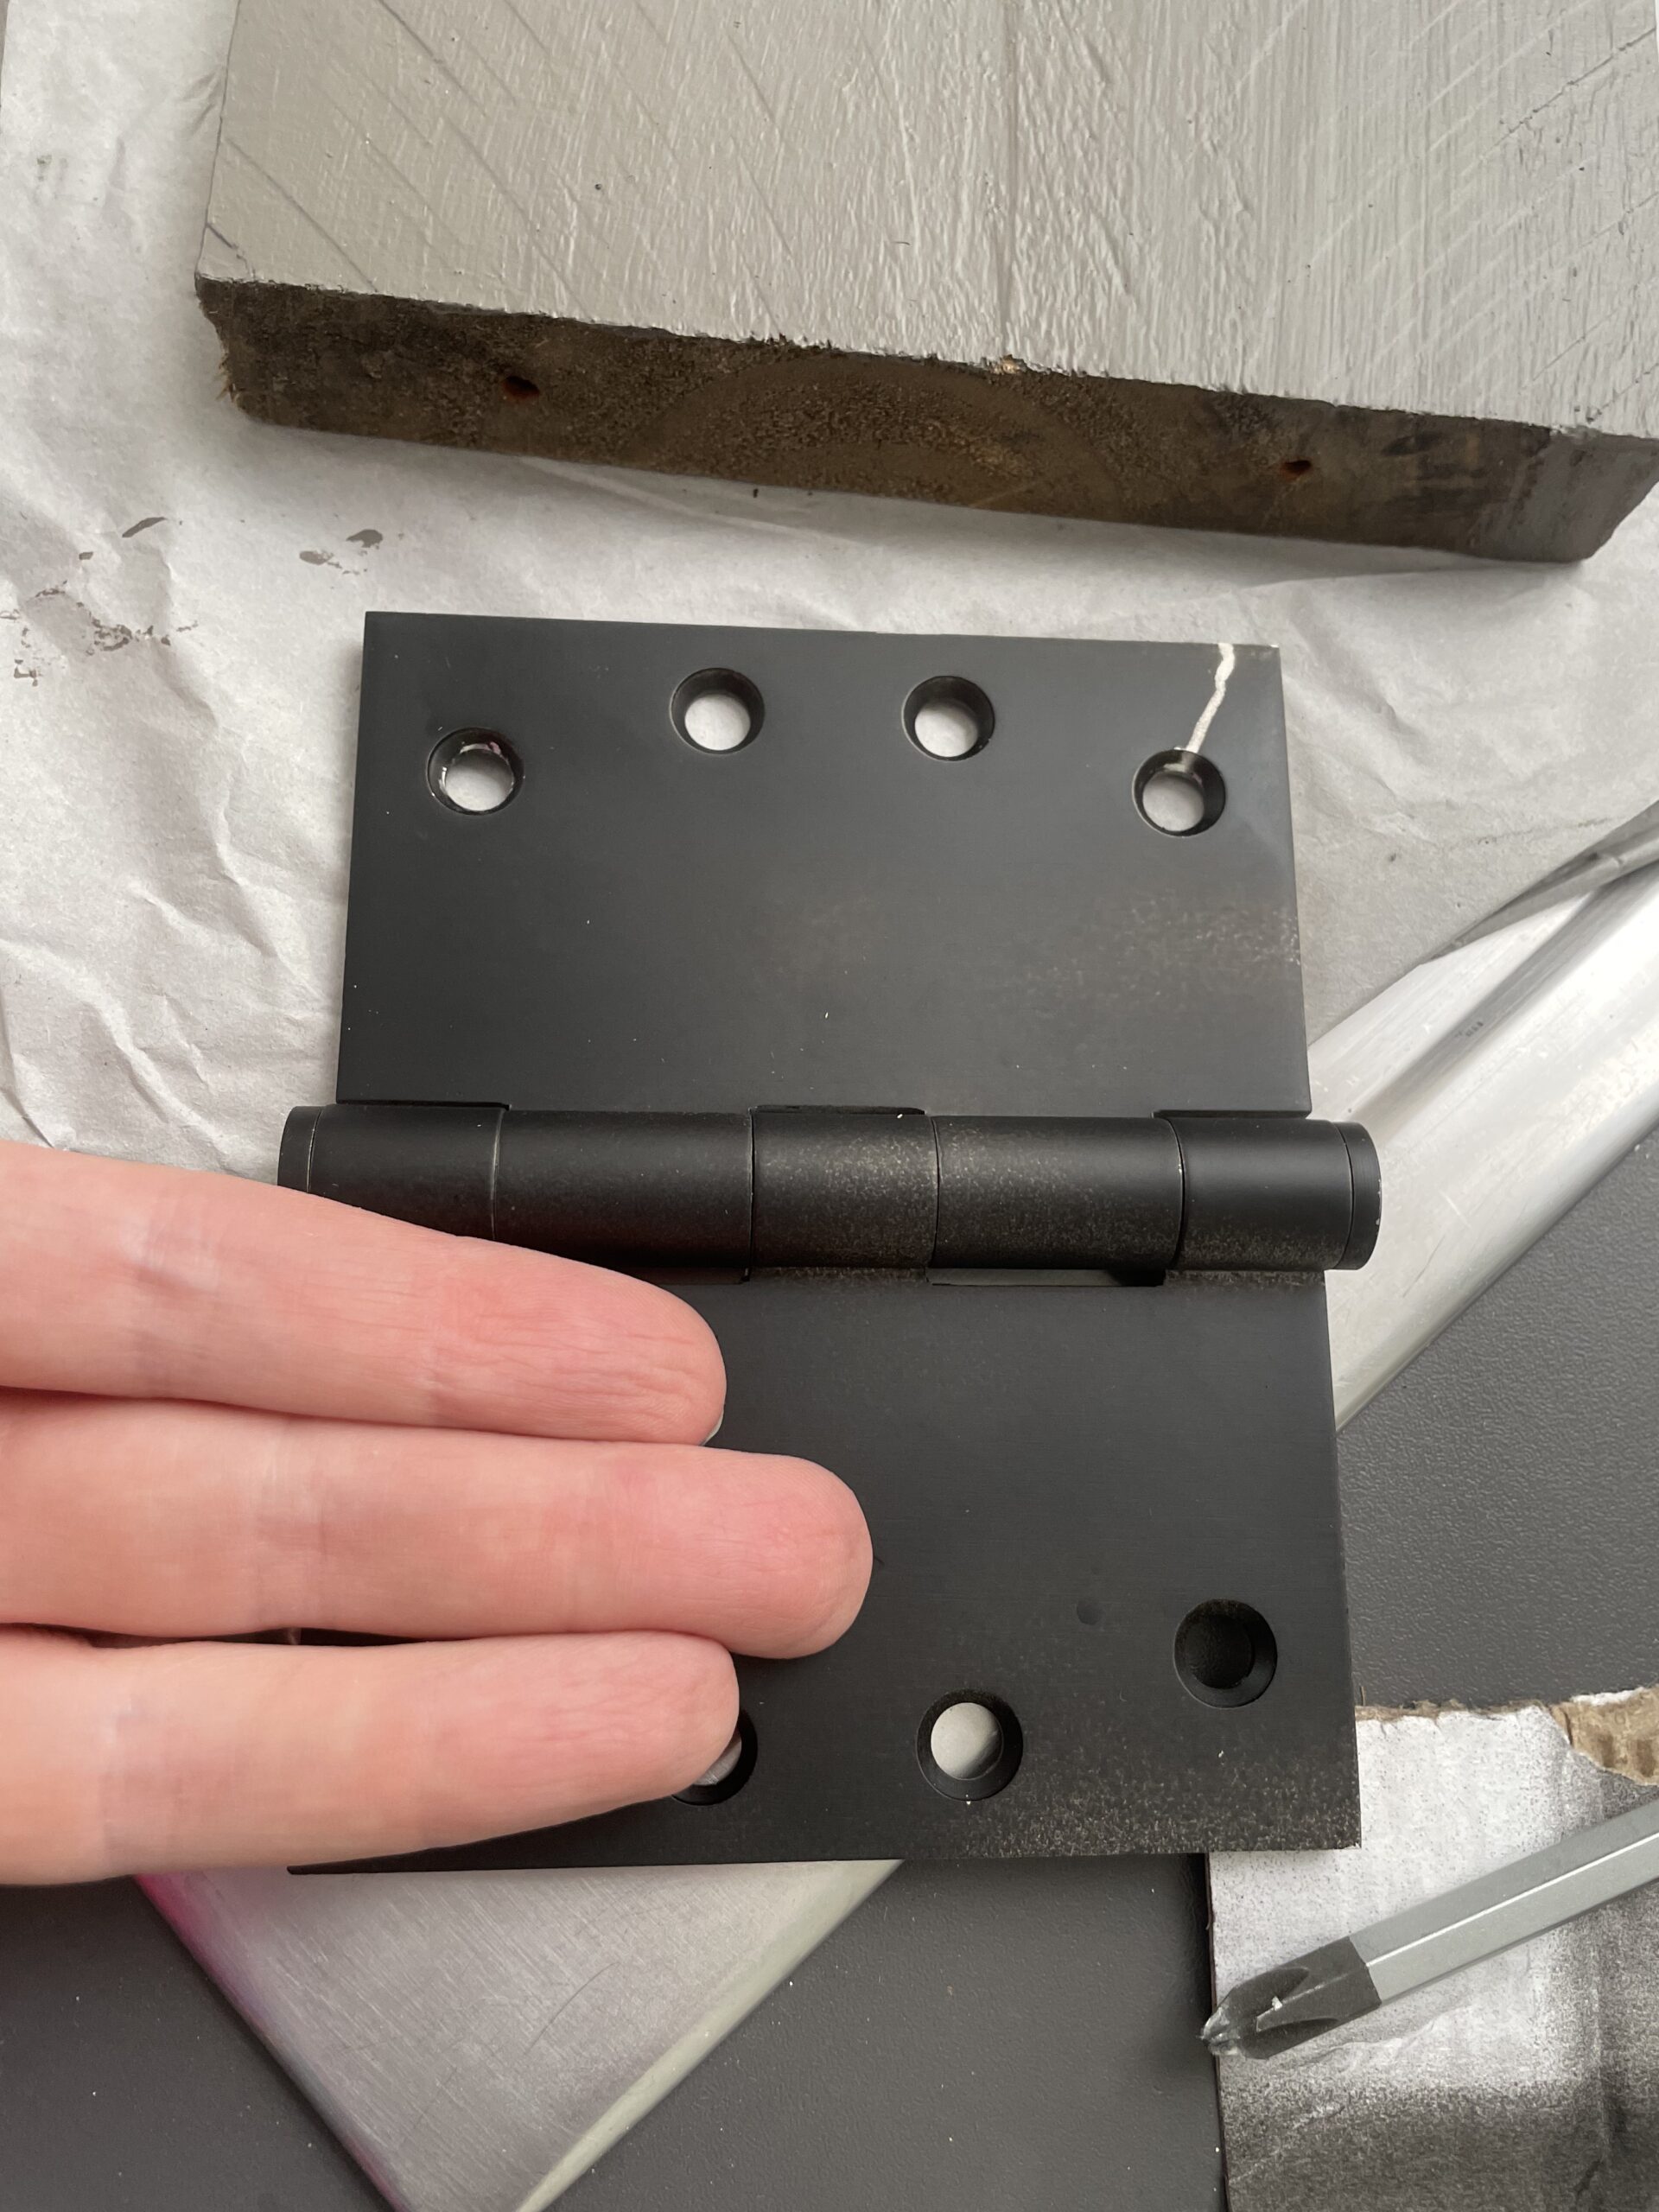
Next, to the hinges. I decided to use these great quality outdoor hinges and paint them black. But the problem is there was no way to mount the hinges to keep them invisible while also allowing the hinges to work properly.

Unless….

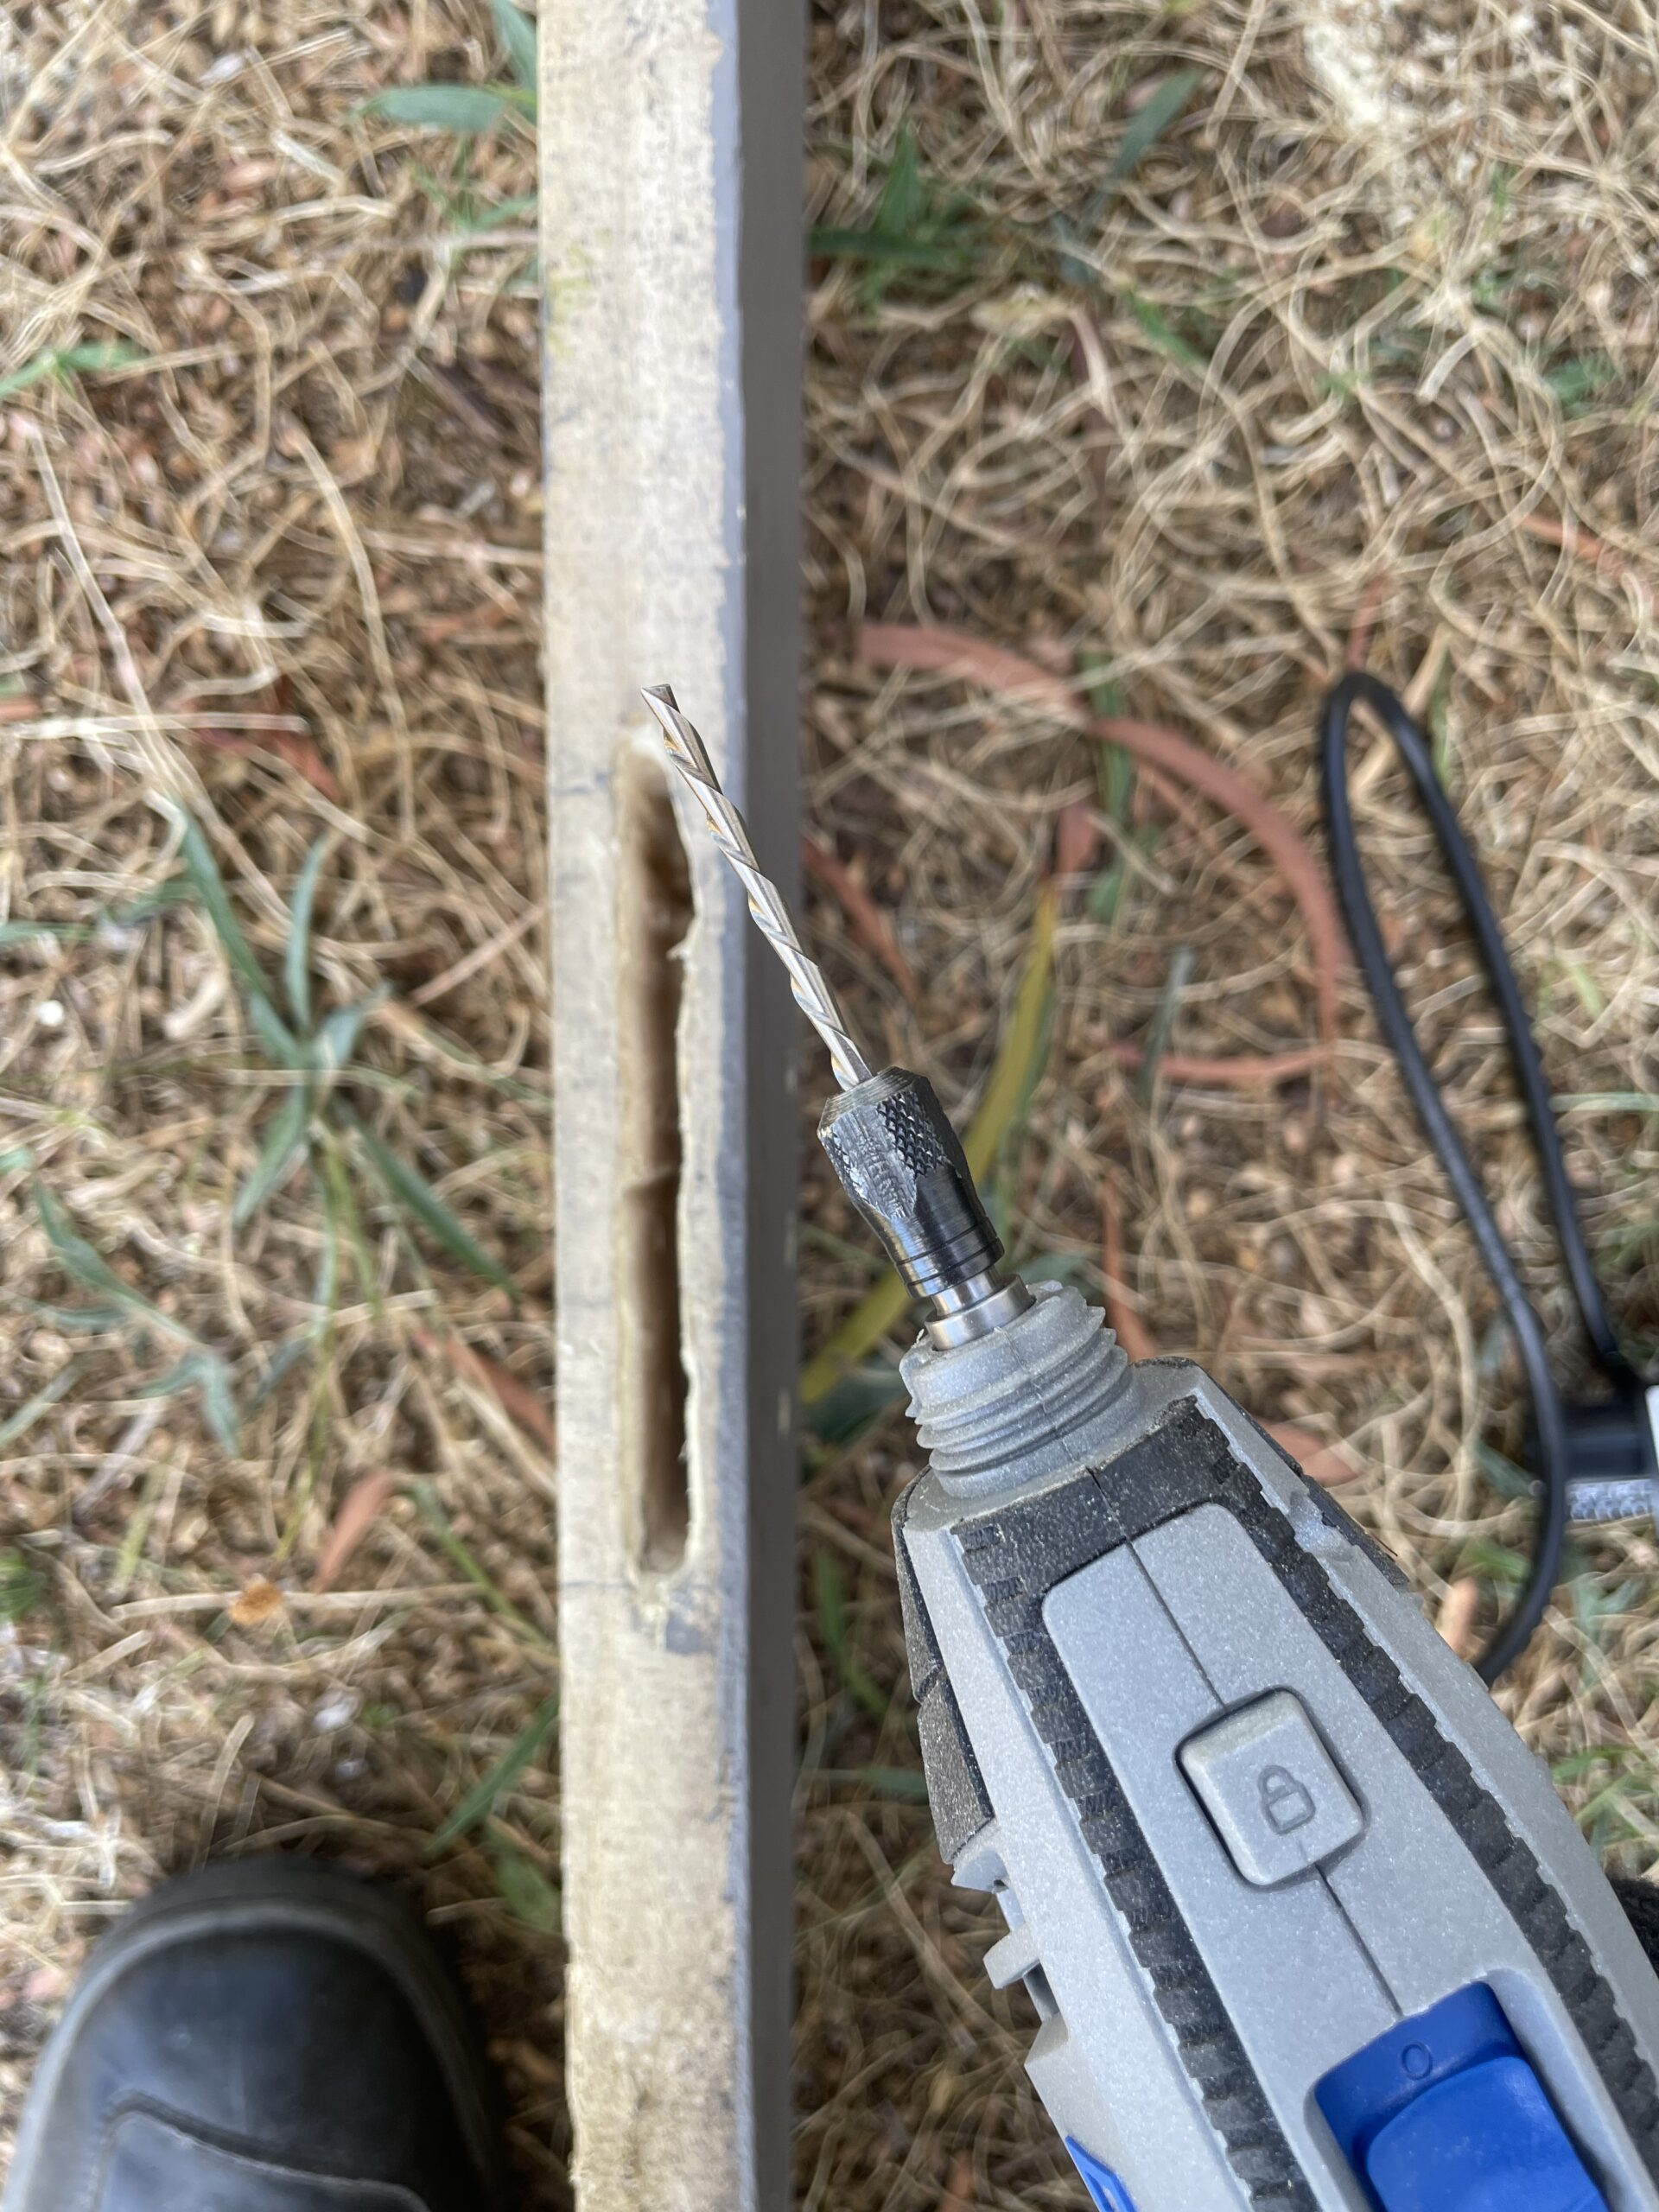
This one image belies many hours of work. I broke a Dremel bit and very nearly ruined a perfectly good piece of vintage cladding but in the end I think you will agree the hinge is worth it. I also had to chisel out the back of the wood so it would sit flush against the timber frame.

And when you look at it from the street, you can’t even see it at all.

Gate Patching

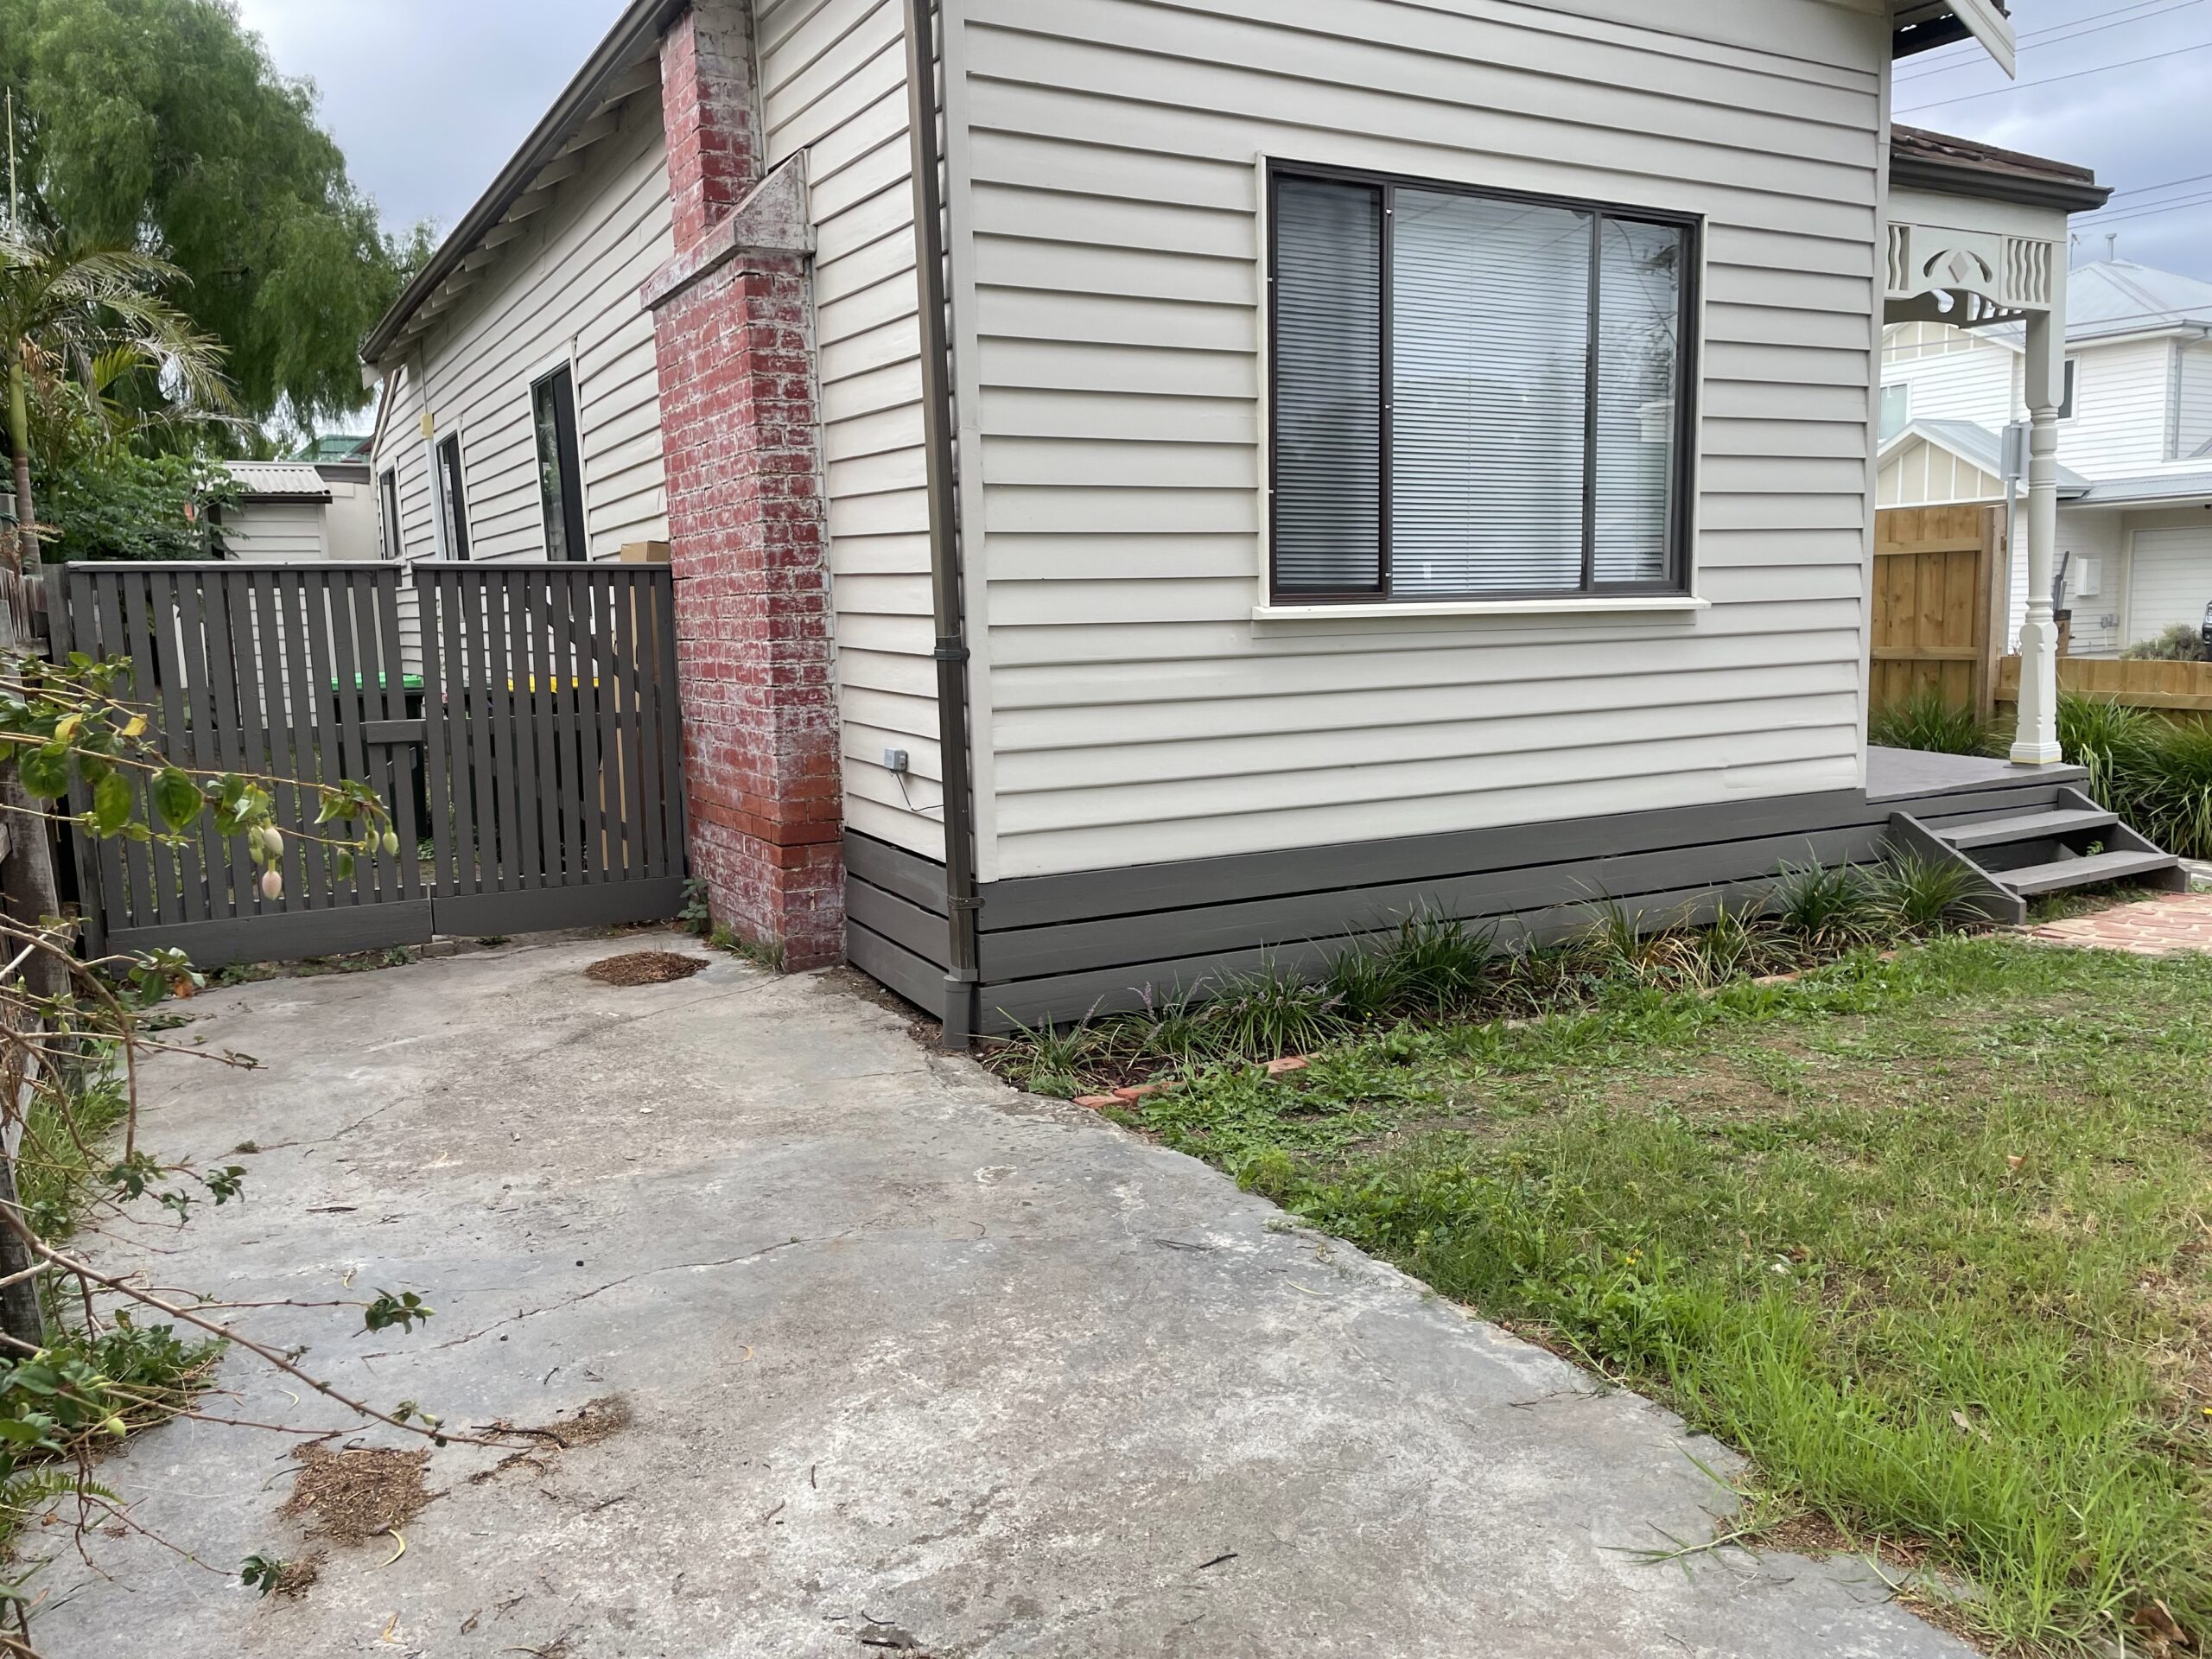
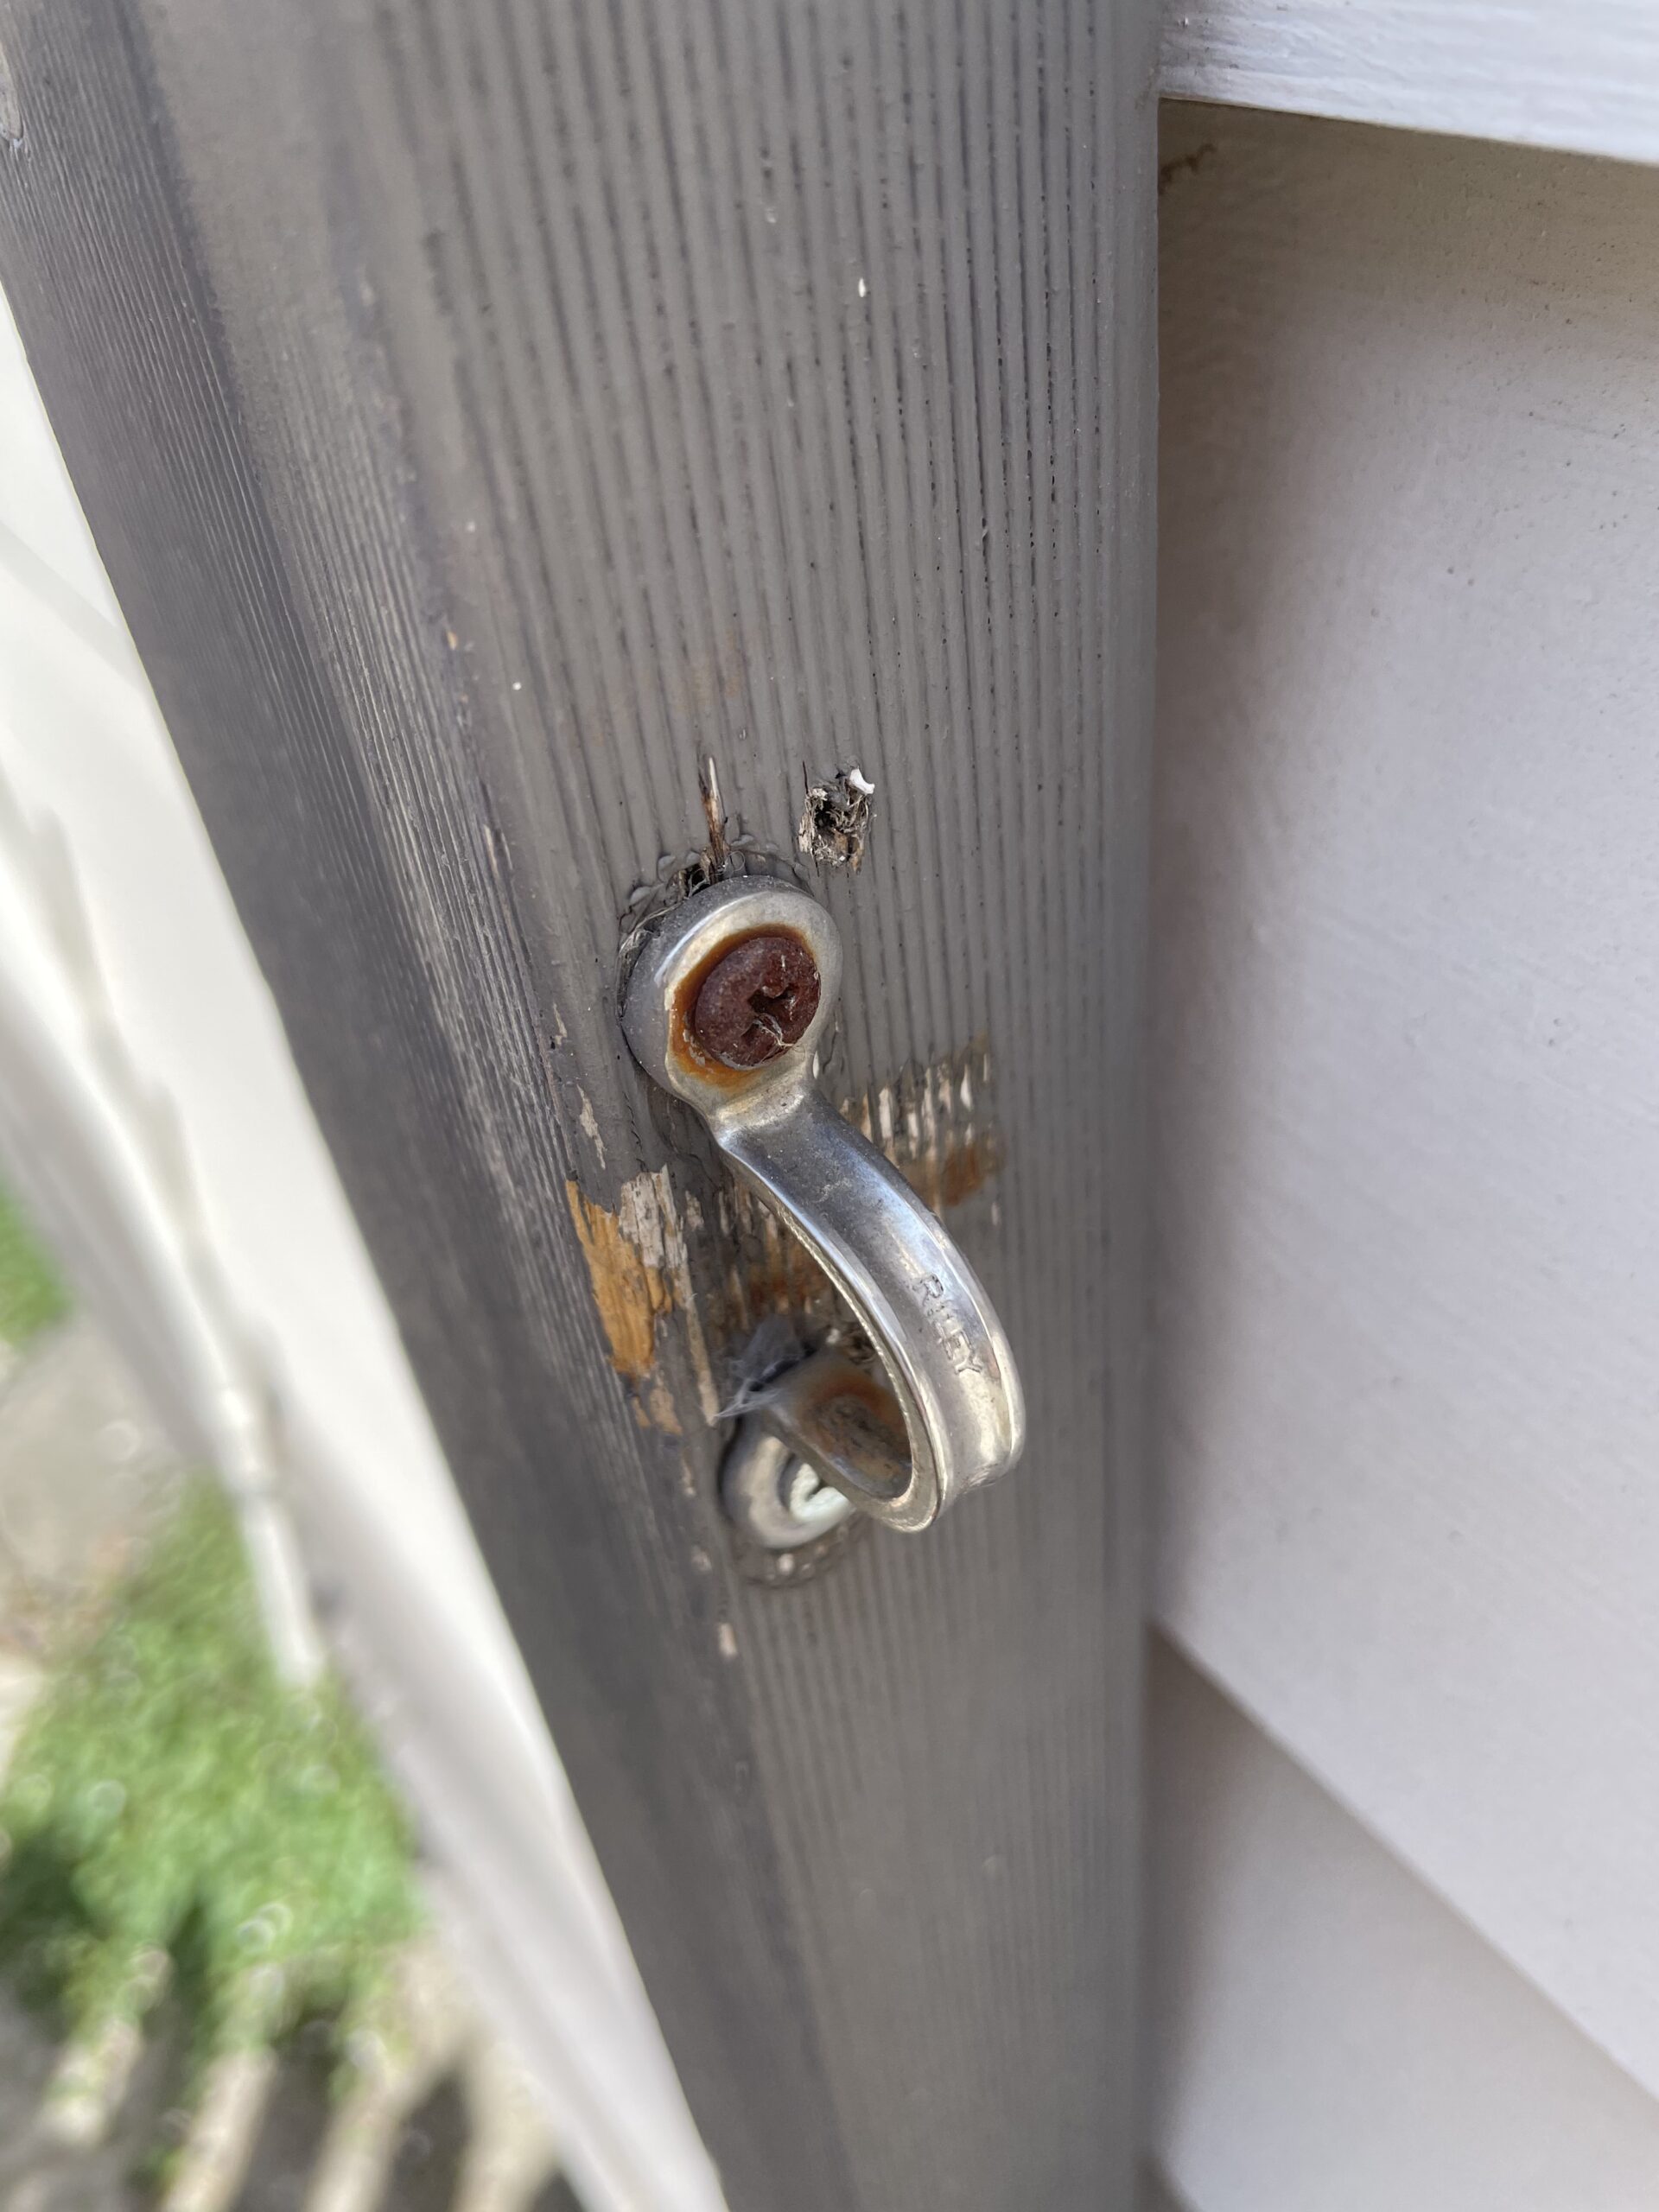
Tim aspires to automating every inch of the house, including the two gates, one on either side of the property. As a fellow geek I am keen on never having to unlock another gate again. As a South African though, I didn’t like the fact that the gates had no locks and the locks themselves were pretty old and rusty.

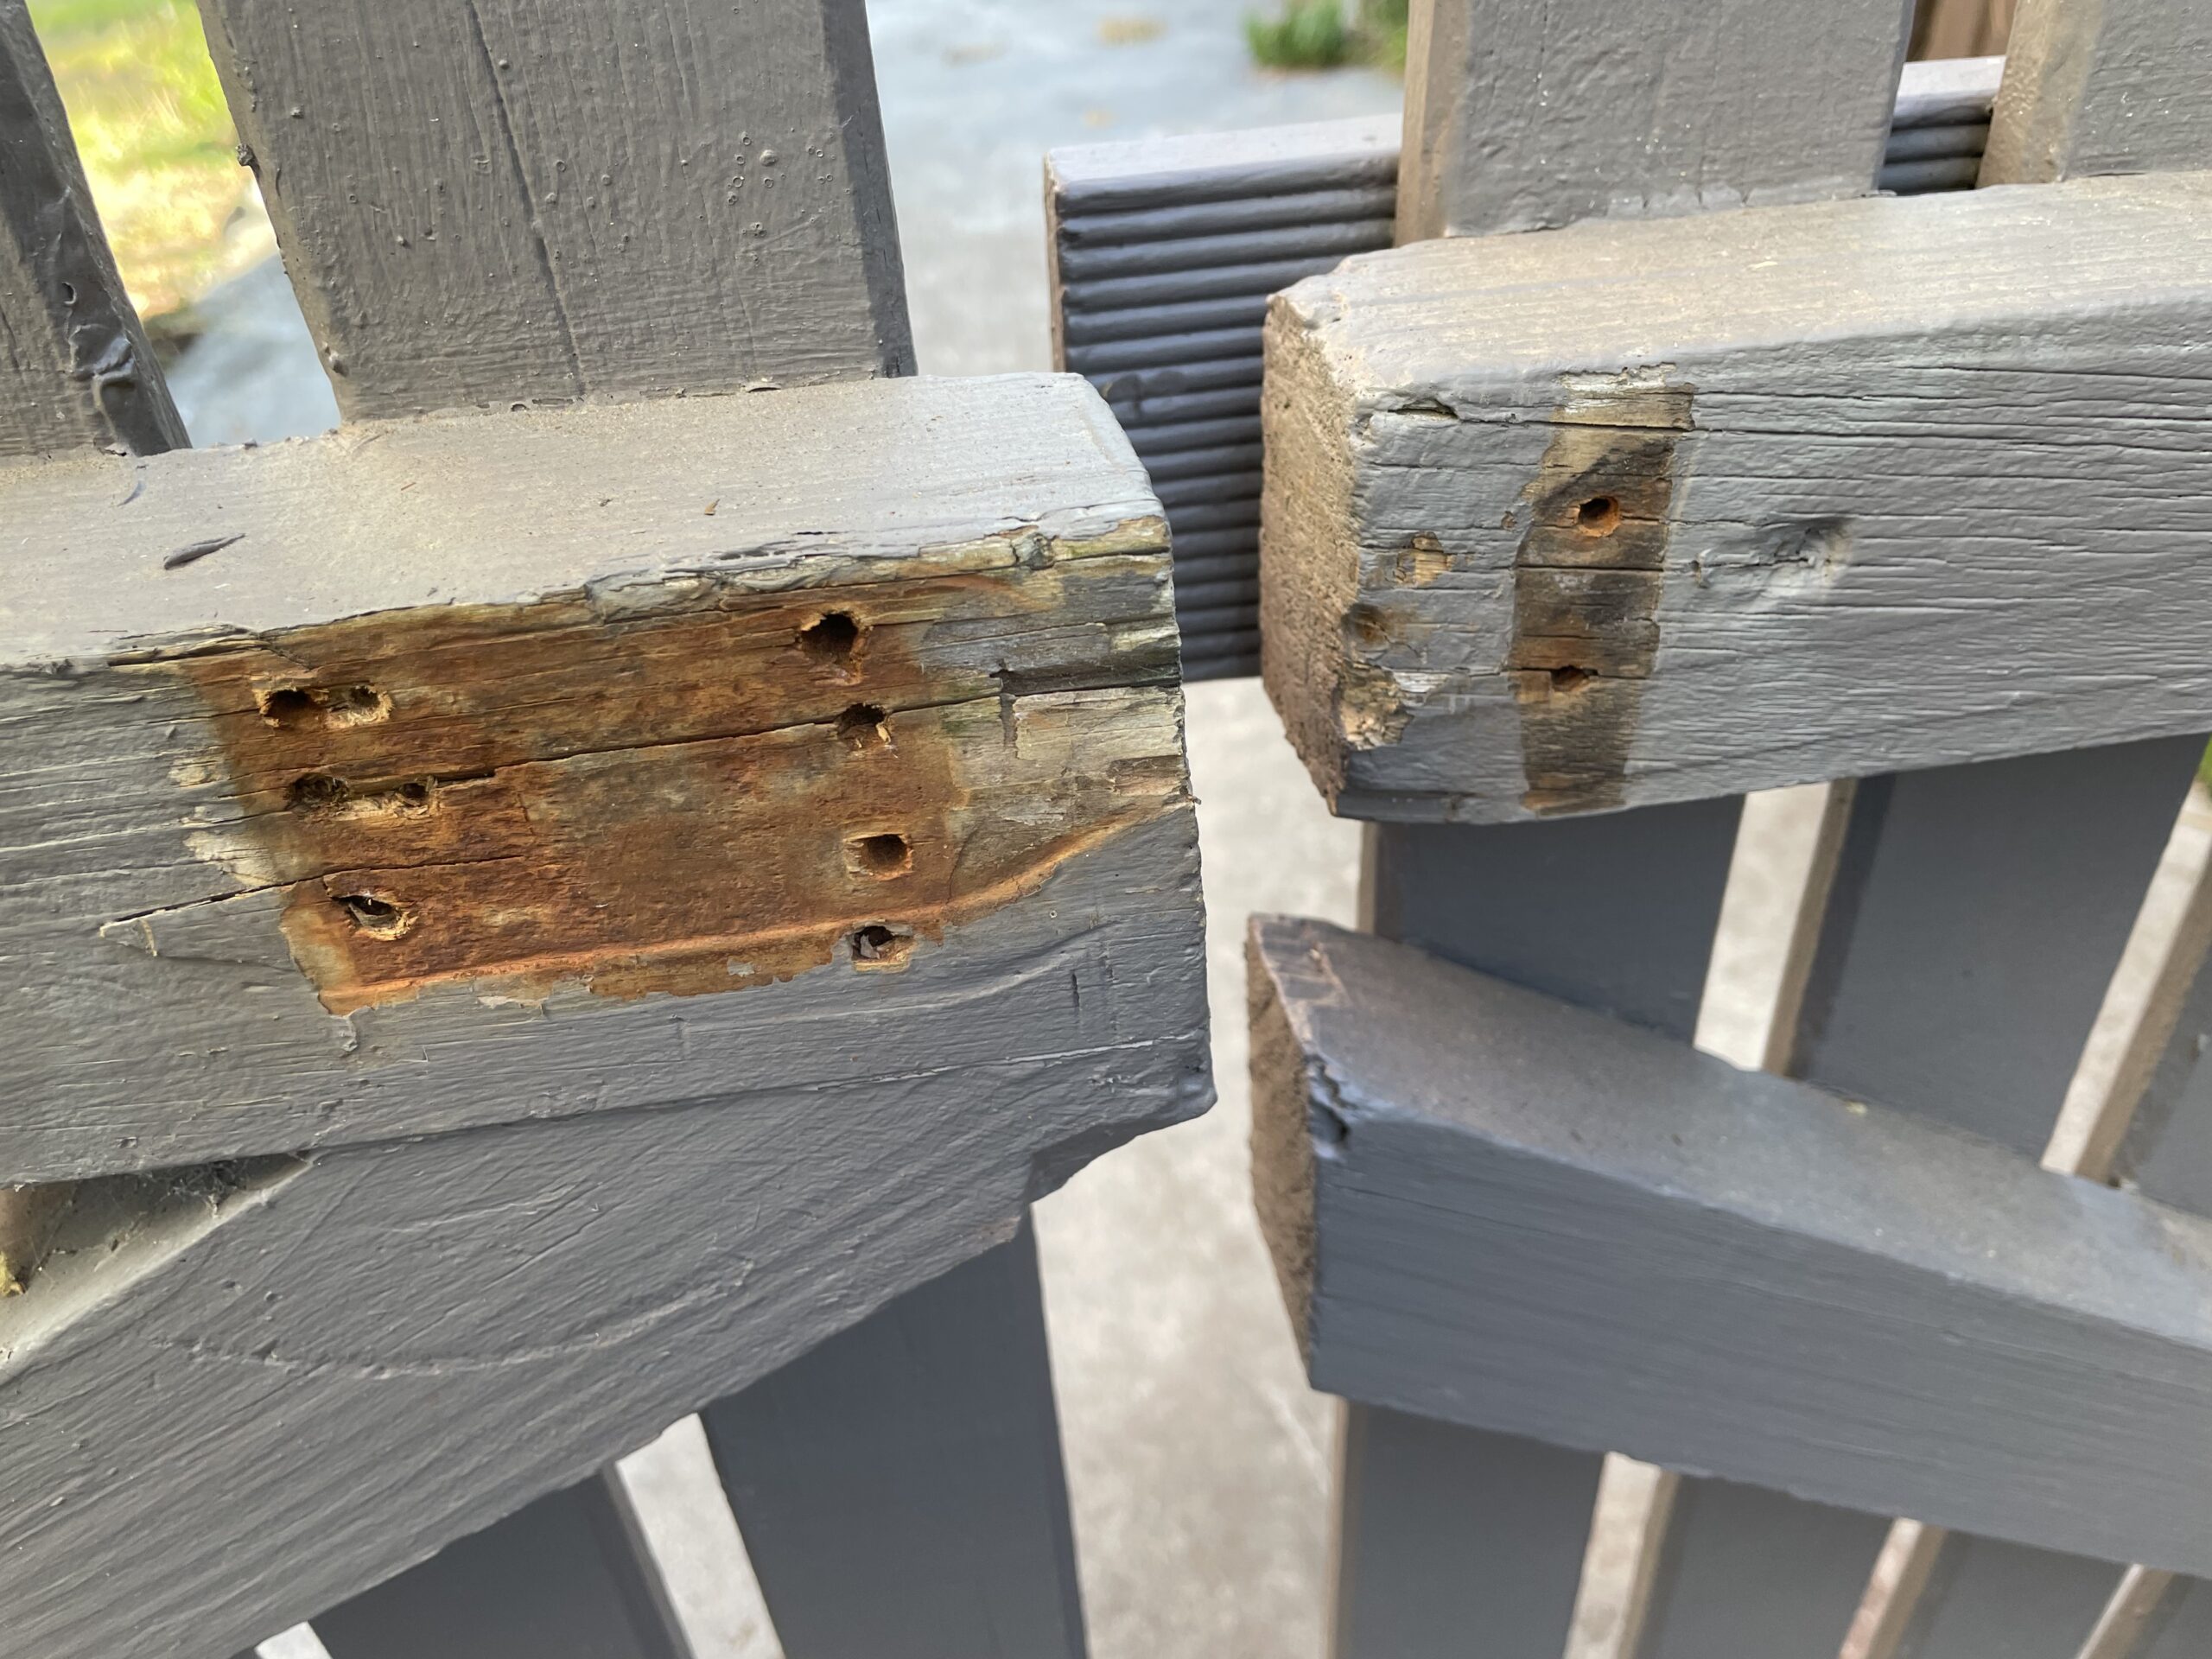
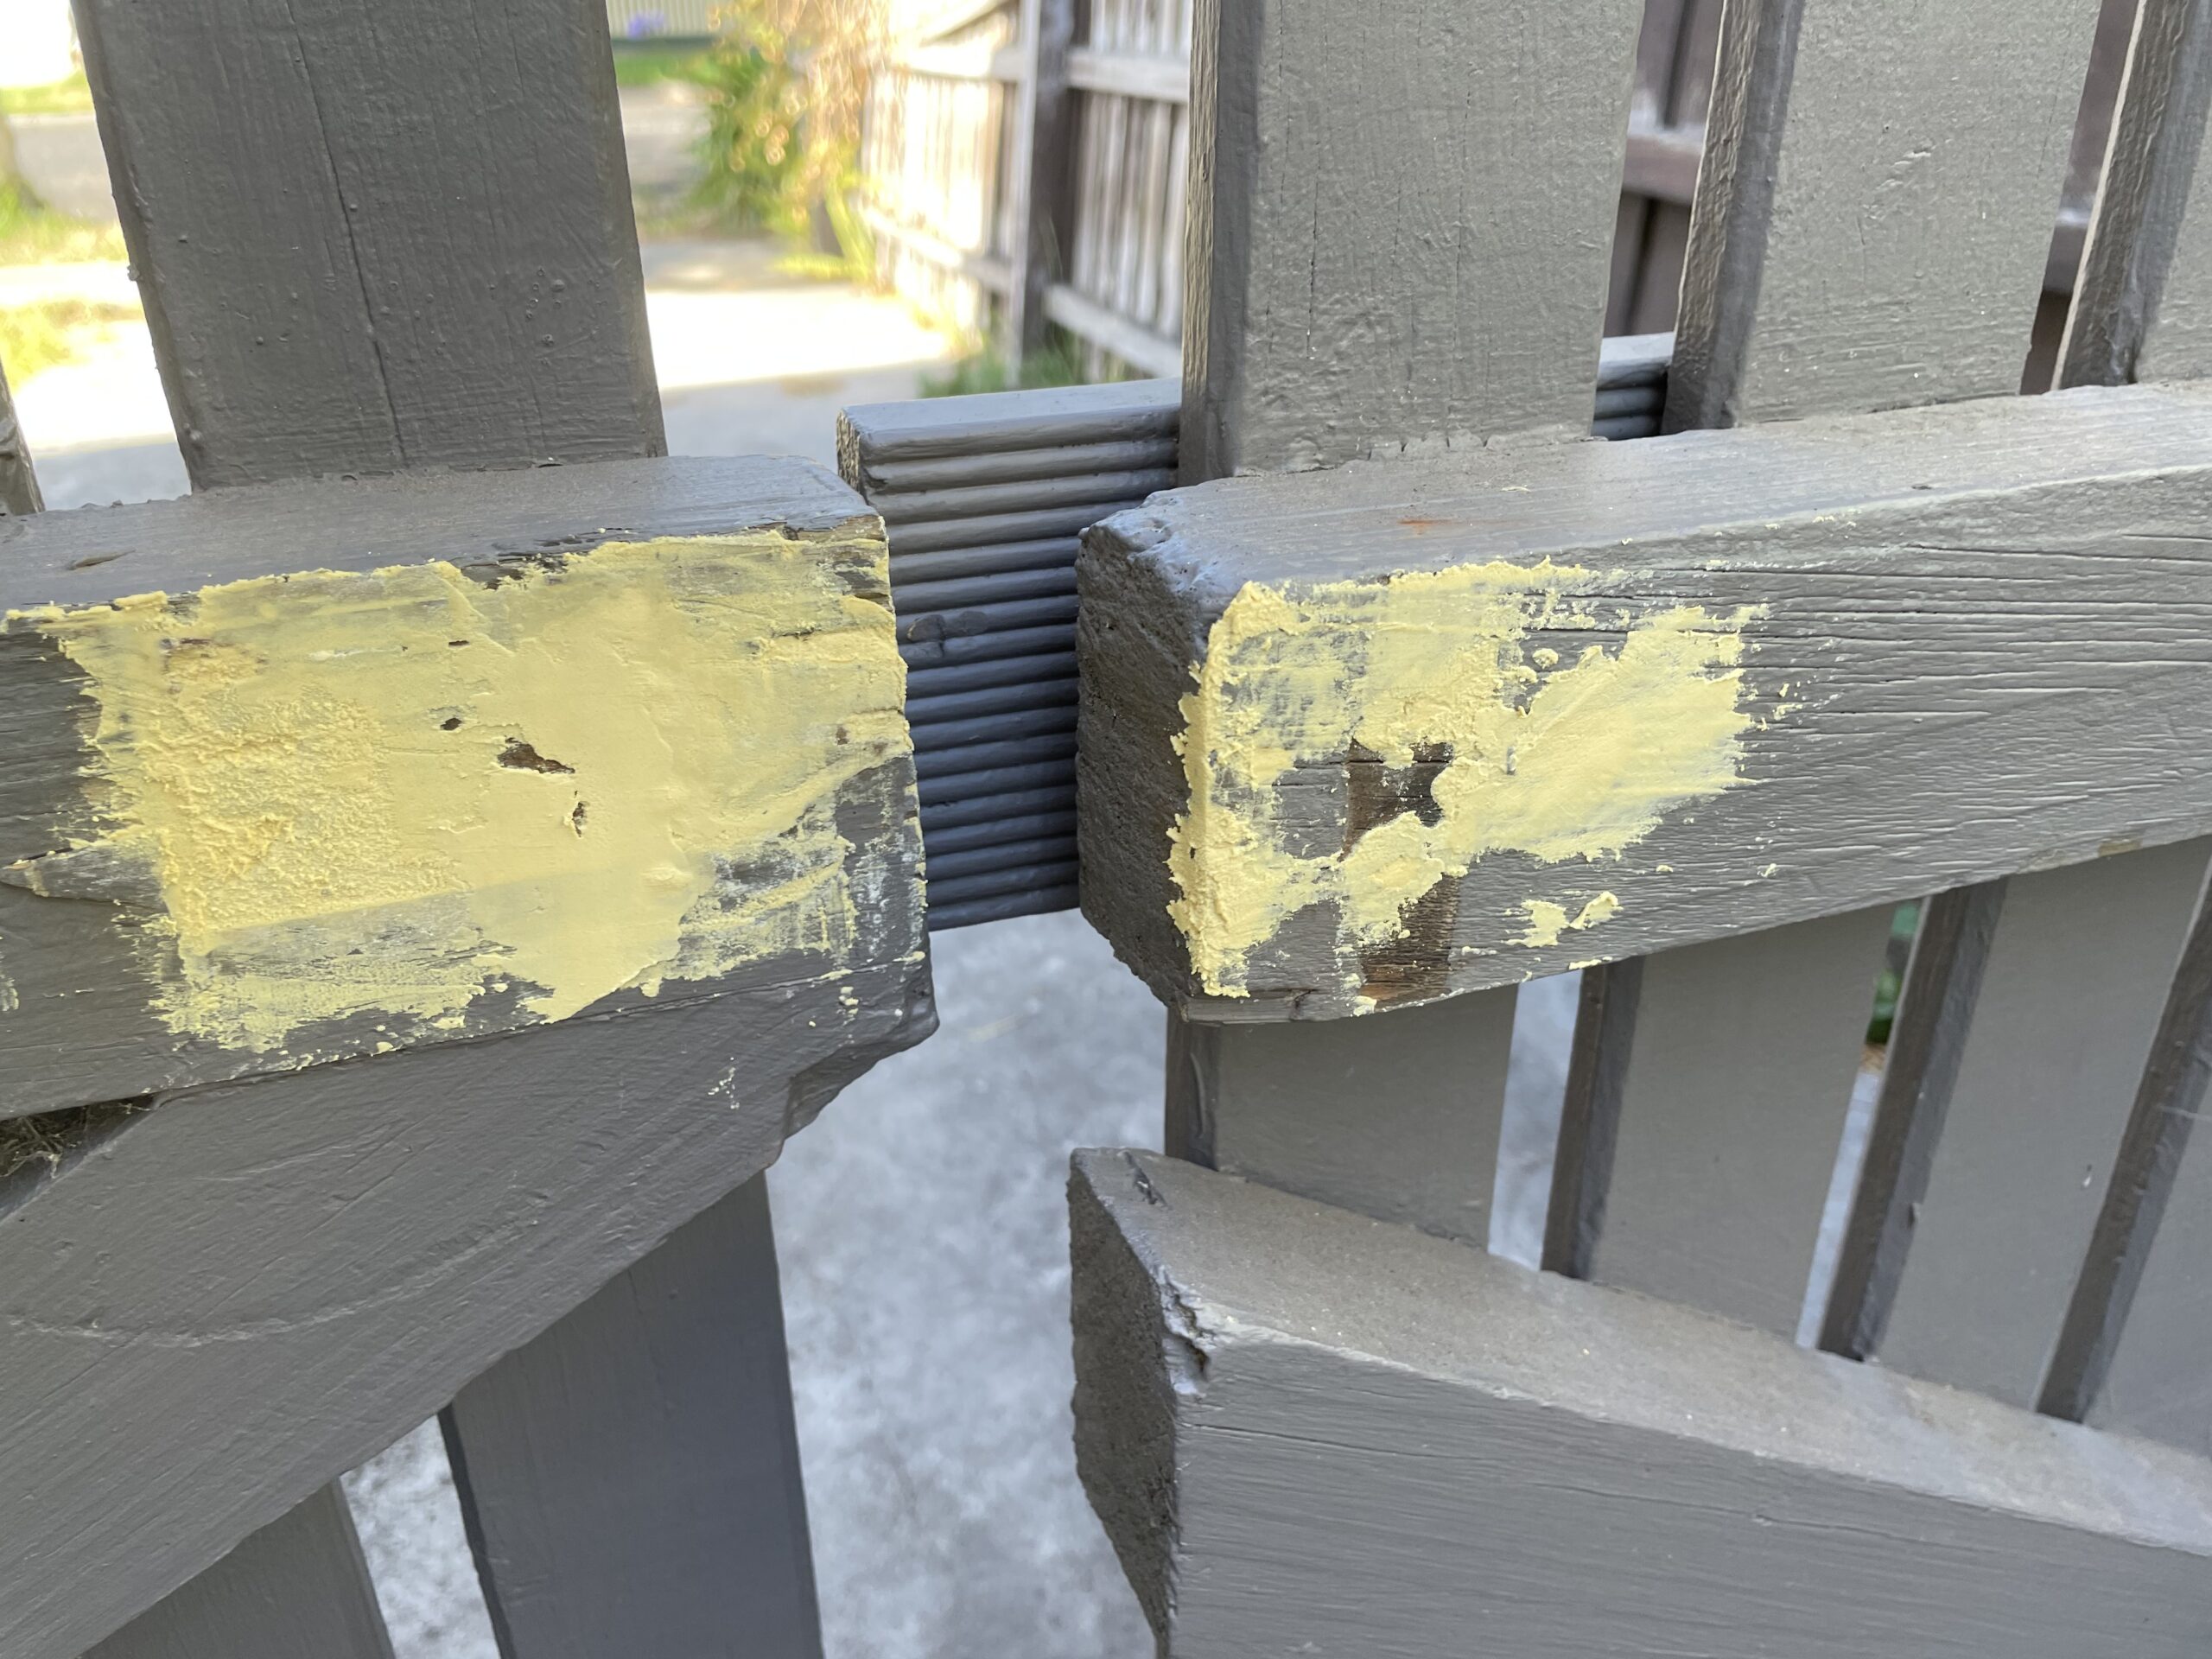
Notice all those holes? Well any new fixtures to those gates is not going to fare well if they can’t be screwed securely, and besides all those holes look ugly. Good thing I have discovered the amazing properties of wood filler.

This stuff hardens in a few hours, it sands and holds screws just like normal wood!

But after the initial exuberance, I had my next challenge: what kind of paint to get.

Which one of the following common colours matches the grey on my house? If you guessed none of them you would be correct! Turns out the grey of my house is called “space capsule” which doesn’t strike me as an original choice for a house from the dawn of the 1900’s.

That said, you can’t argue with a perfect colour match.

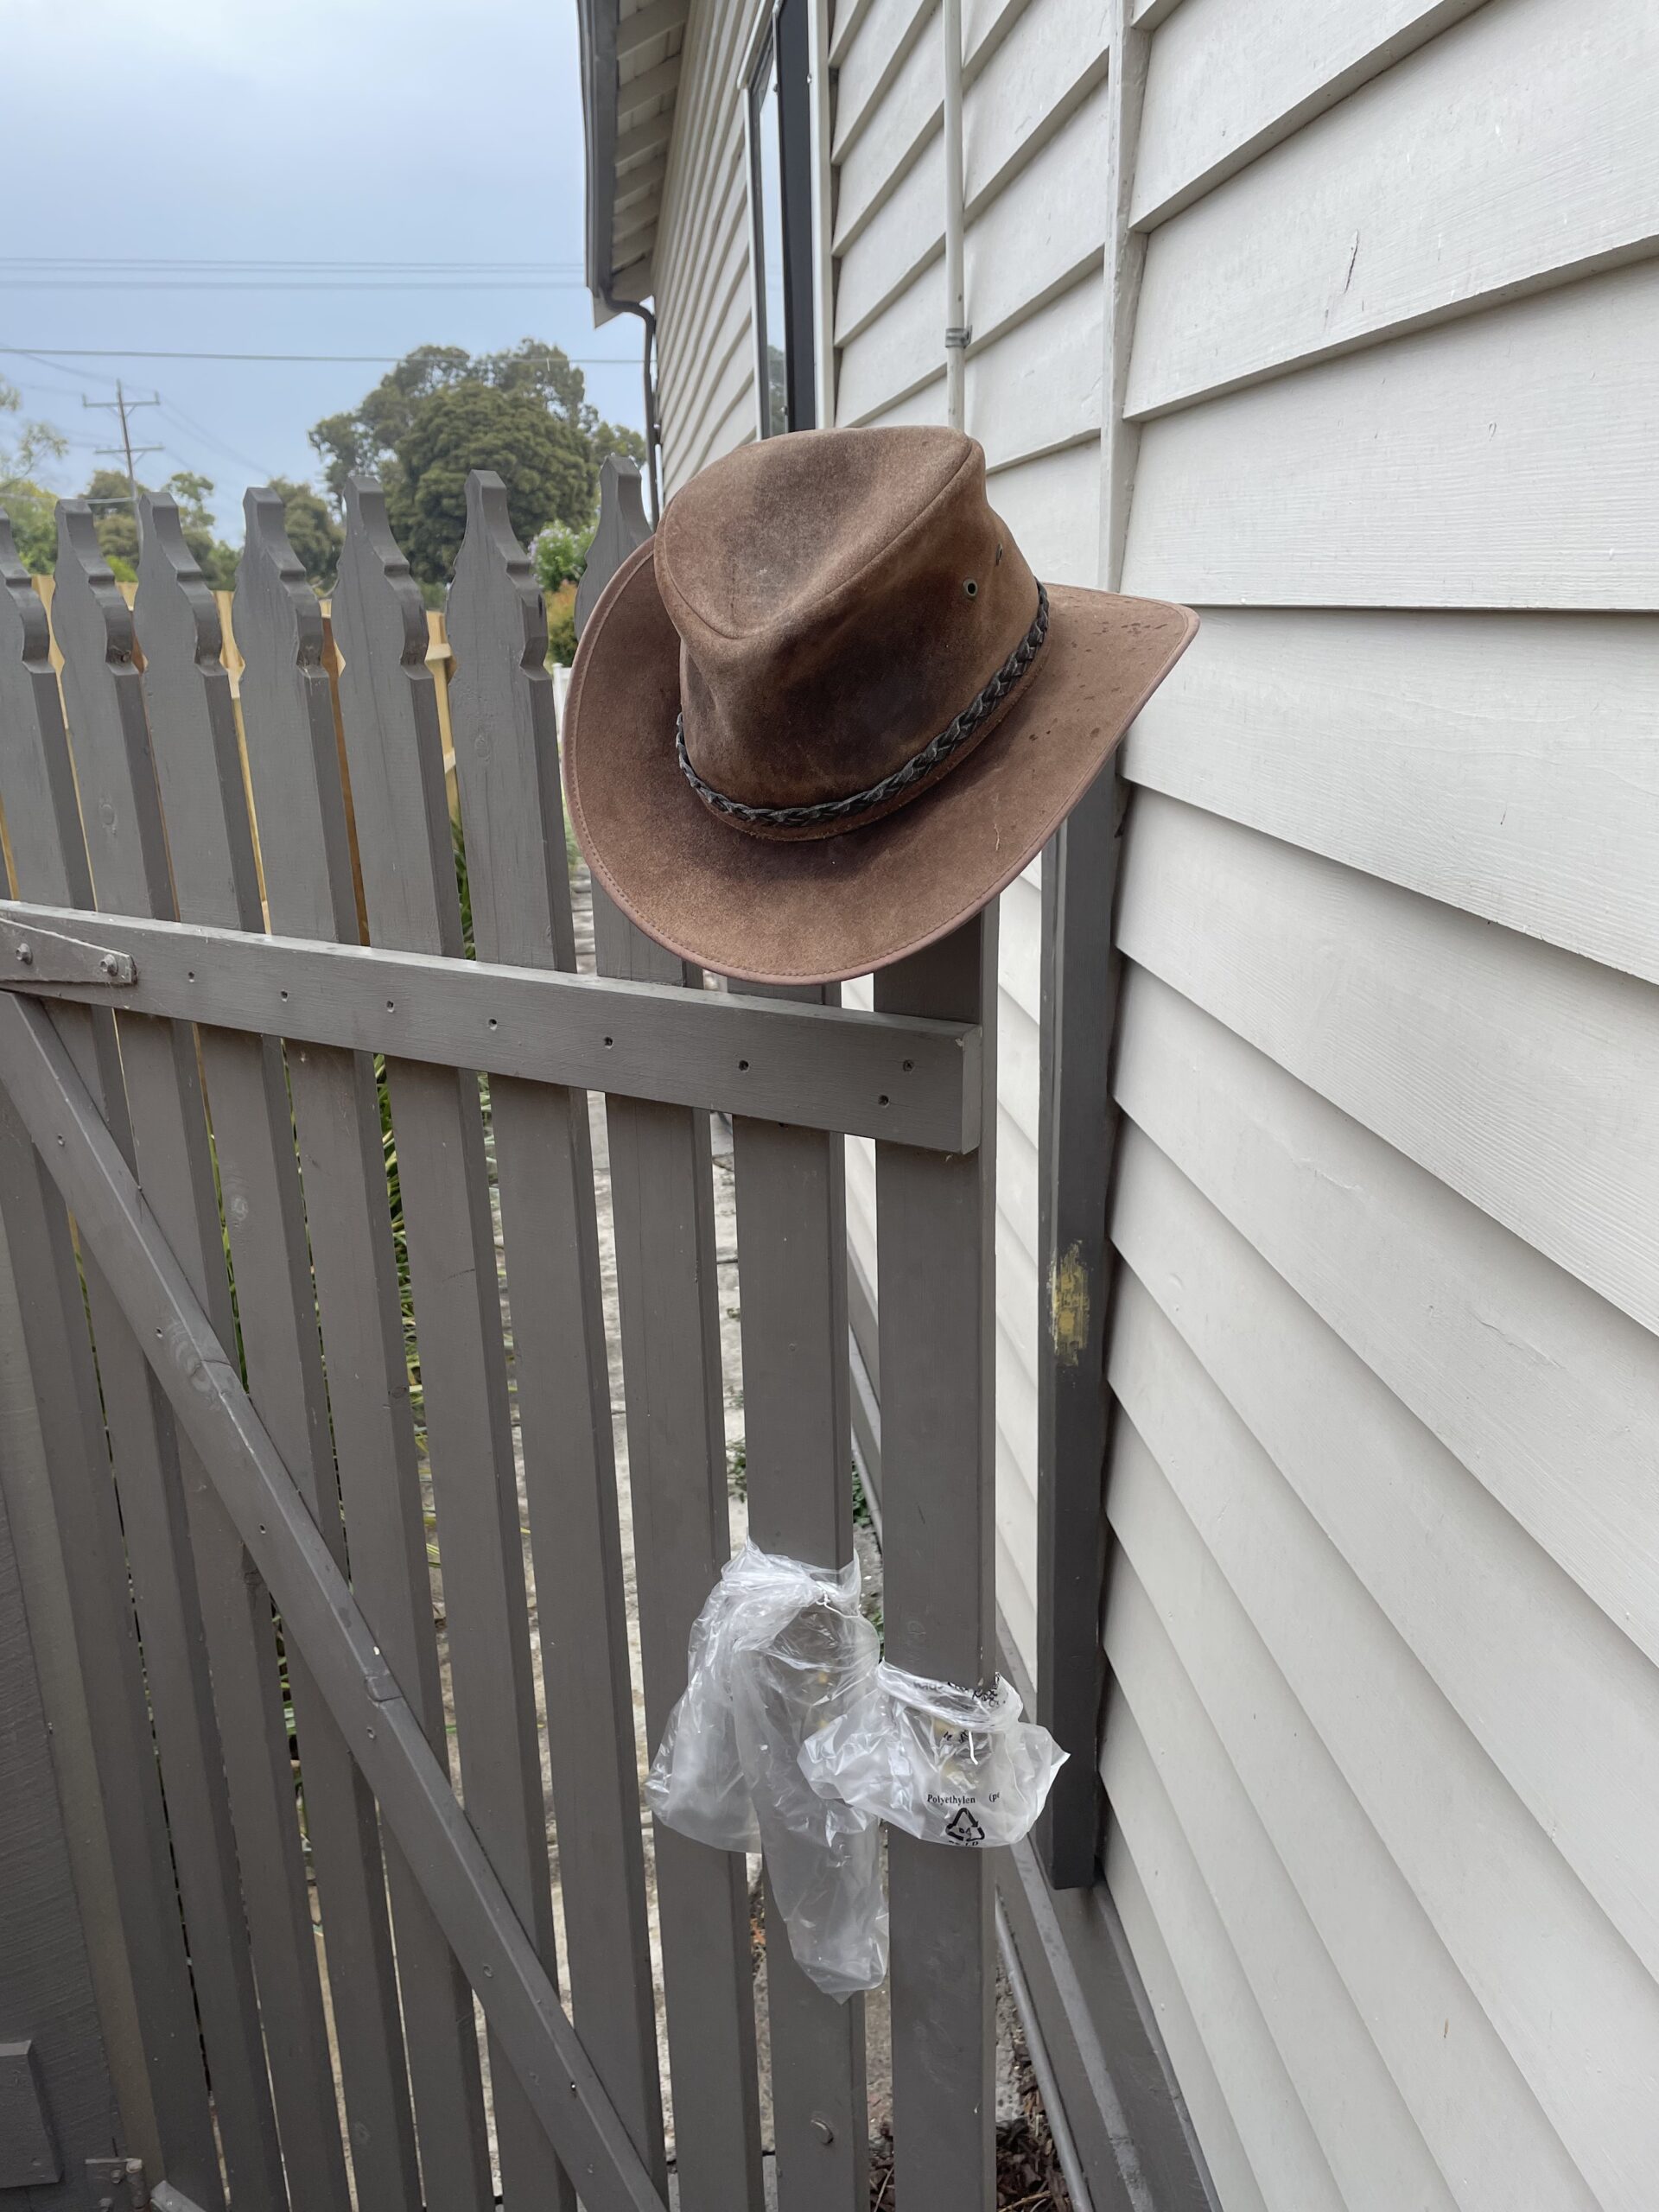
I had to get just a little bit creative since I needed at least 2 coats of paint and the rain threatened to ruin my day.

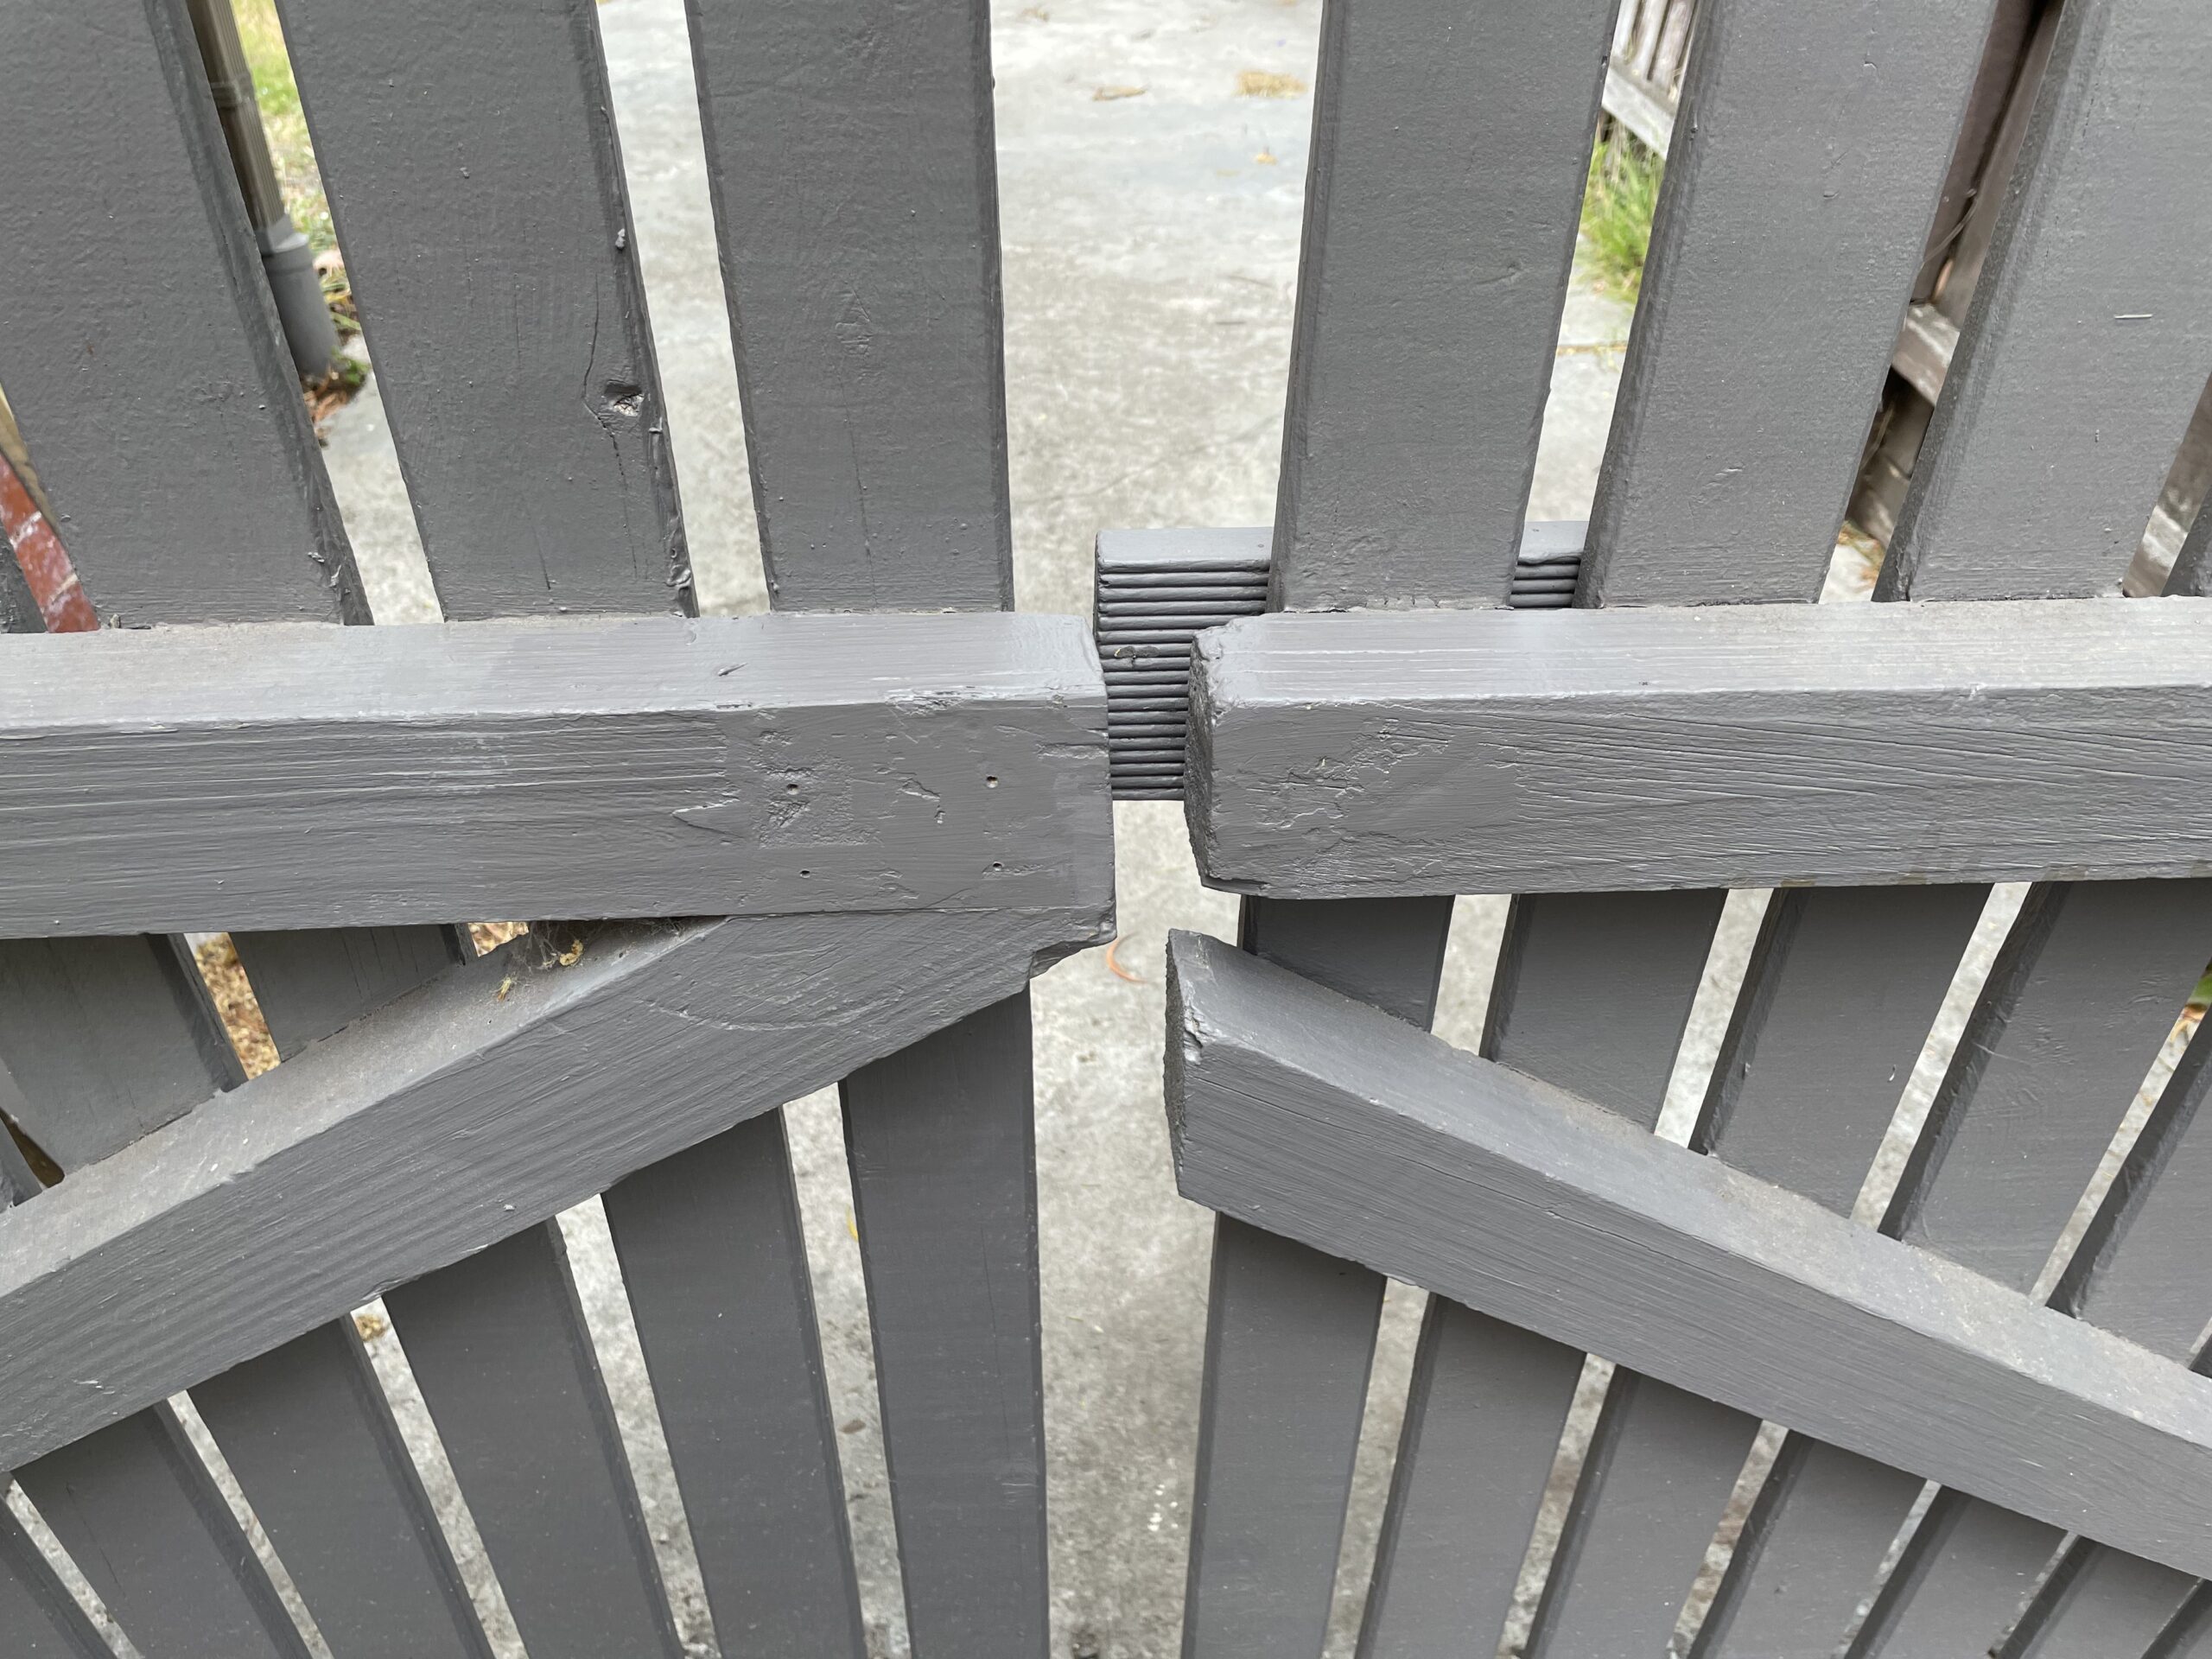
Still, I managed to get it all working in the end.

Uh… let’s try that just one more time.

You might think me paranoid, but wouldn’t you know it, only a month after I had the gates properly secured with locks but the security was tested by some guy coming in off the street, but more about that story later.

Front Porch Pillar

One of the first things I noticed when starting to plan what to do with the house was an issue with this pillar here on the front porch:

Hard to see right? Well, it became apparent when someone (no names mentioned) kicked the pillar by mistake.

Uh oh! Clearly this is rot. I was worried that the rot didn’t go all the way through to the pillar because that is partly holding up the porch’s roof!

Basically rotted wood comes away like sponge. There’s no point in trying to preserve it, better to get all the rot out. For my troubles, I had a spider escape from the wood. I was not pleased.

Did I get it all? Maybe if I just give it one extra scrape…

Oh bugger, well the good news is the actual structural timber is fine, thank goodness. Looks like the moulding has just succumbed to rot. I removed those vintage looking nails and managed to find the exact same mould pattern at Bunnings.

To get the nice clean 45 degree mitre joins on this, I would need to invest in yet another tool, a mitre saw!

Problem is, I don’t have the patience to read the user manual, and Tim doesn’t trust me with sharp spinny objects unless someone reads the manual so….

My poor long-suffering boyfriend was on mitre saw duty.

Meanwhile, I liberally applied wood hardener to the structural timber, just to ensure the rot didn’t make it any further into the hard wood. Just my luck though it started raining. Hot tip: don’t cover your wood in plastic like this, it’s just doing to get soggy anyway.

Once dry, I primed everything and used nail & glue to create 3 sides of the box for the moulding to fit over the column.

I didn’t have the heart to tell him that it didn’t have to be all that perfect. I slathered the whole thing in Selly’s “no more gaps” to prevent water getting in again.

Like all good workmen, I don’t actually have a photo of the finished product, but trust me, it looks great, you can hardly notice it!

Here’s a better way to protect against rain. You want a bit of airflow around the wood so that it can dry properly.

Welcome to my House

After many years of not being able to, I feel very fortunate to have been able to finally buy myself a house. It’s an elusive journey for many of us and I know as well as any what a rare privilege it is nowadays. I managed to find a nice 2 bedroom place in a “heritage overlay” in the suburb of Newport.

The heritage overlay means you can’t make too many changes to the outside of the house, especially because it is considered “contributing” to the character of the neighbourhood, but quite frankly, were it not for the heritage overlay I wouldn’t have been able to afford to live so close to the Newport train station which is only a short train ride into the CBD.

The house itself is about 116 years old, and that’s foreshadowing a lot of amateur history research in my not too distant future, for now I am just glad the previous owners had the presence of mind to remove the fake brickwork that was probably applied in the 80’s

Speaking of the previous owners, we had a cute little ceremony where we handed over the keys and put up the “sold” sign, once all the paperwork was signed:

I’m looking forward to sharing the journey with you as we peel back over 100 years of history and learn about what makes a house good.

For those interested in seeing a 3D reality capture, look no further than here: